Every so often I get questions about how exactly I base my models. I figure the easiest way to explain it is to put together a quick tutorial on the steps that go into it. Despite the amount of materials and steps nothing here is complicated or time consuming. Each step is quick, simple, and leads up to an interesting result. It takes about an evening to throw together 20 of these bad boys. I find the process really fun and rewarding. I hope this inspires people, just like other people’s tutorials inspire me, to try new things and push myself forward as a painter.
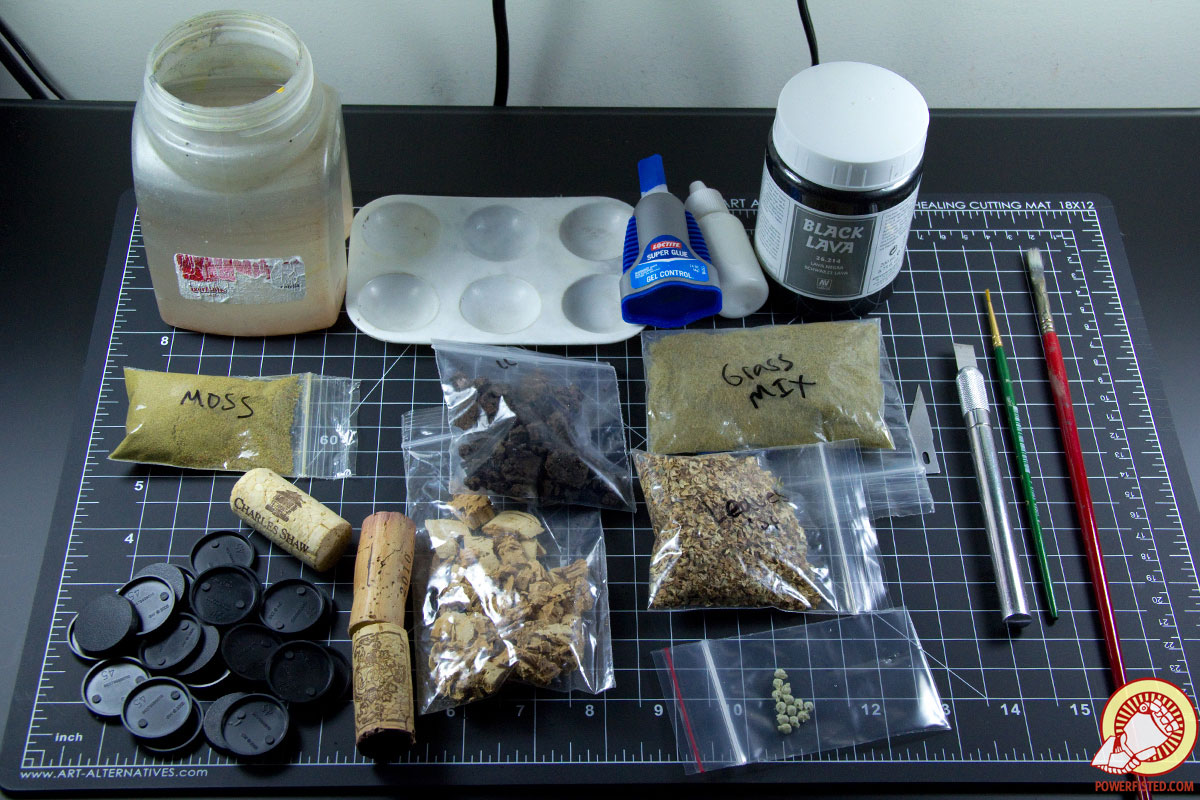
Each painter has their method of modeling bases. I’m no different- I model and paint mine separately from the models. I use a number of things along the way:
-Mixing palette, water
-Super glue, PVA glue
-Black Lava
-An old synthetic brush or two
-Corks from wine bottles
-Cork from dark cork tiles
-Your choice of grass, moss, and leaf flock. I get mine from Secret Weapon Minatures
-Skulls. What? Why are you even asking? Everyone loves skulls.

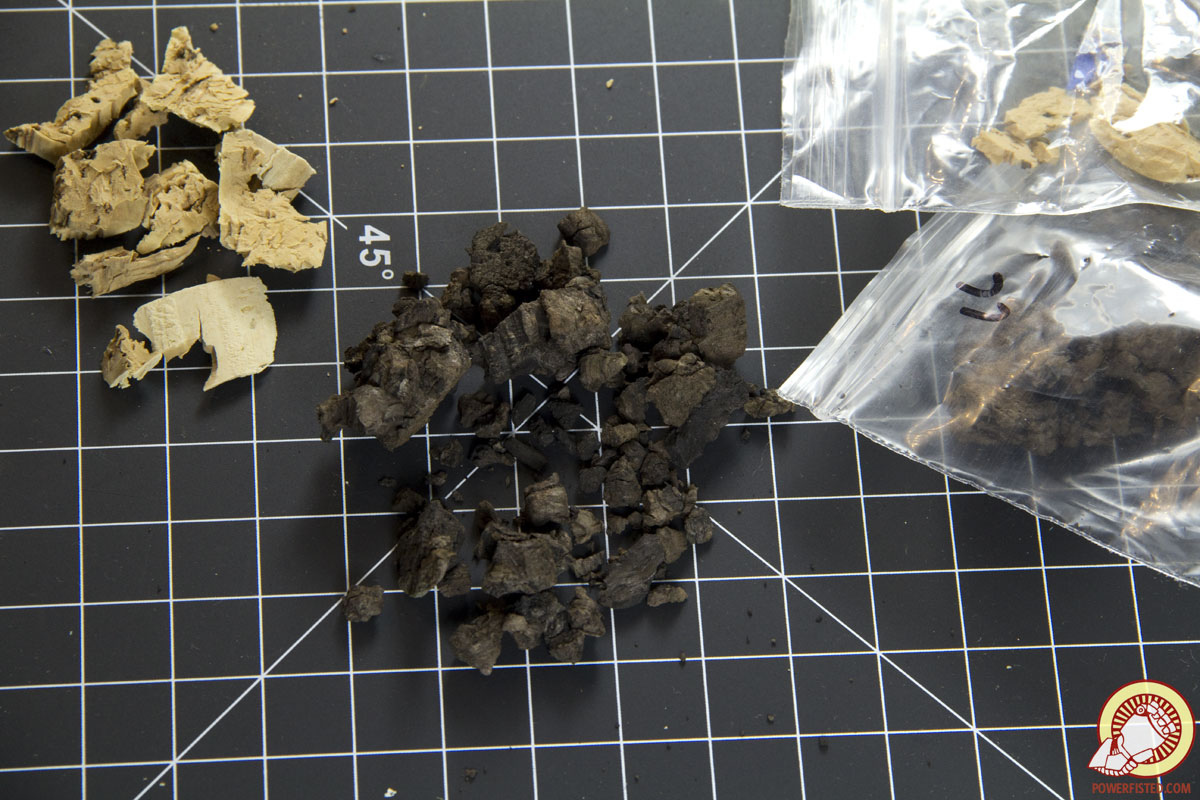
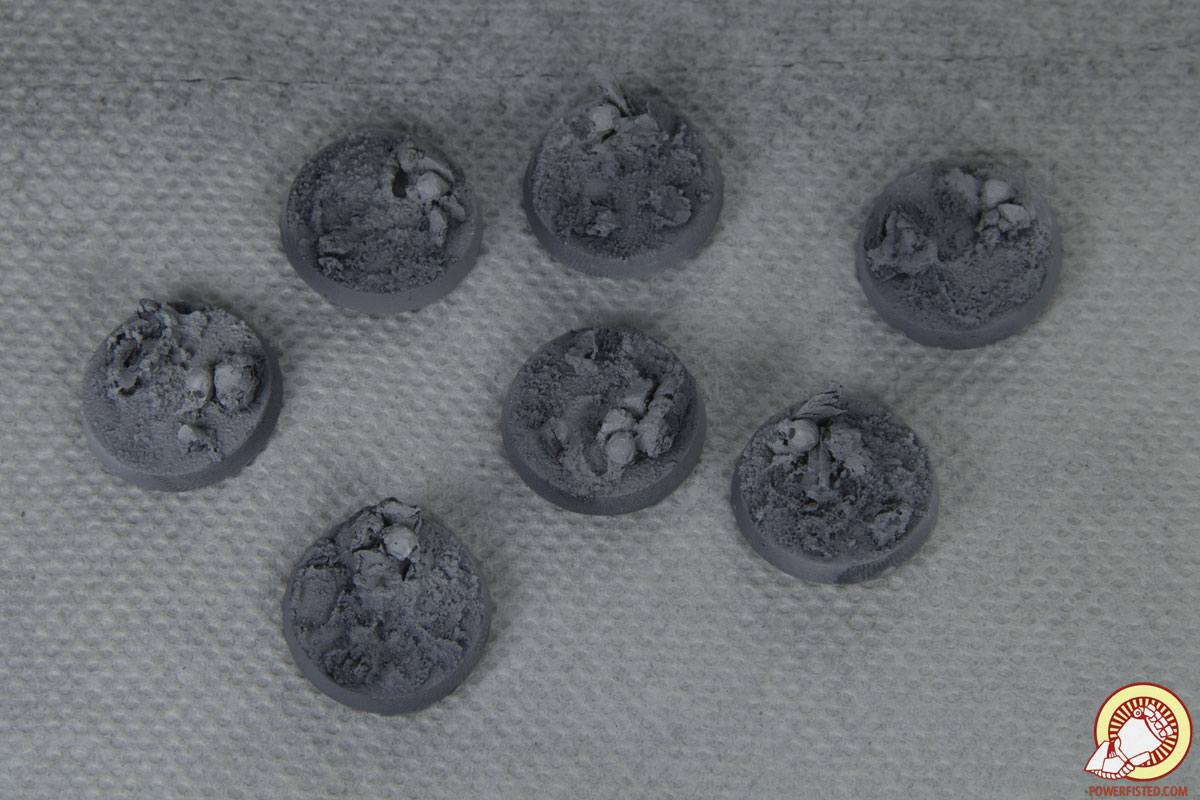
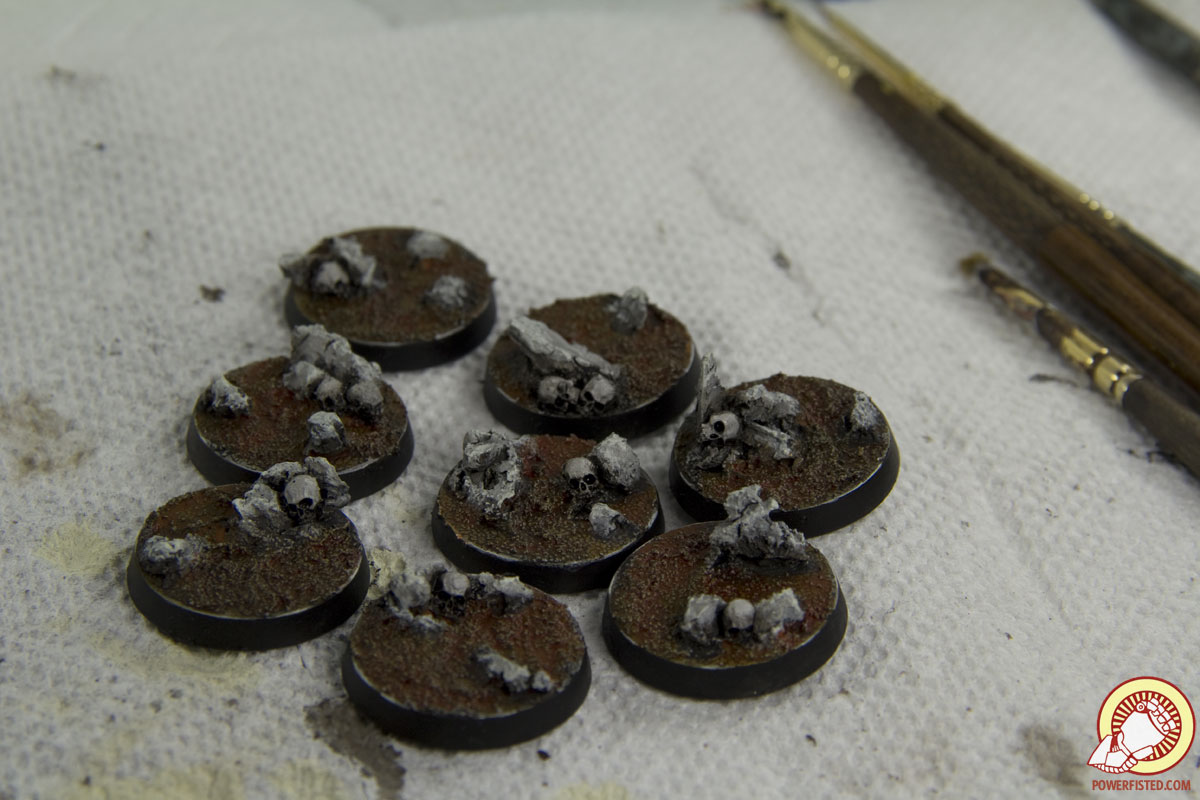
The first step is the cork. I use two types: yellow from wine bottles and dark from wall tiles. Dark Cork in wall tiles is naturally crumbly, thick, and perfect for things like rocks. Yellow cork is more spongy and holds a shape better. So it’s great for chopping up into interesting rock outcropping shapes. I combine the two as the foundations for each base.
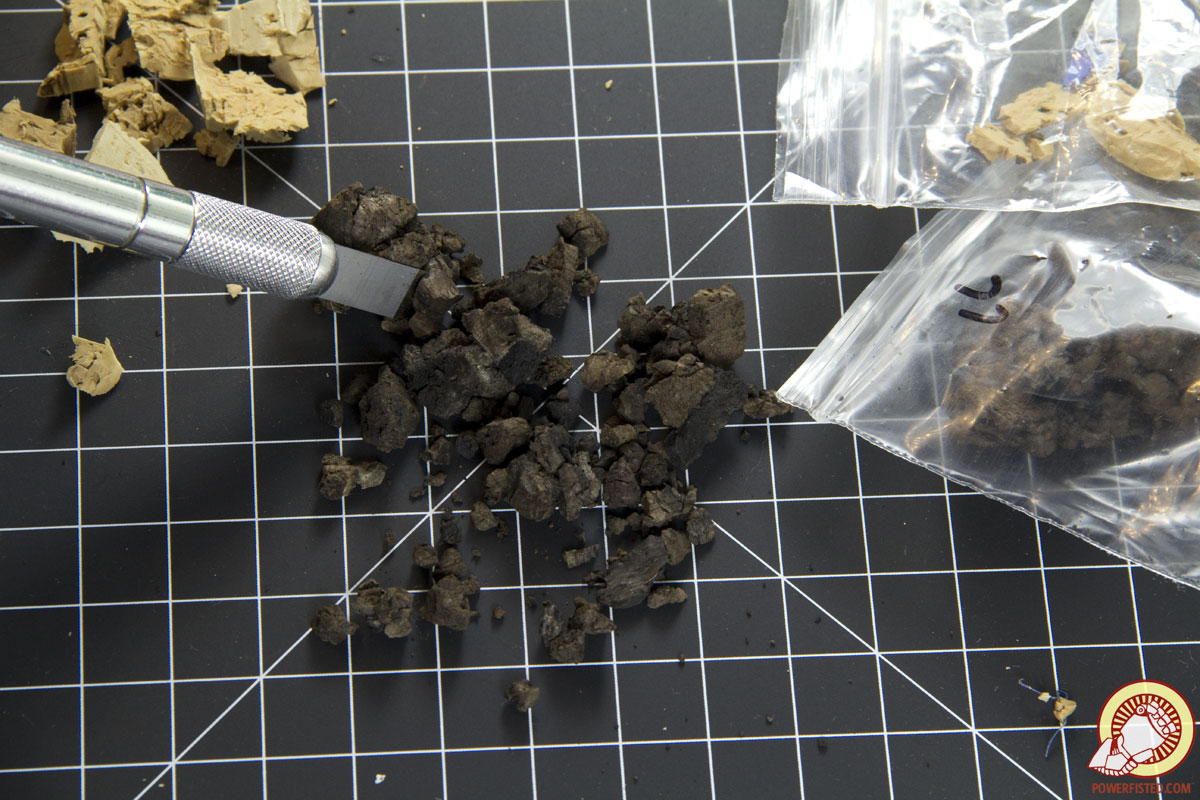
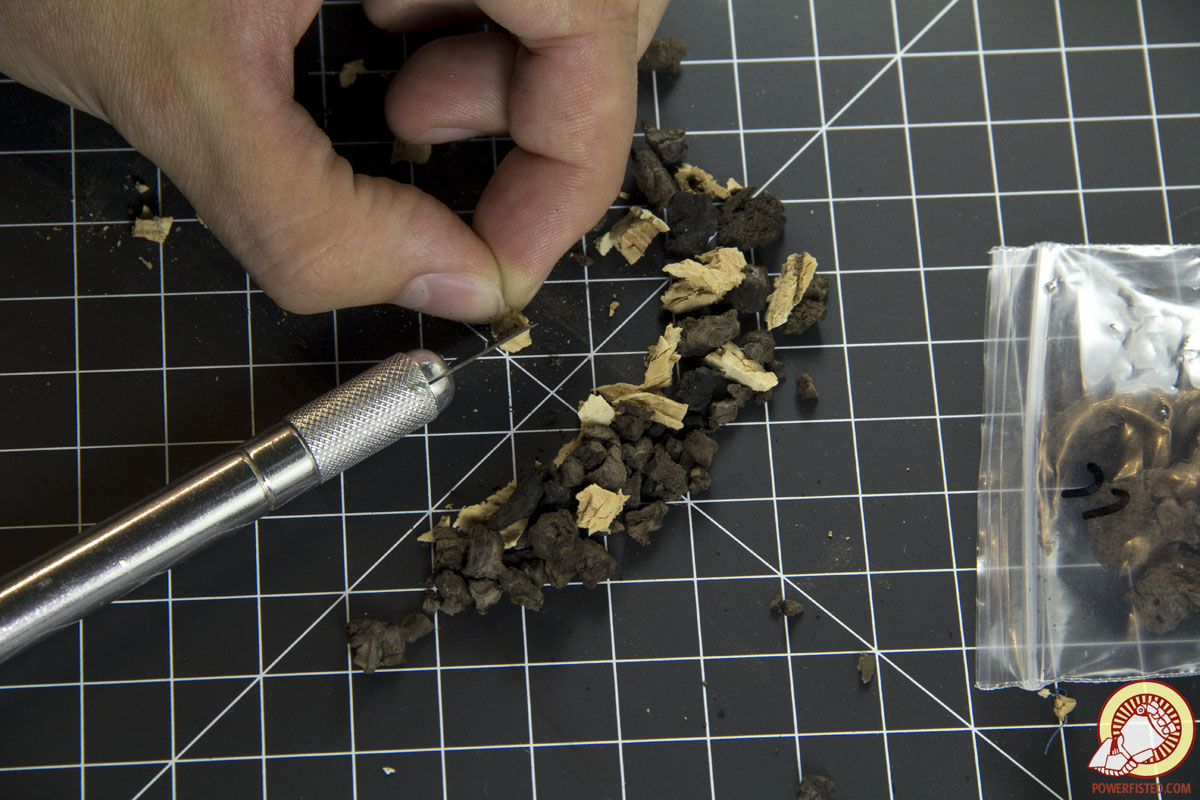
I use a chisel blade to chop up the pieces into a verity of small interesting shapes.
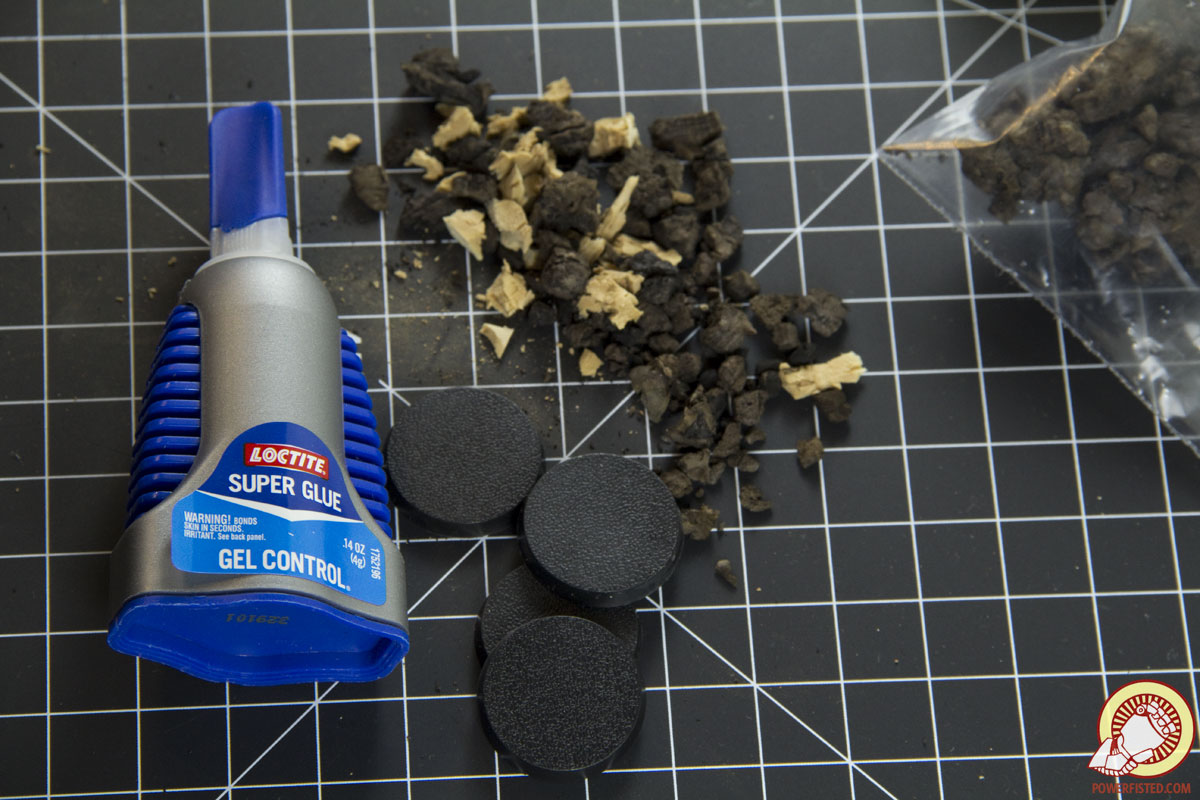
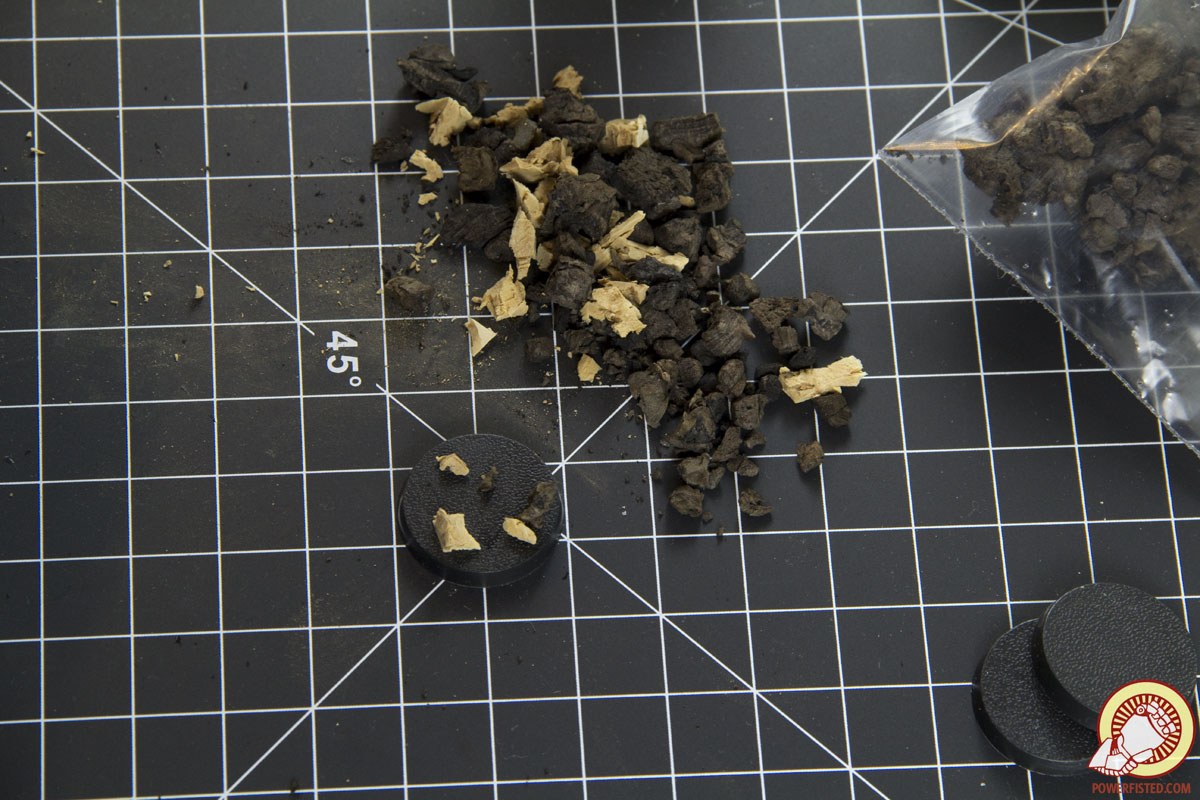
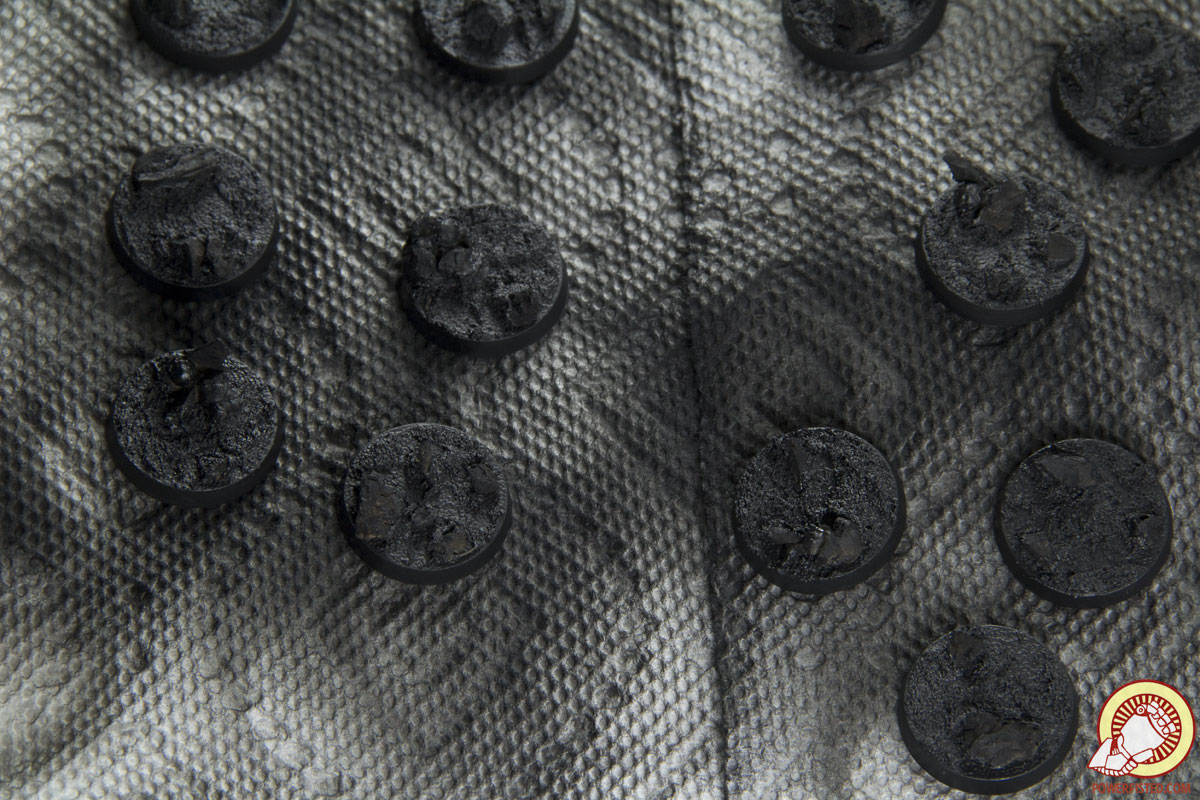
Once I’m happy with what I have to work with, I super glue an assortment onto each base. I try my best to make interesting and organic shapes paying really close attention at how much space is between each rock. This is to make sure my models have a flat place to be anchored down into once the bases are finished.
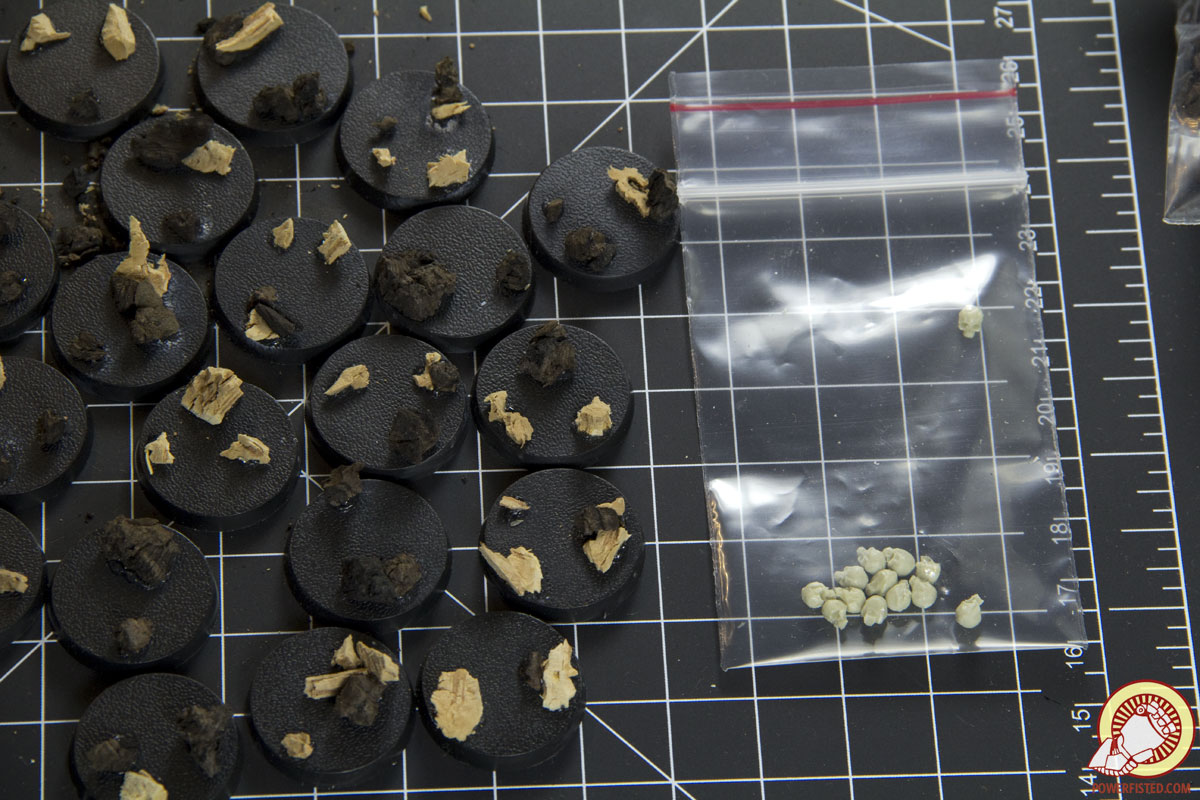
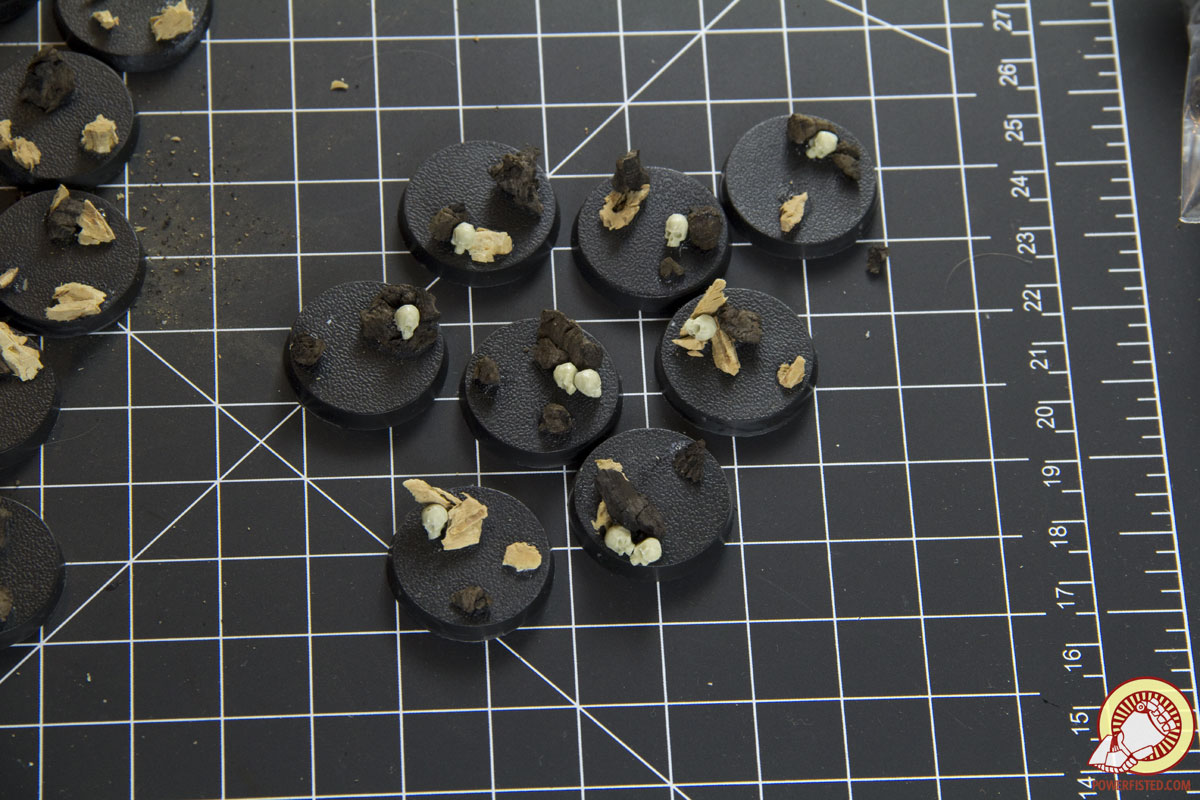
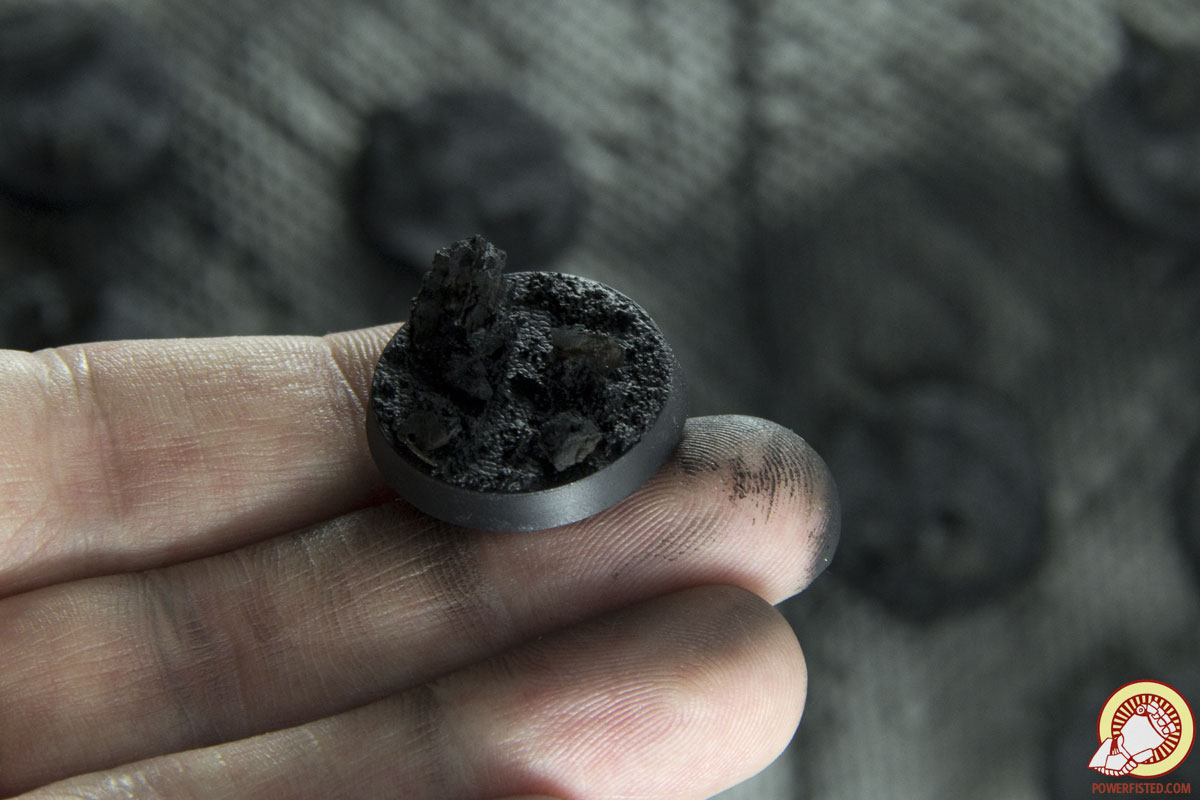
Up next are skulls. As these will be part of the terrain it’s not really important how high quality they are. I’ll glue these down on a few of the bases to make them a little more interesting. You can use any form of rubble- the goal here is to break up the base with something besides ‘rock’. For me the answer is clear- skulls absolutely everywhere.
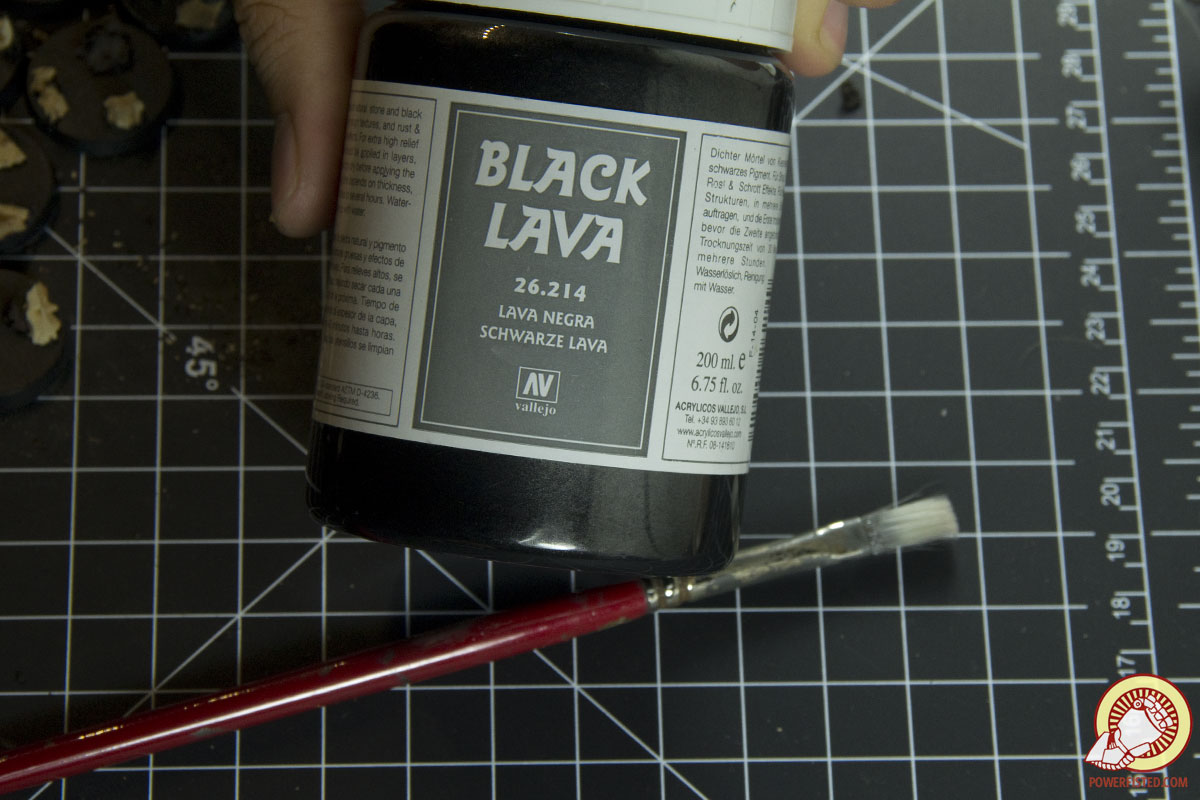
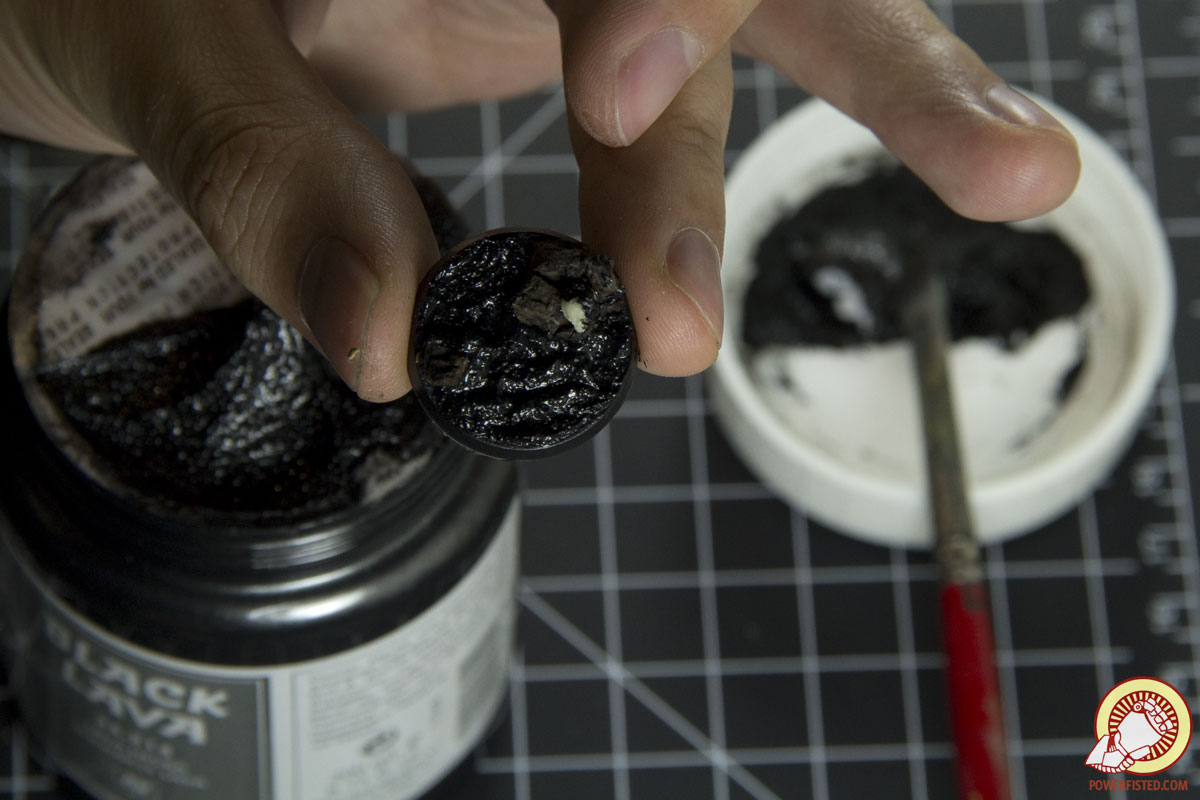
Time for Black Lava. This stuff is a fairly inexpensive black speckled gel with small chunks of substrate floating around inside of it. When applied to a surface it dries solid and leaves behind a gravely texture. Because it’s acrylic, it’s easy to wash, and dries in about ten minutes. I apply it to all my bases and make sure to cover up all surface areas besides the rock shapes. I glob it on thick with an old brush and use the bristles to create wavy organic shapes. This way everything looks more natural when dry.
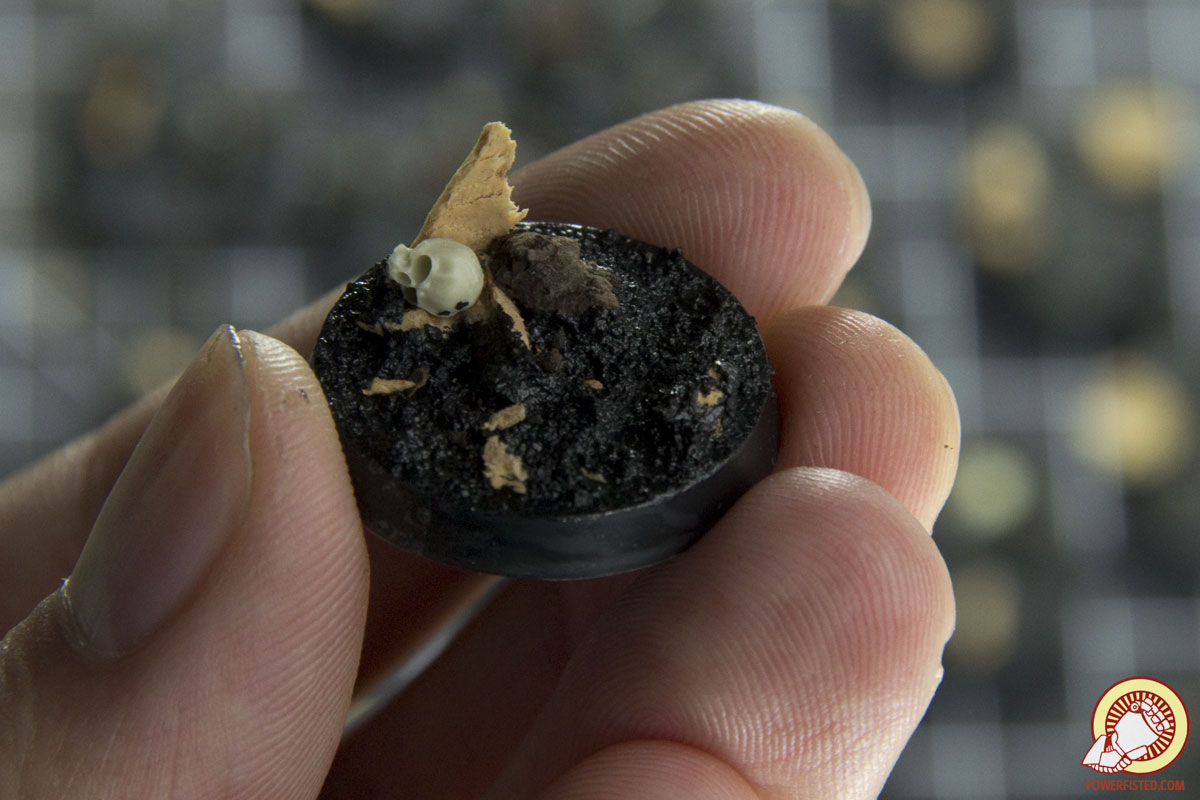
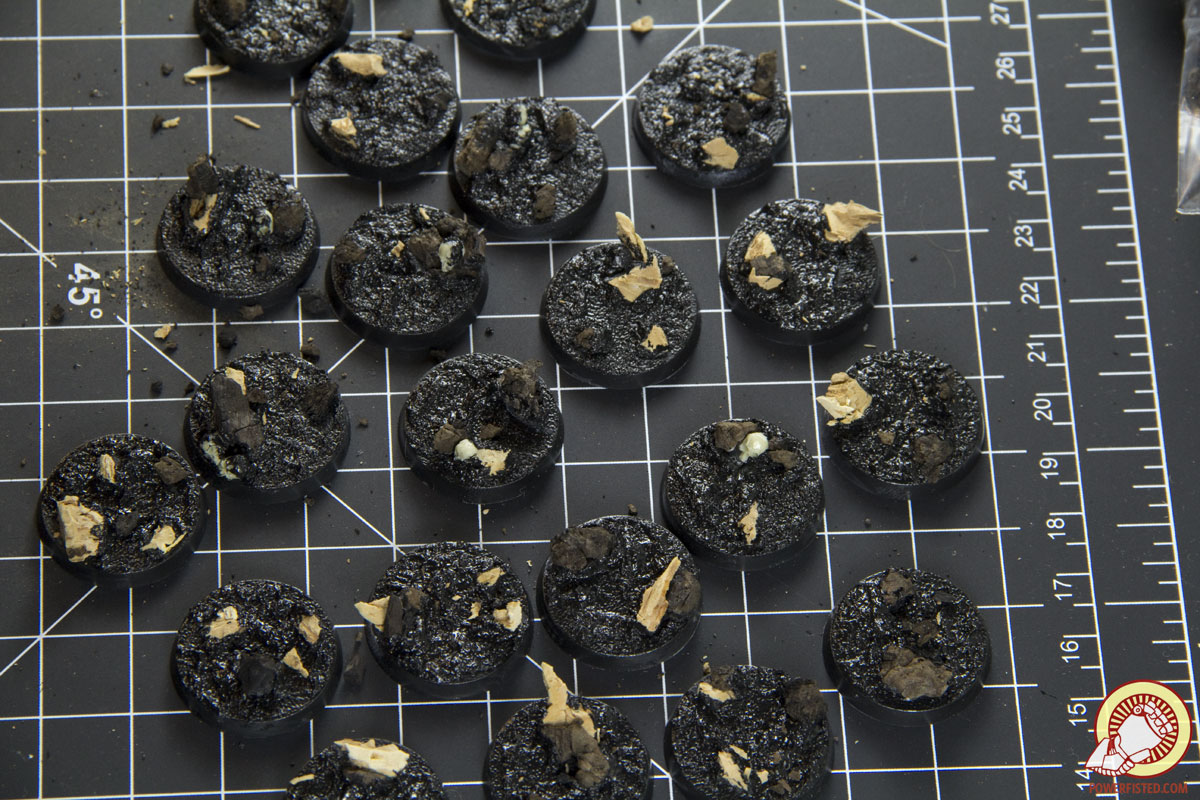
The result: an interesting base with texture, rocks, outcroppings, gravel, and… skulls? Not bad for about a minute of work for each base.
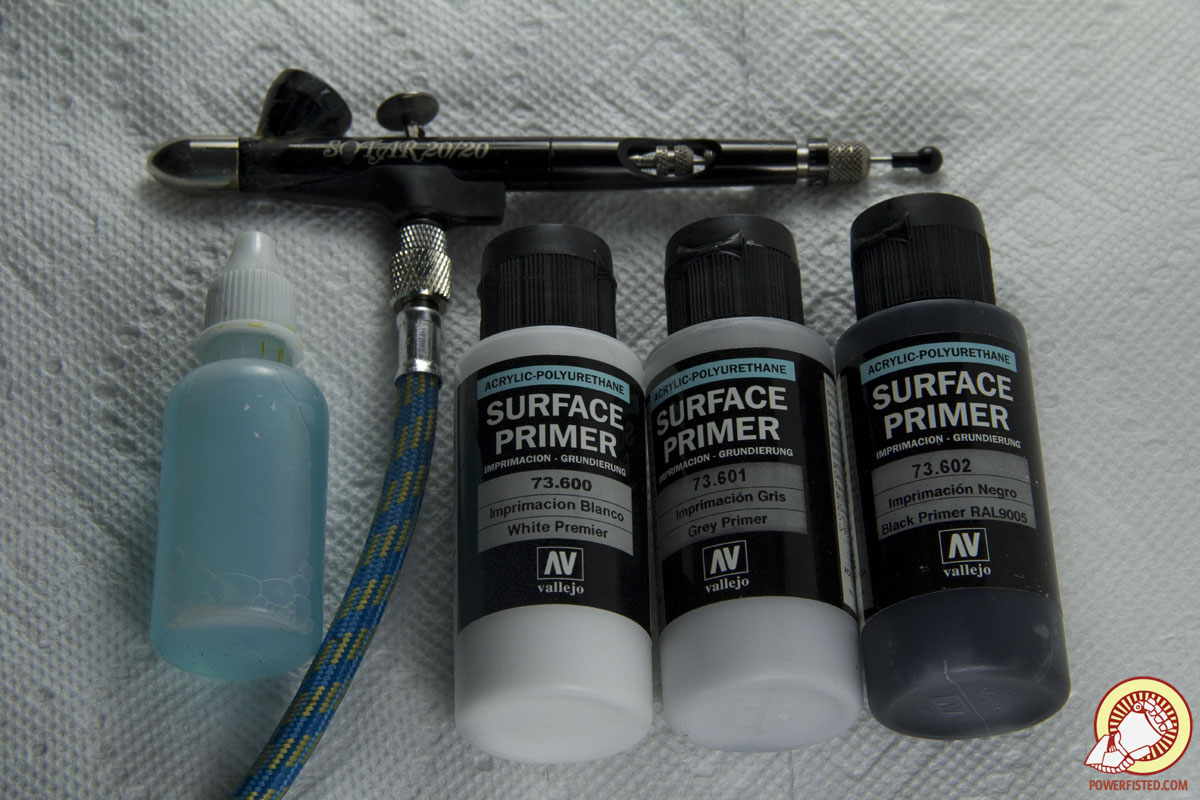
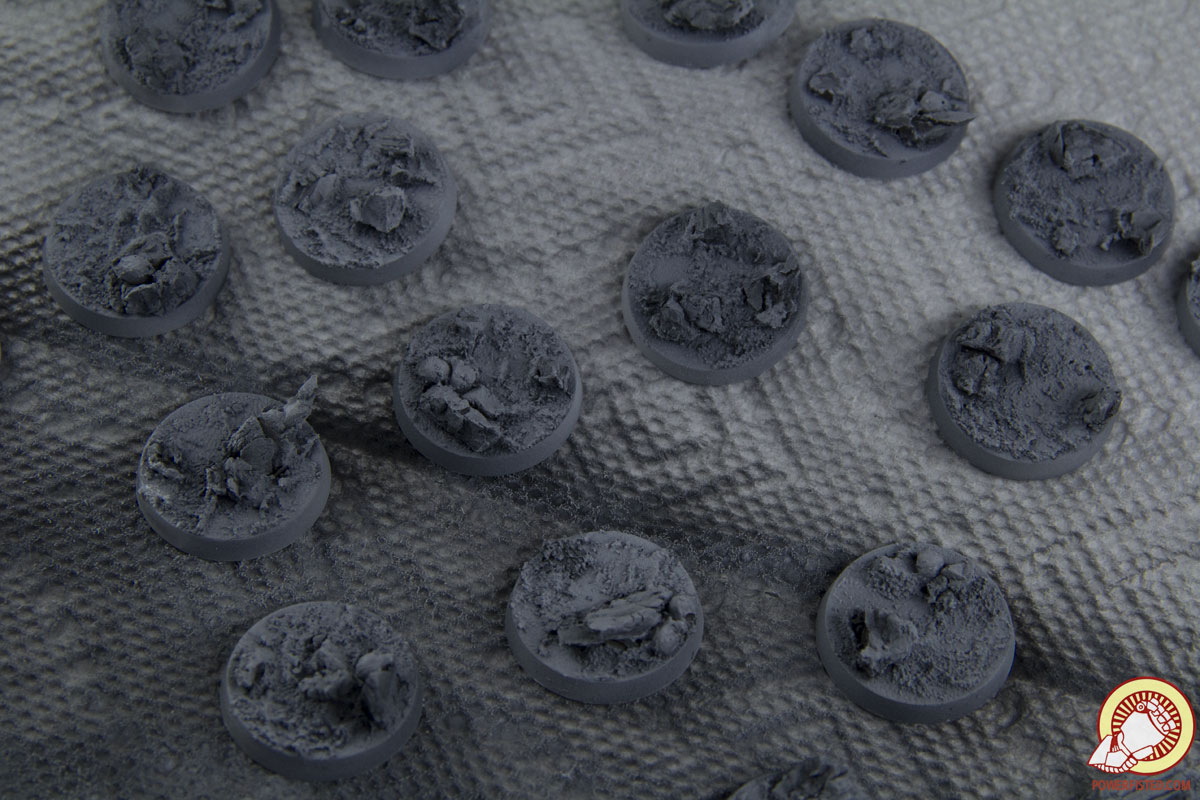
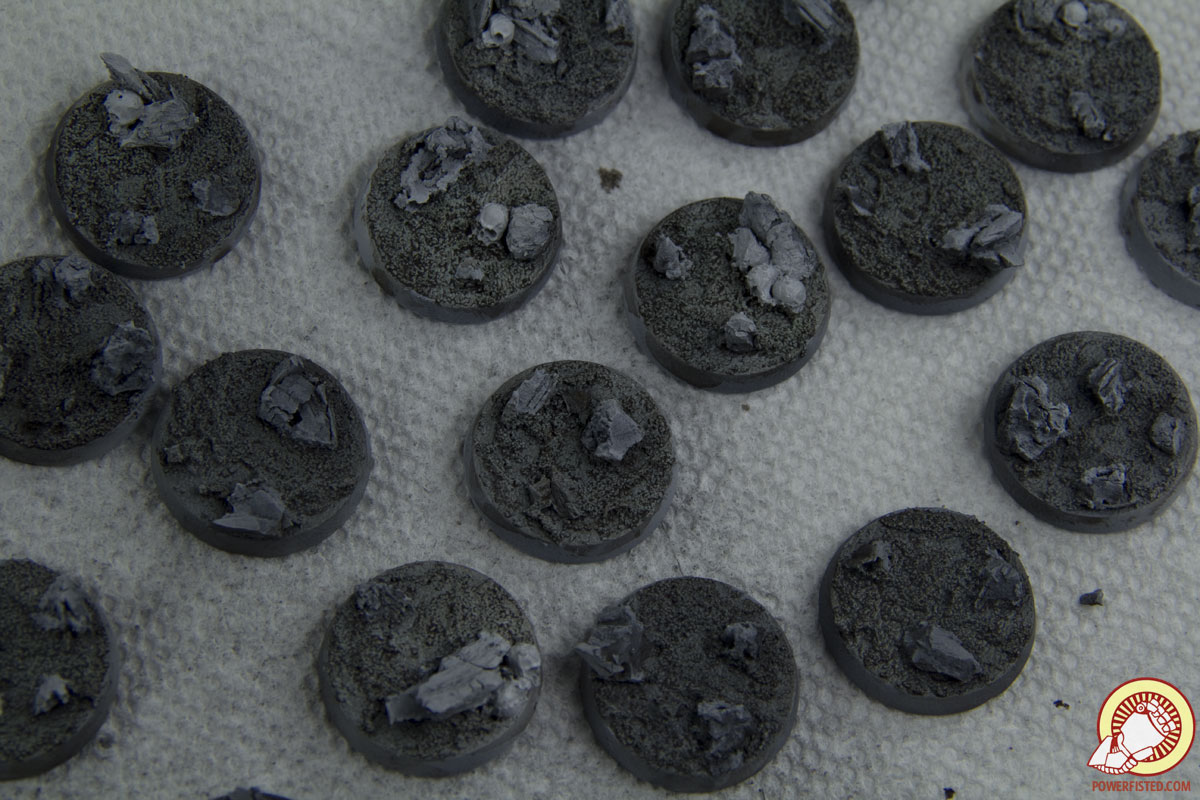
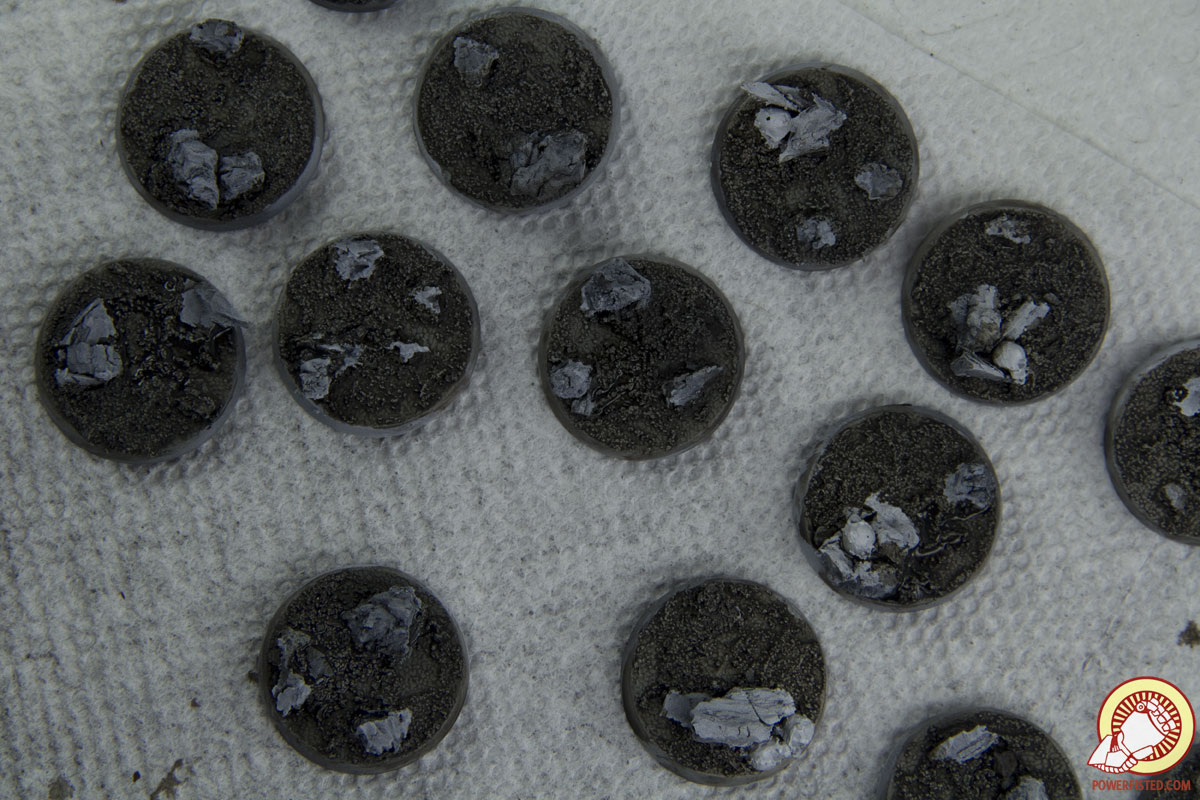
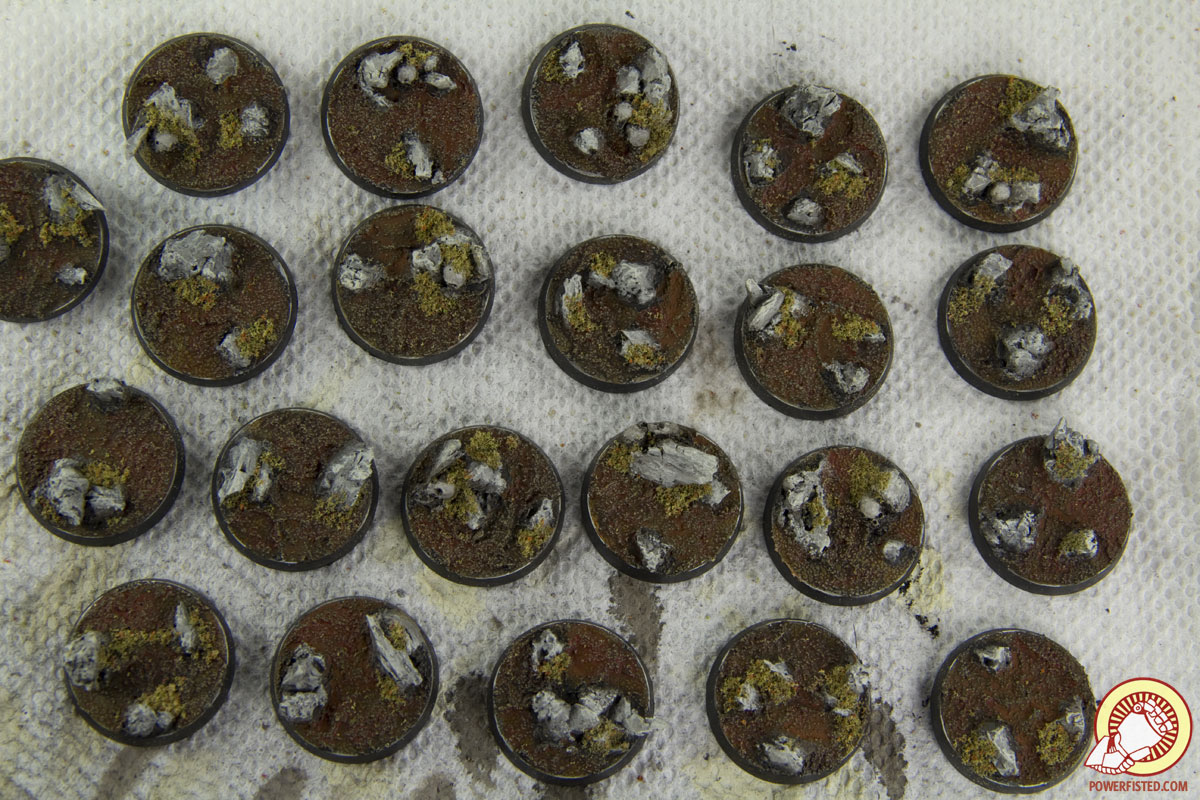
From here the base is ready to be painted. I use a Zenithal Priming to bring out the natural shadows and highlights of each base: spraying the entire base black, then the upper parts grey, and then the upper most edges with white. You can use this technique on your regular models too.
The black primer goes on first and covers all surfaces. In the second image you can clearly see how the Black Lava has given rich texture to the base.
I then give a quick spray of the upper parts with a grey primer. This starts the Zenithal effect.
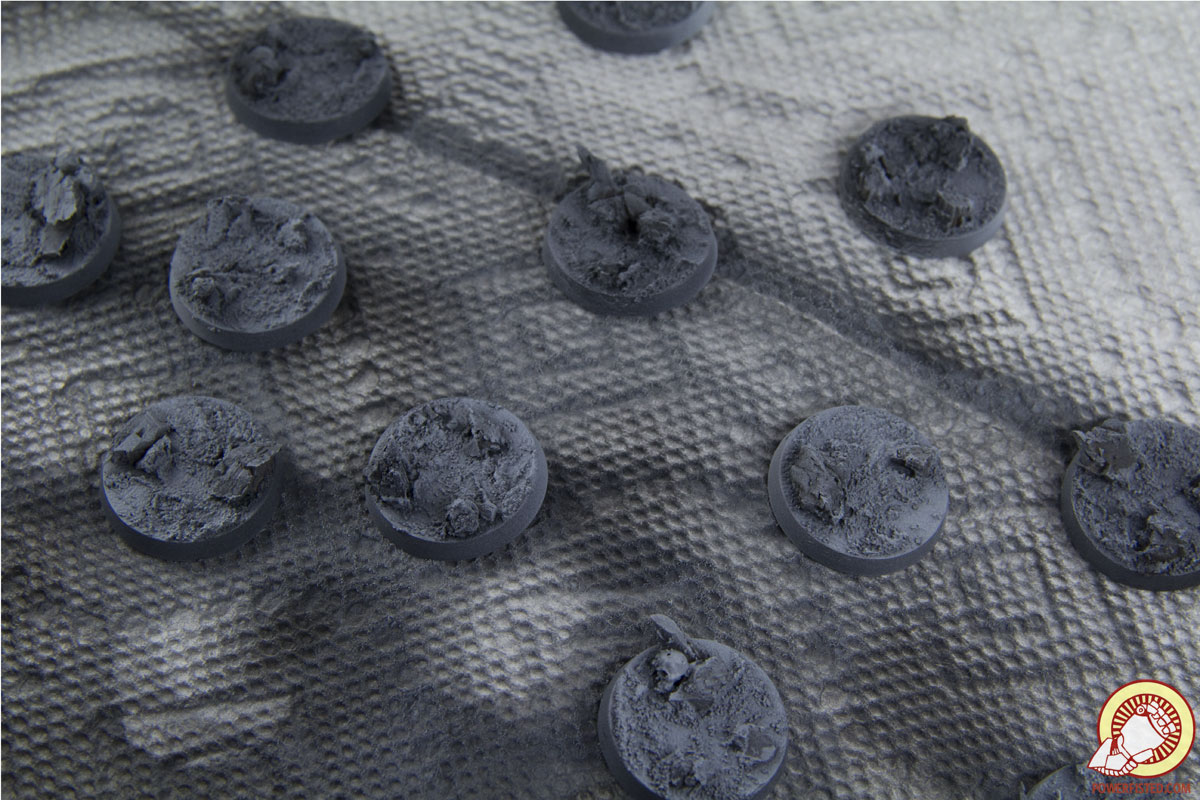
I follow up with a dusting of the white primer on the very top edges of the base- using very little from a very upwards angle. This gives the effect of light coming directly from above the base. I also give any skulls a quick spray which will help them pop as I color in the rest of the base.
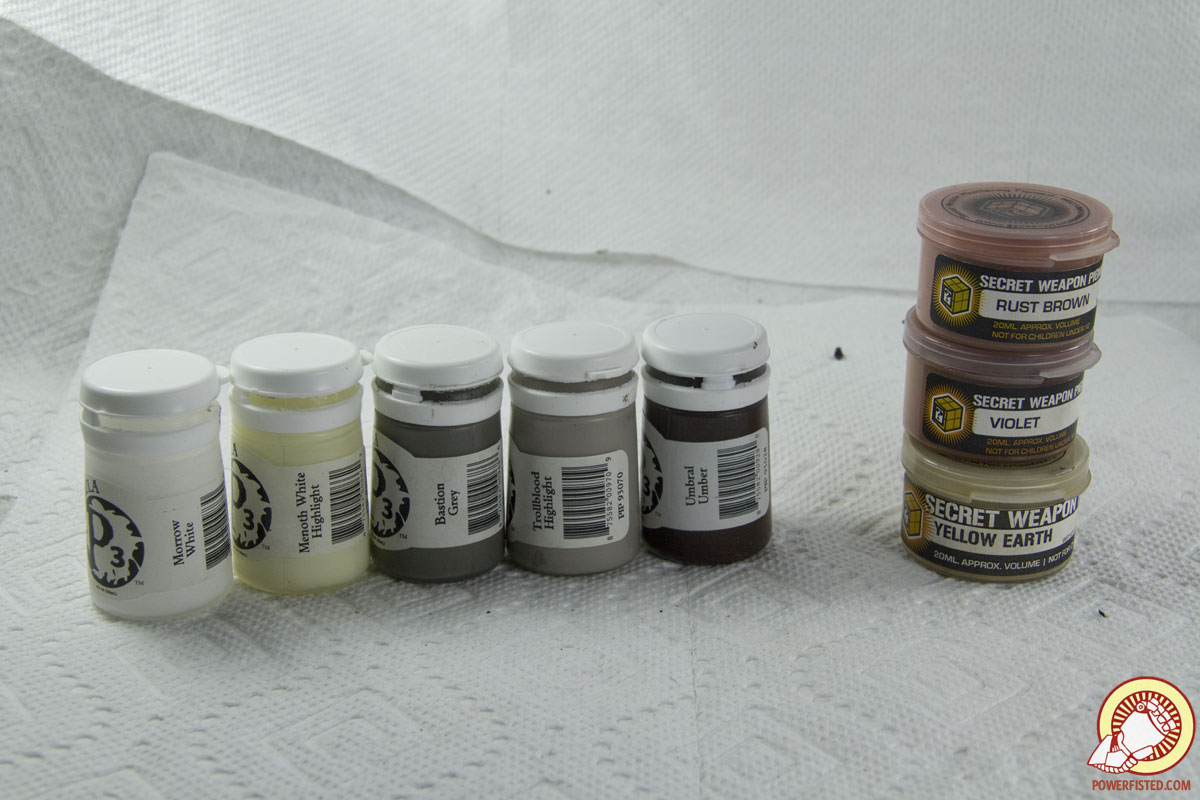
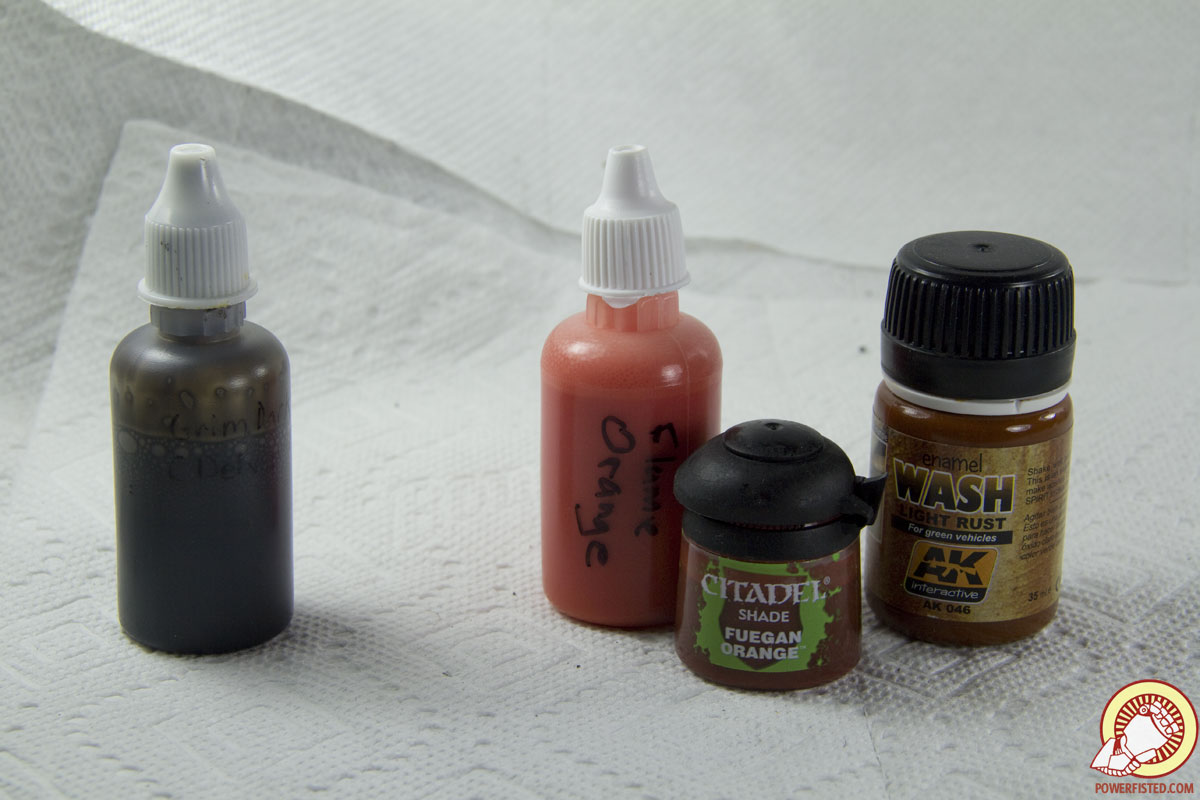
From here the bases are primed and ready for painting. To achieve the colors I want, I’ll use 3 washes to color the ground, 5 paints to highlight the rocks, and 3 pigments to tie everything together. You absolutely don’t need to use this many paints, but more layers of color will give you the richest results.
I begin painting by glazing P3 Umberal Umber over the gravel areas. A glaze is just a really thin paint- I dilute the Umber color with water at a ratio of about 3:1 water:paint. If you don’t have Umberal Umber, you can use something like Citadel’s ‘Devlan Mud’ instead. No big deal.
Following the glaze I wash the areas where I expect deeper shadows (like underneath rocks, skulls, etc) using a color I call ‘Grim Dark’. This is my own wash recipe, but it’s similar to Secret Weapon’s ‘Armor Wash’ or Citadel‘s ‘Nuln Oil’. In a pinch you can just glaze a black color like P3 Thamar Black over these areas or skip the step entirely.
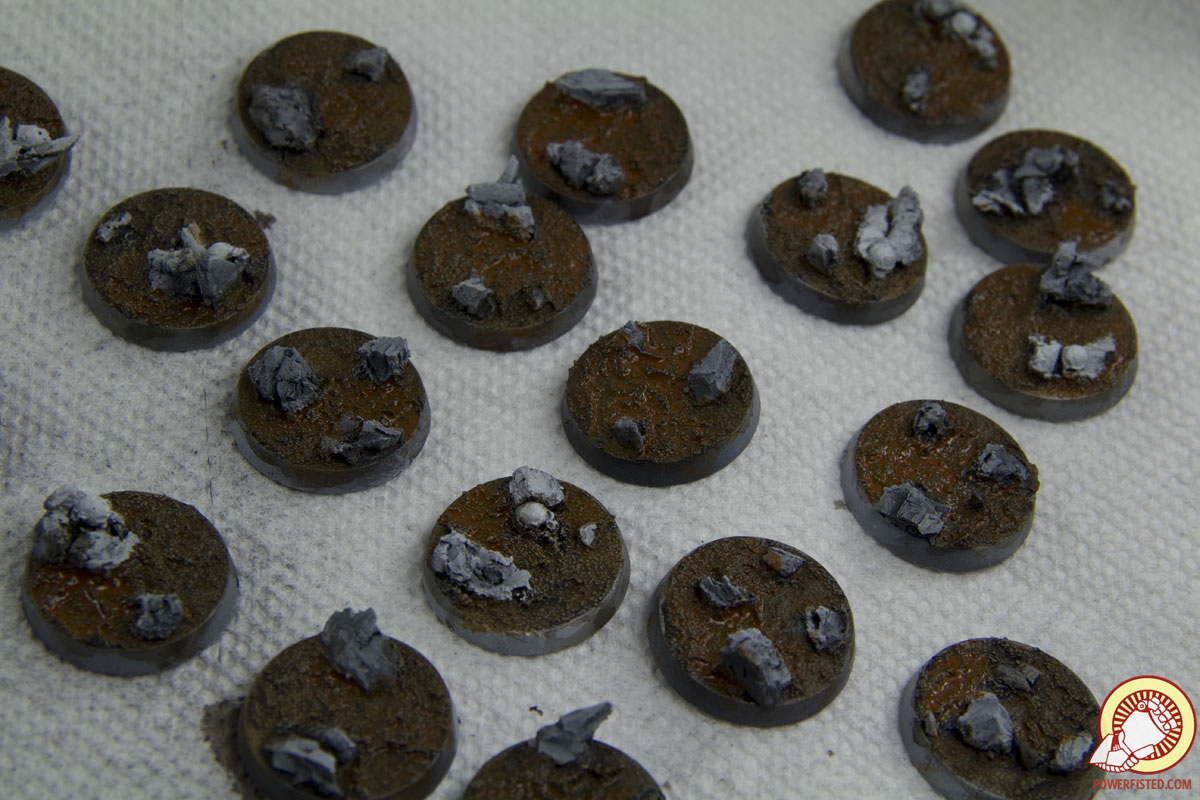
After the wash is dry to the touch, I follow up with a wash of A&K Interactive’s ‘Light Rust’. This is an enamel based wash which leaves the ground a dry, dusty, deep reddish brown color. It’s hard to get the same results with an acrylic, but you can absolutely substitute one if you need. Drying time for enamels is about an hour to touch, but 24hours for a full cure. I don’t wait that long and work on the other steps while I wait for it to fully dry.
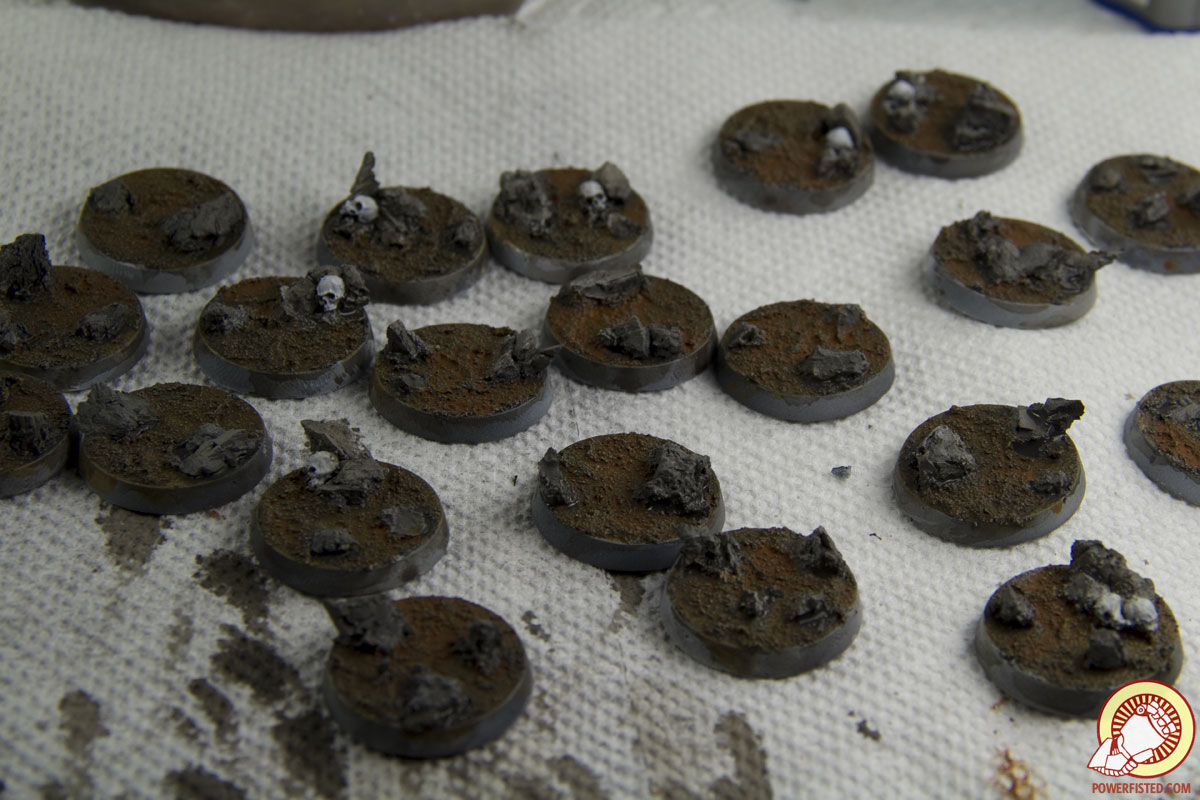
Time to rocks. Using an old brush I dry brush P3 Bastion Grey over each and every rock shape. I make sure the layers are thin enough that the Zenithal effect is still visible. The skulls now look really bright as they are the only things left showing white primer.
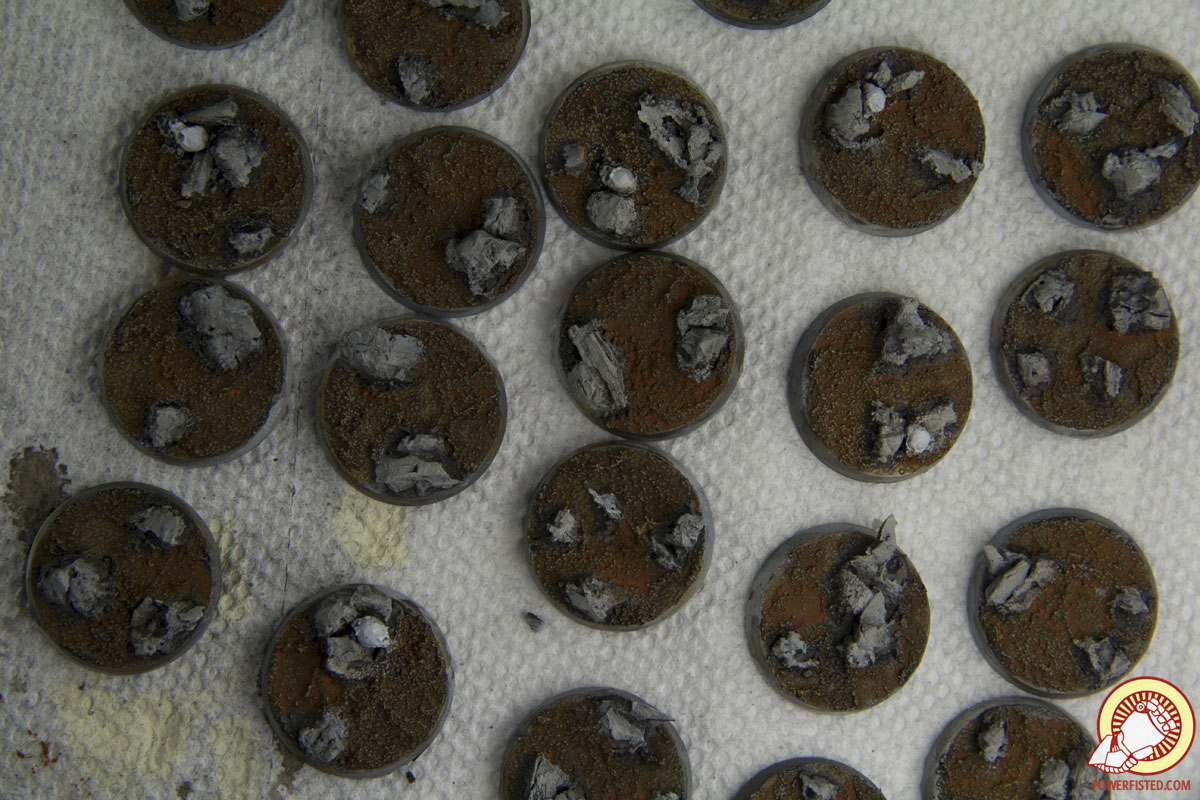
I follow the Bastion Grey with a dry brush of P3 Trollblood Highlight over the same rock shapes. I use less of this color and only on the upper parts. This once again reinforces the Zenithal effect.
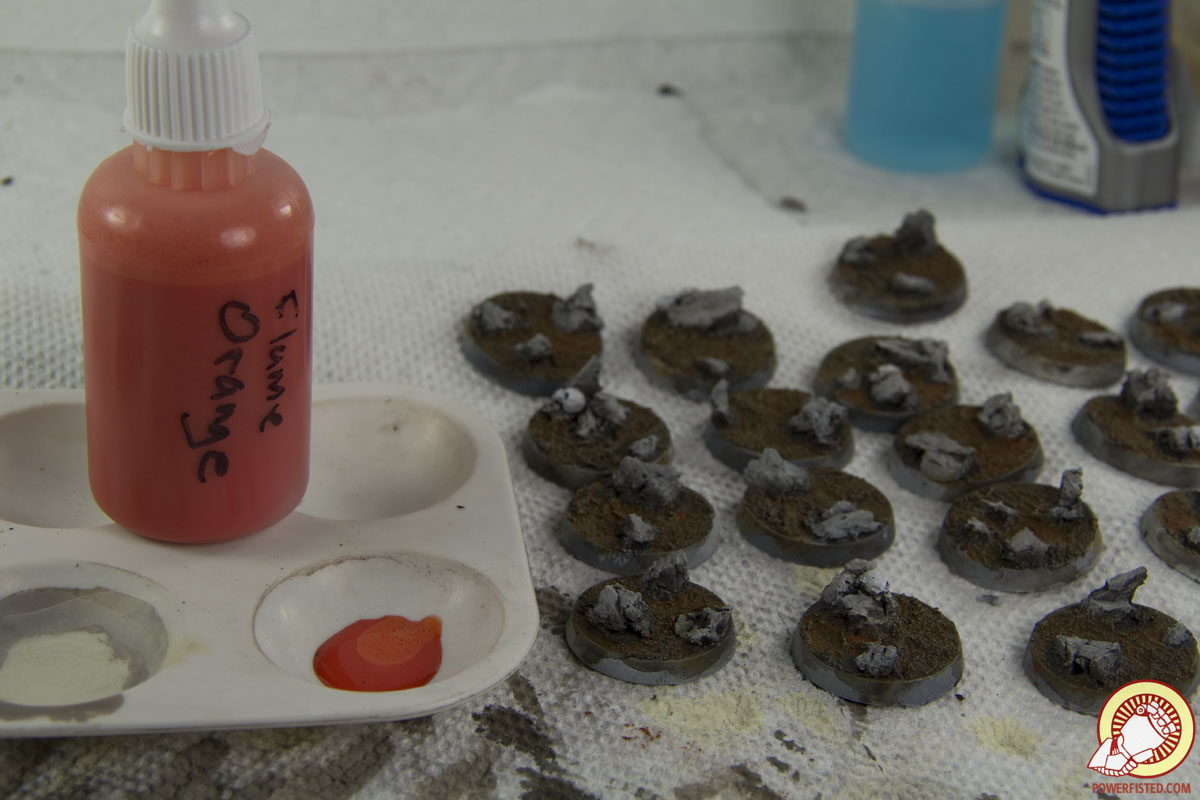
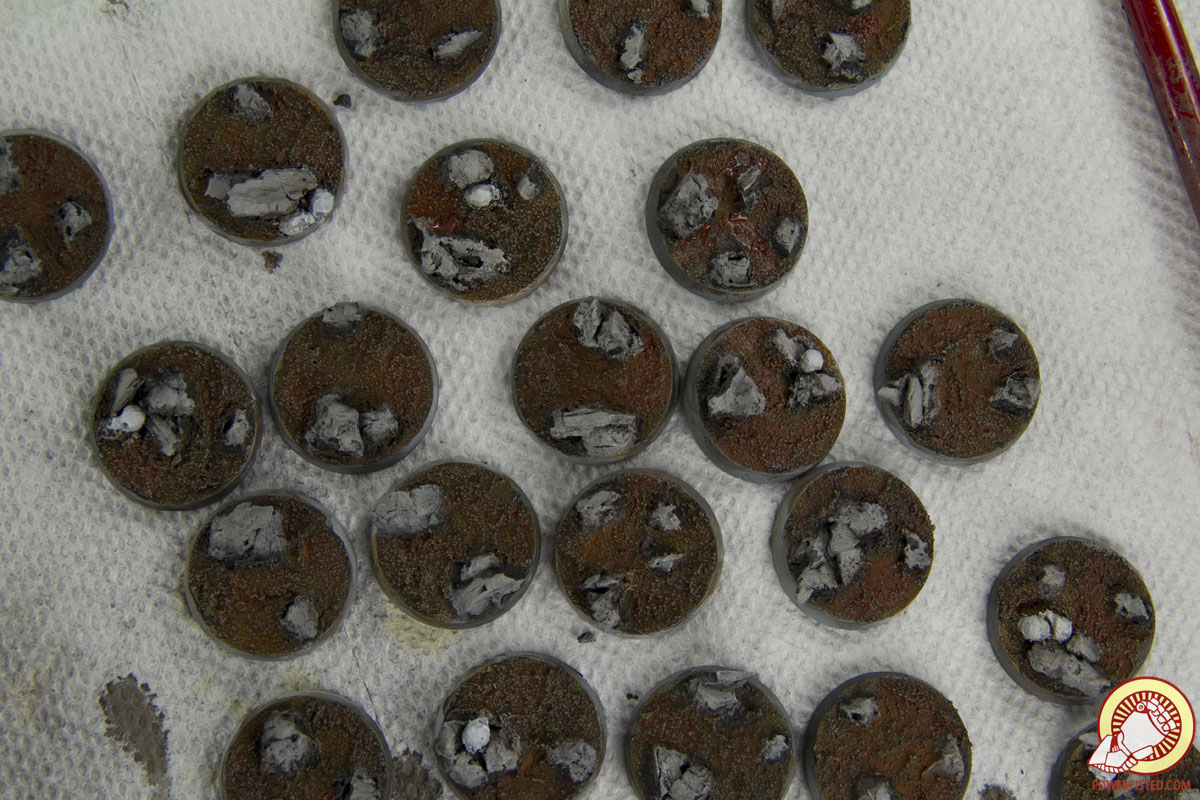
With the oil wash dry to the touch by the time the rocks are drybrushed, I wash the base a final time using a color I call ‘Flame Orange’. This is, again, my own recipe, but it’s very similar to Citadel‘s ‘Fuegan Orange’. I don’t cover the entire base with this wash- rather I blot it onto parts of the gravel where I want the red color to be more saturated. Again, this is an easy step to omit as the effect is subtle.
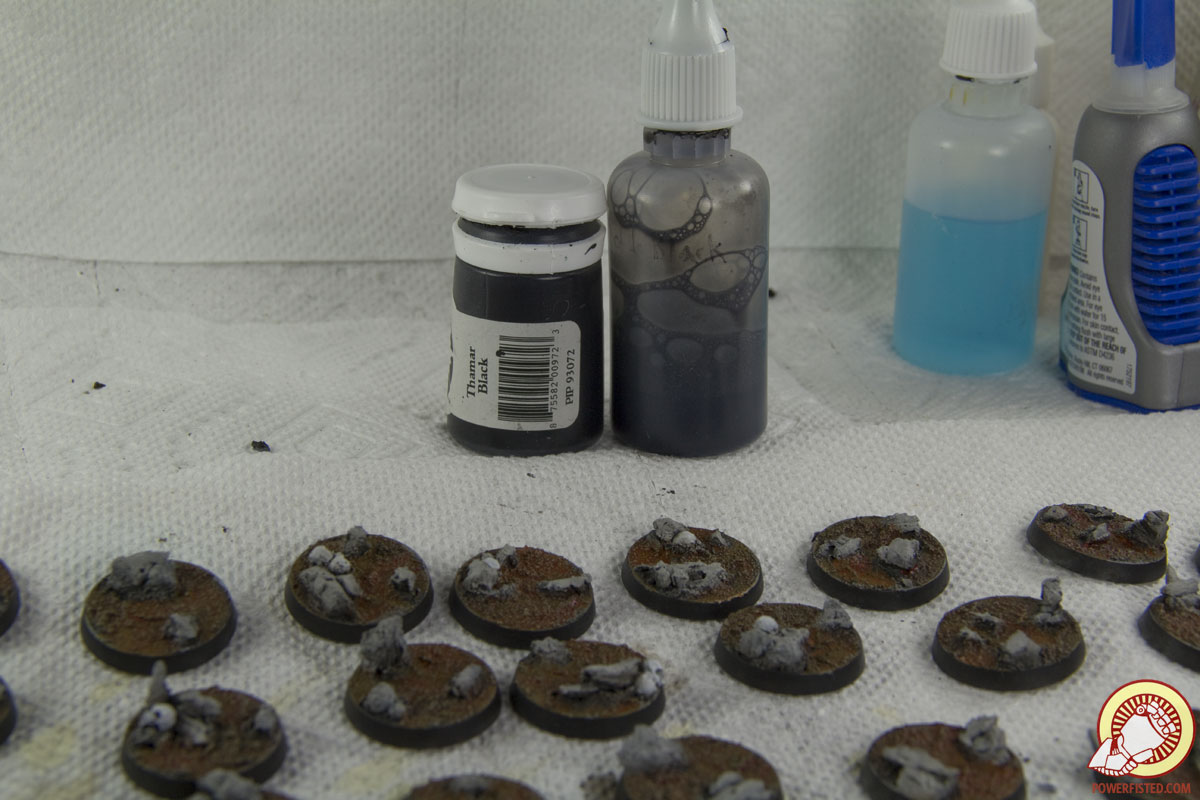
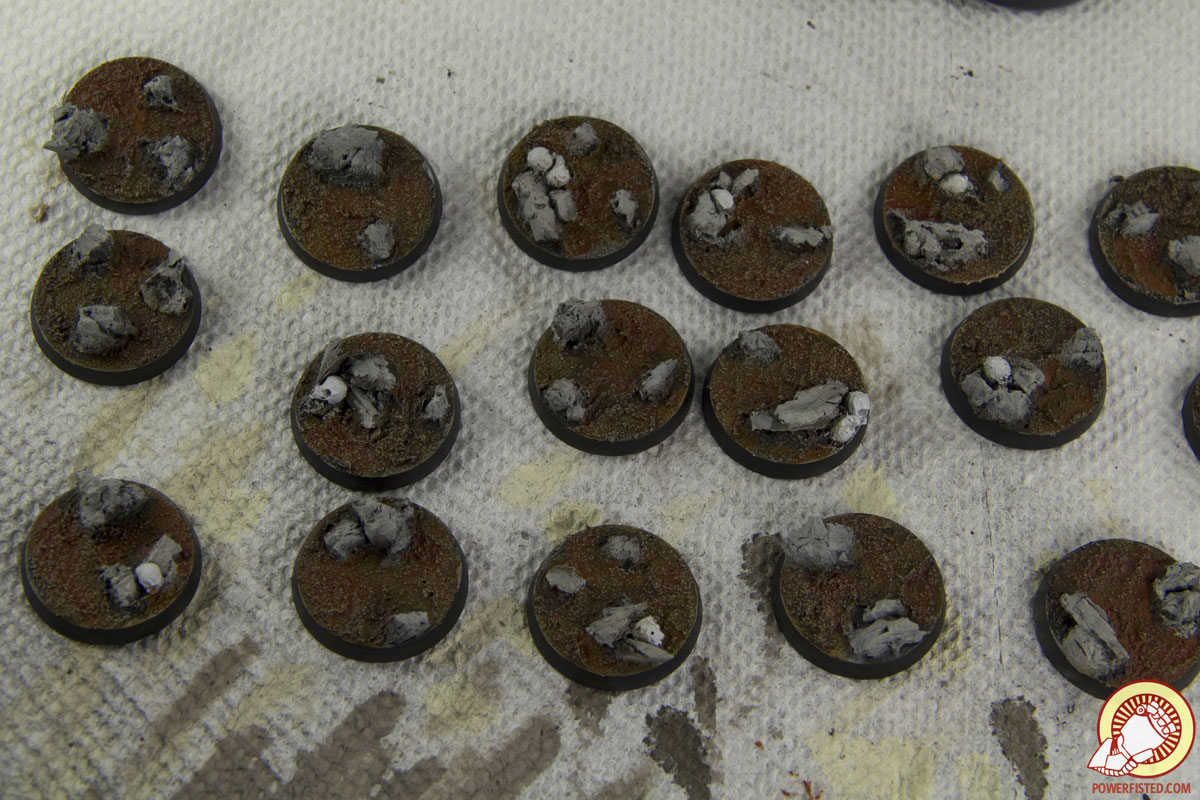
Now that I’m done with the washes, I use P3 Thamar Black and a Black Wash to paint the rims of the bases black. It usually takes a few thin layers to get a nice even coat. You can use another color for your rims, but black is the best color given my color scheme.


Time for highlights. Using fine detail brushes and a small drybrush I highlight the lips of the base, rocks, and skulls using P3 Trollblood highlight and then P3 Menoth White Highlight. You don’t need to hit every single raised edge, but just enough to catch the eye and draw attention to the base. The star of the show is the model, after all, so the base should be interesting but not detract from what you’ll put ontop of it. Once done I consider my bases ‘painted’- they have an interesting high contrast desiderated look and could work like this without anything else. As for me, I like to go hog wild, so I’ll add some flock and pigments.
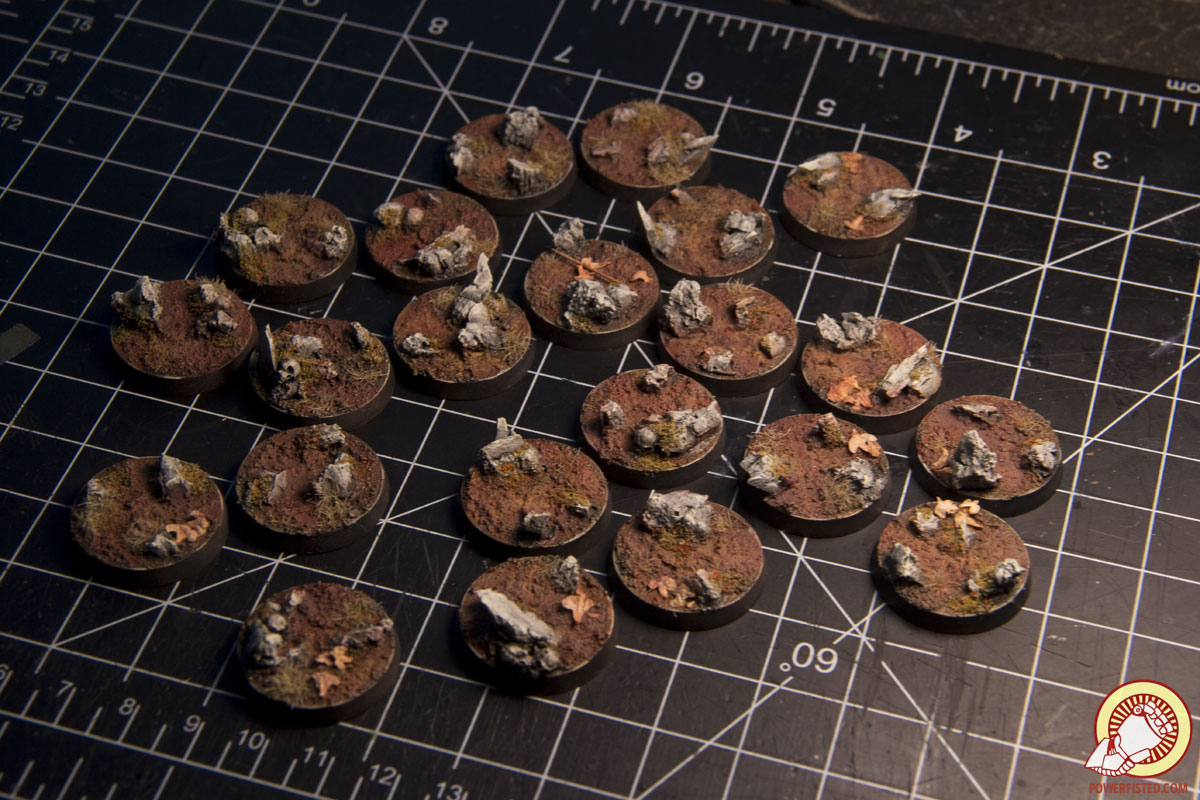
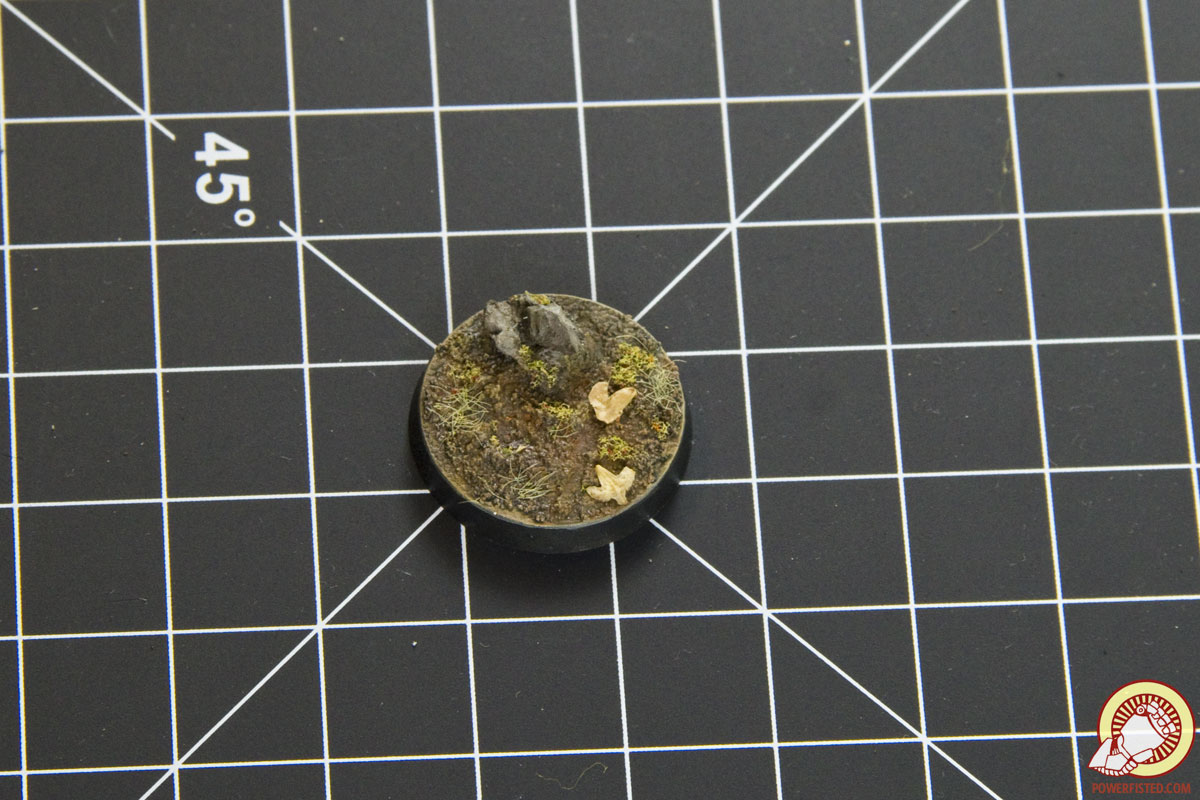
I flock first, before I use pigments. First up is a small mossy looking flock. I use an old brush and PVA glue (watered down 1:1 with water) to stick the flock into cracks in the rocks and places where I think there would be enough moisture for plants to grow. The effect gives the bases some color and an even more believable organic look.
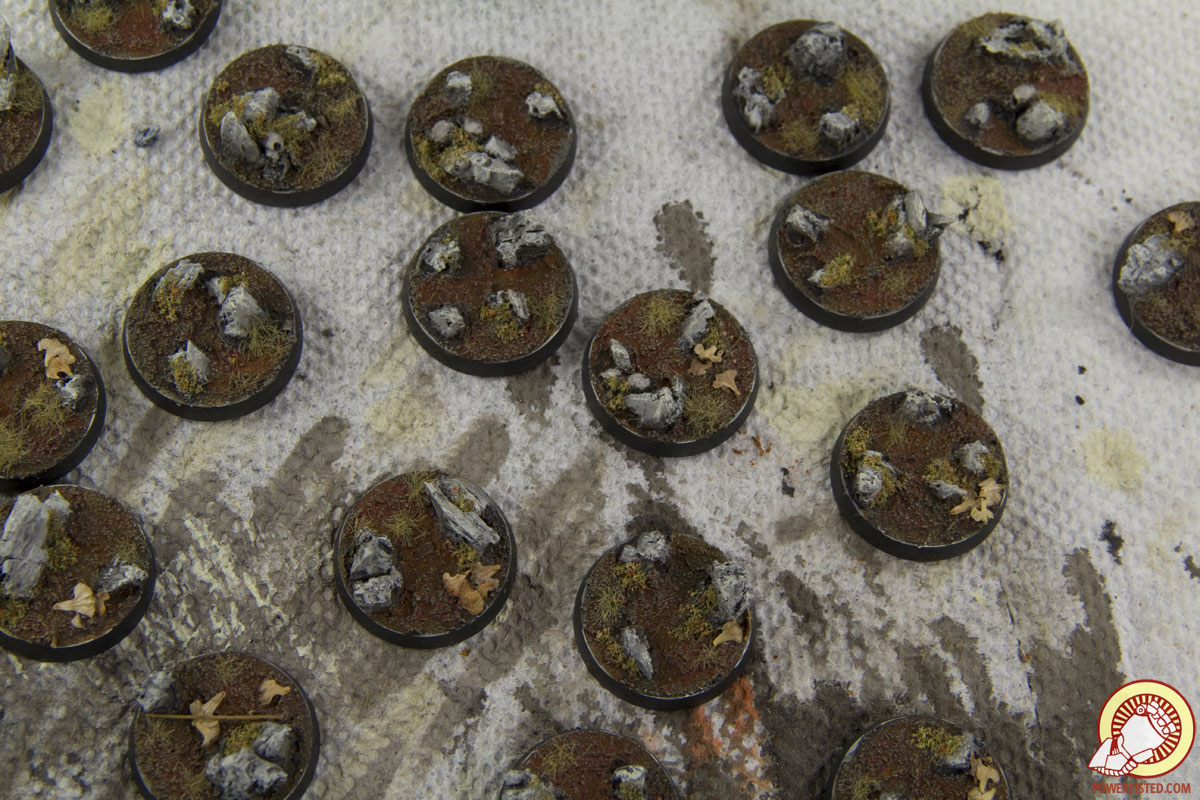
After the ‘moss’ I add leaves and a few tufts of greenish yellow grass. The leaves are tiny pieces from the cone-like seedlings some birch trees have. You can go outside and grab some yourself, but if you don’t have any nearby, companies like Secret Weapon Scenics sell them online. The grass itself is from the same company, but the brand really doesn’t matter provided it compliments your colors.
Now that everything is flocked, it’s time for the pigments. First I use Rust Brown, applied with a dry brush, over the tops of any exposed ground. The color warms up the ground even more. Never apply directly from the pot- put some on a paper towl, rub it into your brush, and then transfer it over to your base.
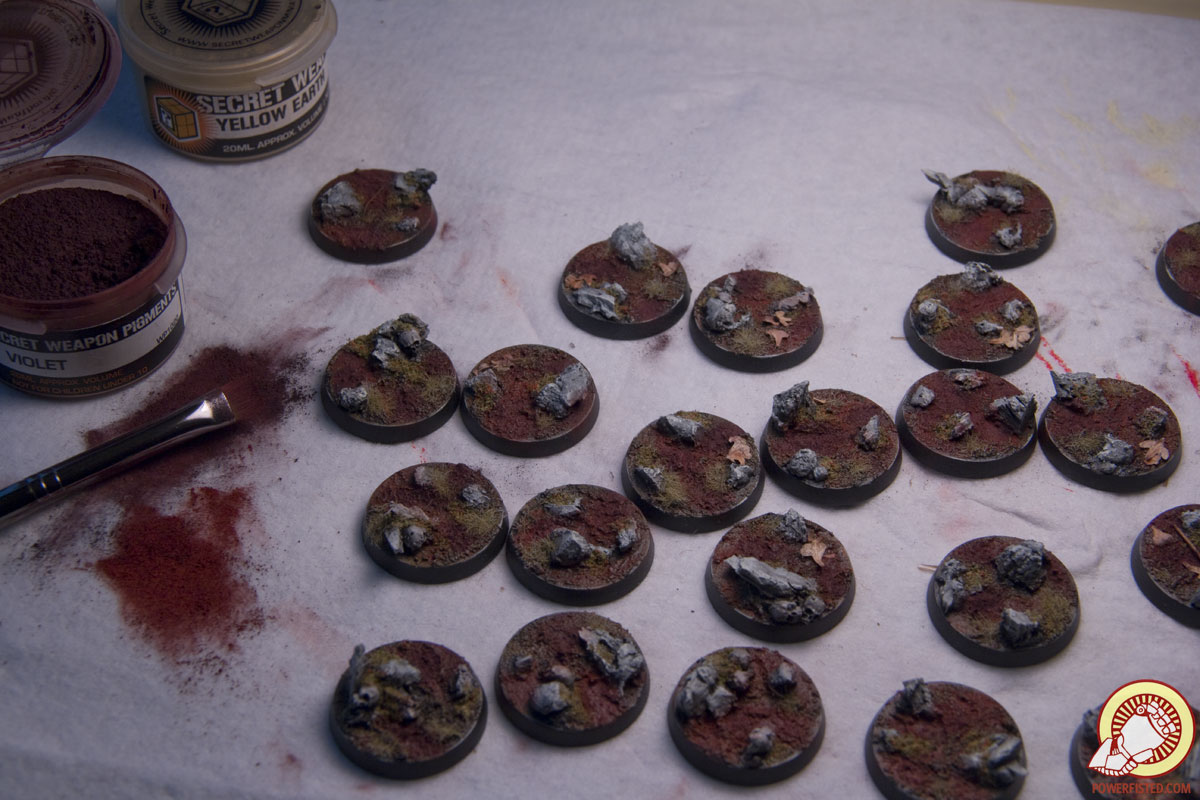
Violet goes next, making sure some Rust Brown still visible. The two pigments blend well together to create a nice rich color.
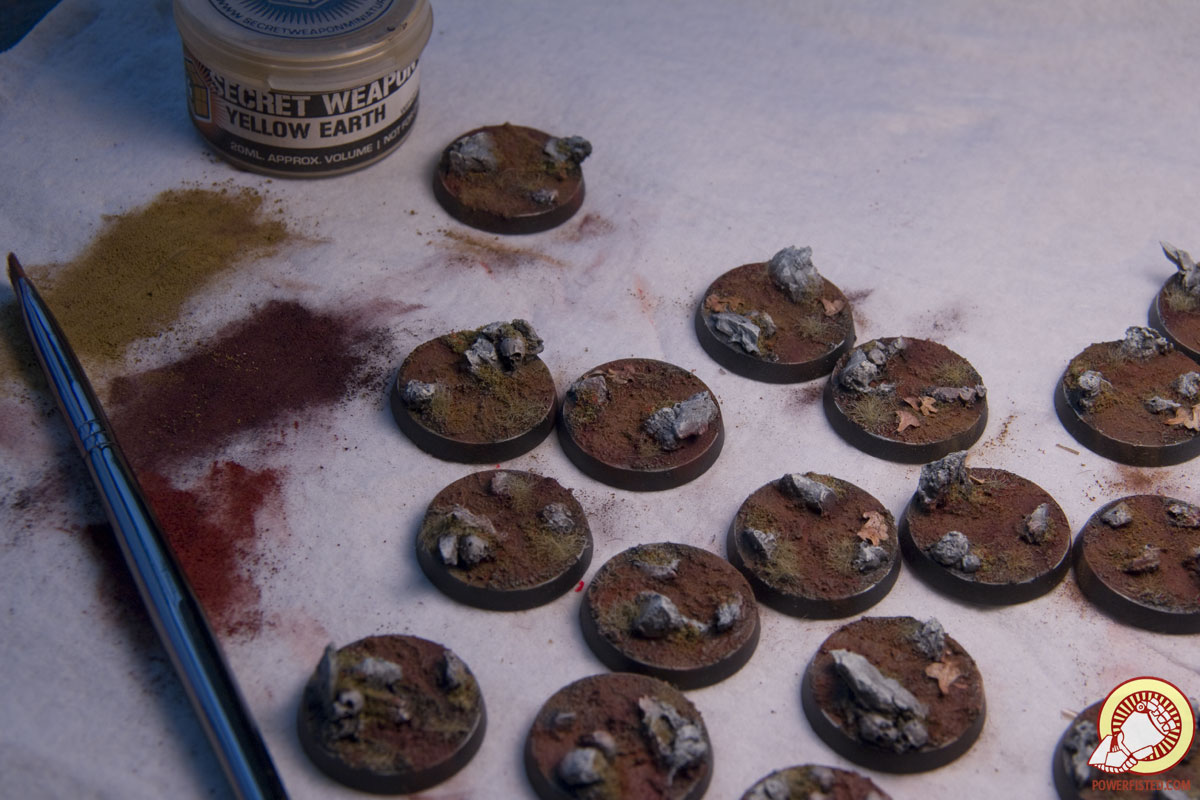
Finally, I apply Yellow Earth into a few spots. Again, I leave areas with Rust Brown and Violet visible where possible. The colors will go on dusty and bright, but once sealed loose much of their variance.
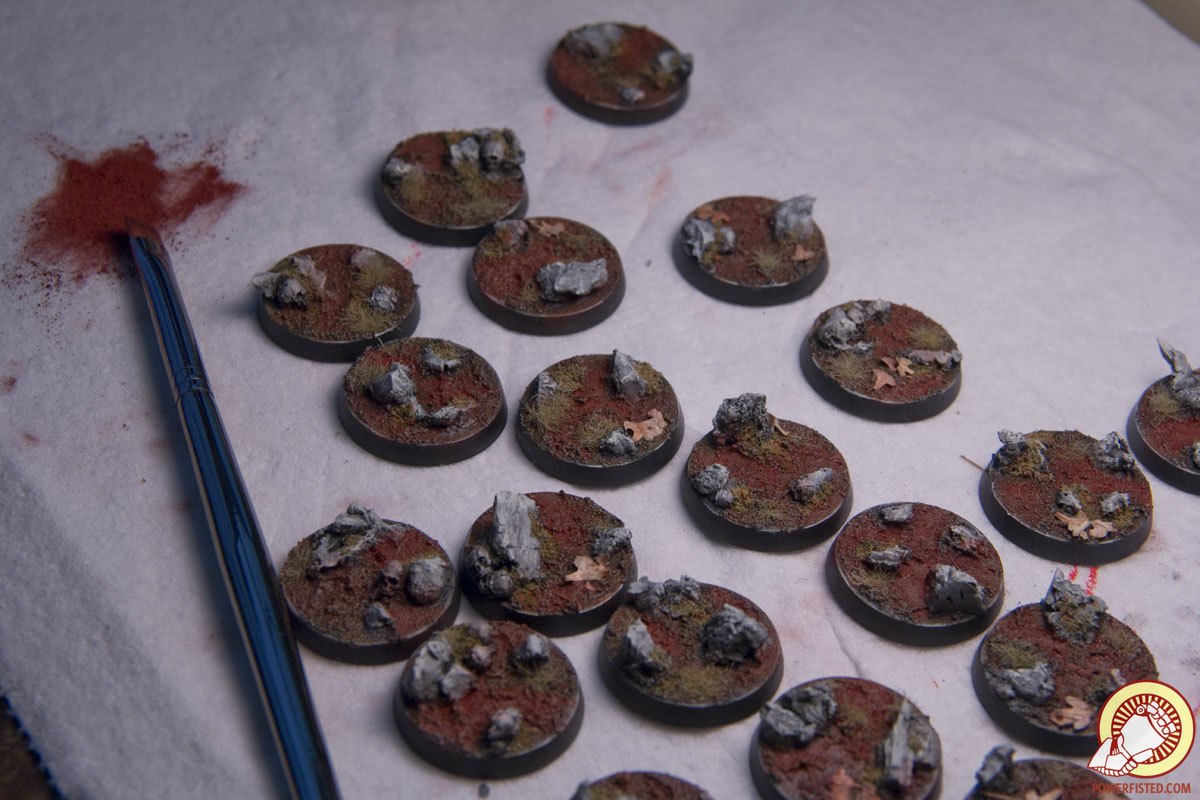
Almost done!
From here all that’s left is to glue on your model, varnish, and hit both the base and model one last time with your pigments. You can either drill a pin into the legs of your model or just super glue it right ontop of these bases. As for varnish, I swear by using Testor’s Dullcote through an airbrush, thinned with mineral spirit 2:1 (varnish:spirit).
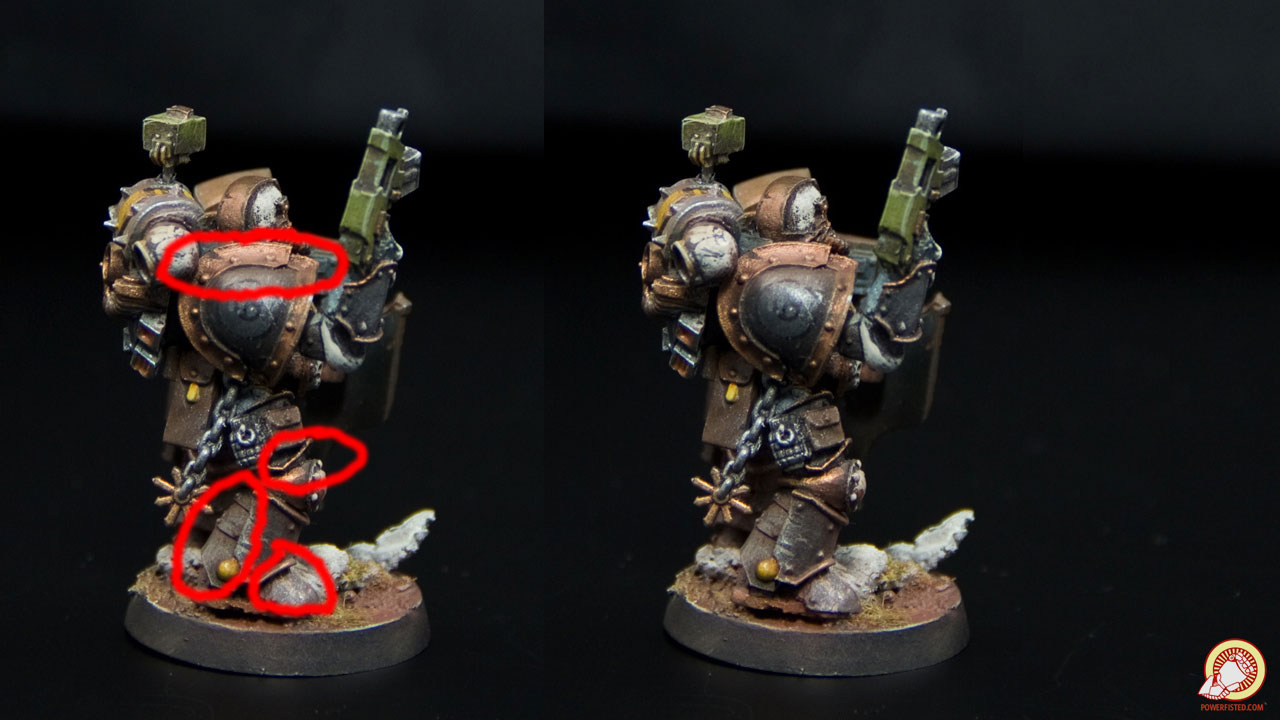
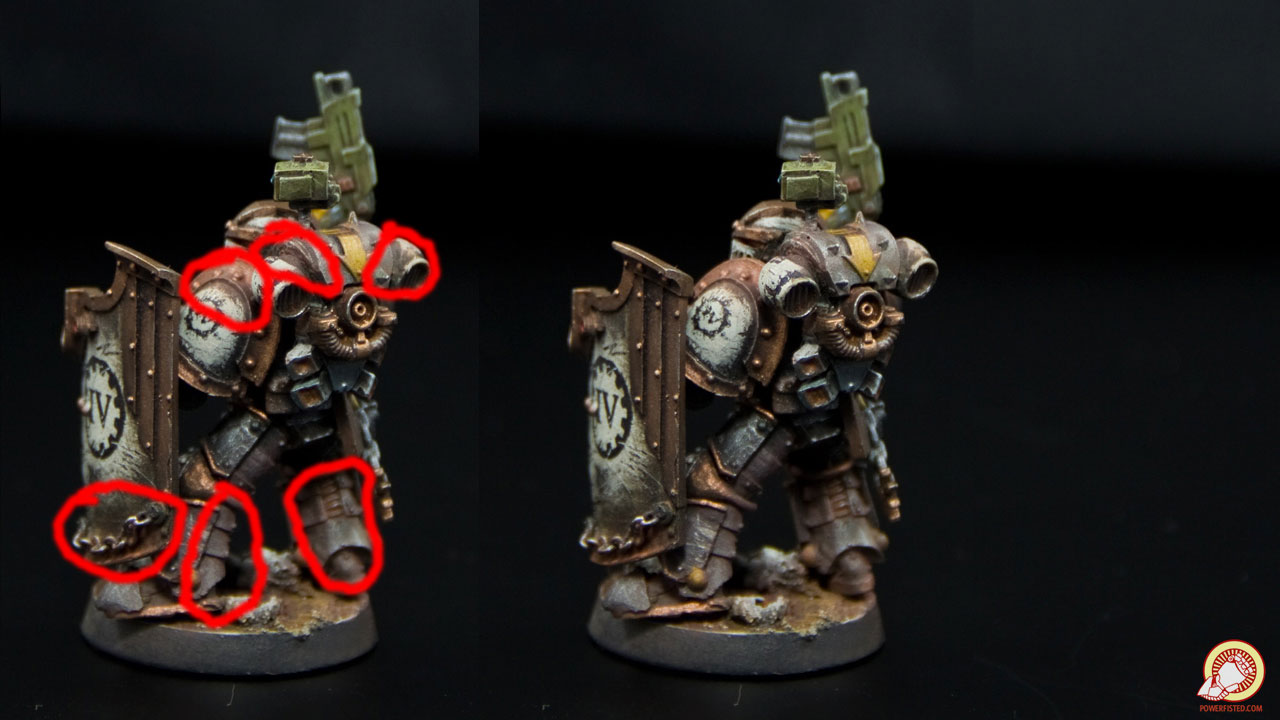
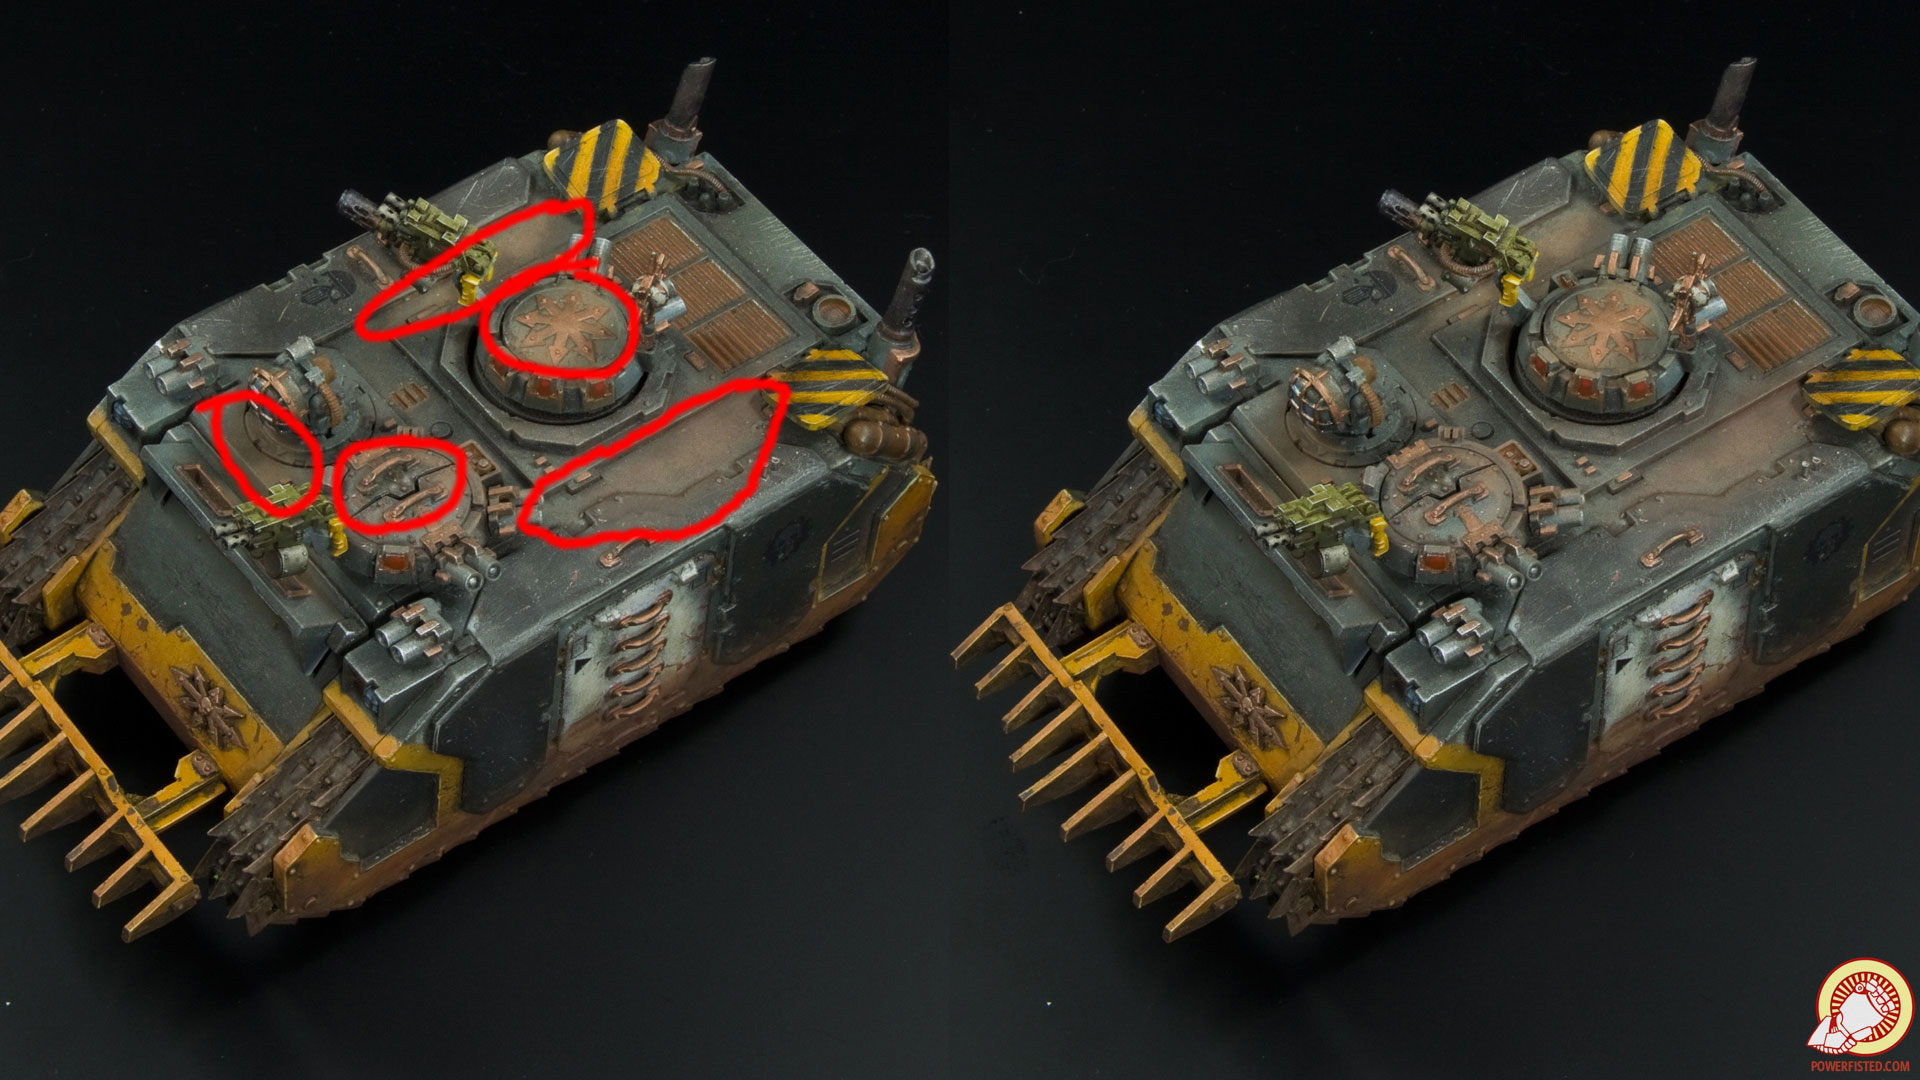
As the varnish dries I go over the surfaces of the based model with the three pigments from above: Rust Brown, Violet, and then Yellow Earth. I focus only on areas where I expect dust would naturally collect. Why do I do this? Seems like overkill, right? Well, the purpose has a very clear effect- by dusting the colors of your base onto your model you are effectively bringing it into the same world as your base, thematically speaking. This last step ties your model to your base. If you look closely you can see how the effect is all over my models: