
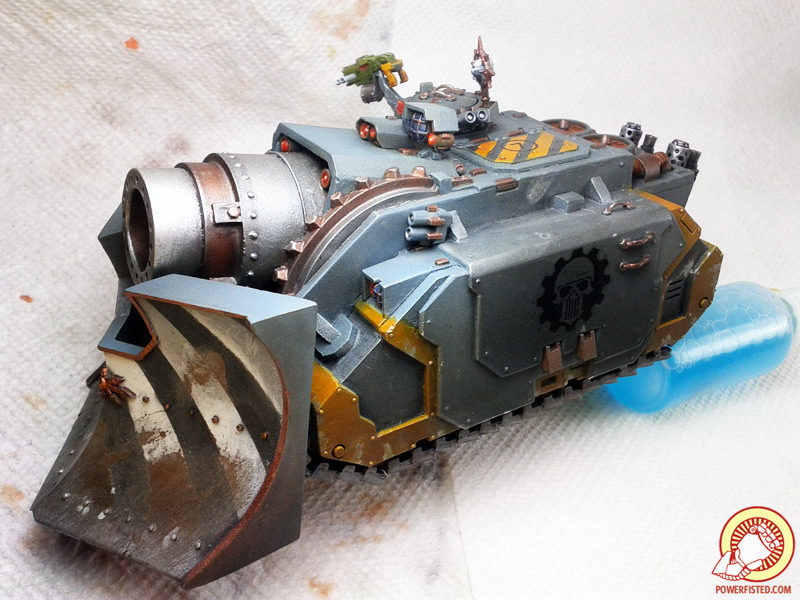
Seeing how I use lots of time consuming techniques on my models, I decided to log the rest of my steps in finishing my 30K Vindicators. I’m hardly good, but I think advanced techniques are fun and bring models to life. I thought I’d share in case you folks wanna branch out. Note: these pictures were taken with a poor cell phone camera, so the color depth isn’t doing these effects any justice.
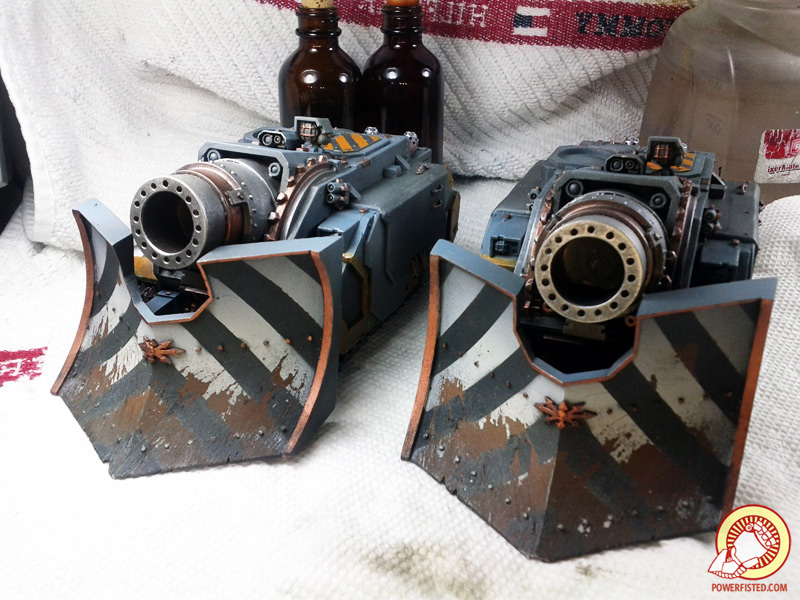
Since I last posted I’ve gone over the entire tank and scraped/scratched at areas where I’d expect lots of wear and tear. I did this paying attention to the direction of the scratches and making sure I had some big chips as well. My chipping fluid didn’t work on the sides of the tank, but it should look fine anyway down the road (with weathering imperfections are features!)
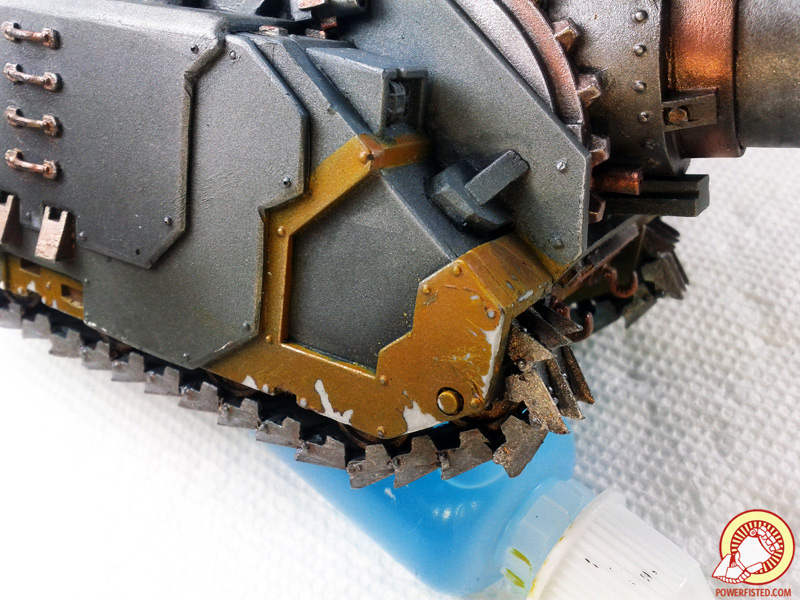
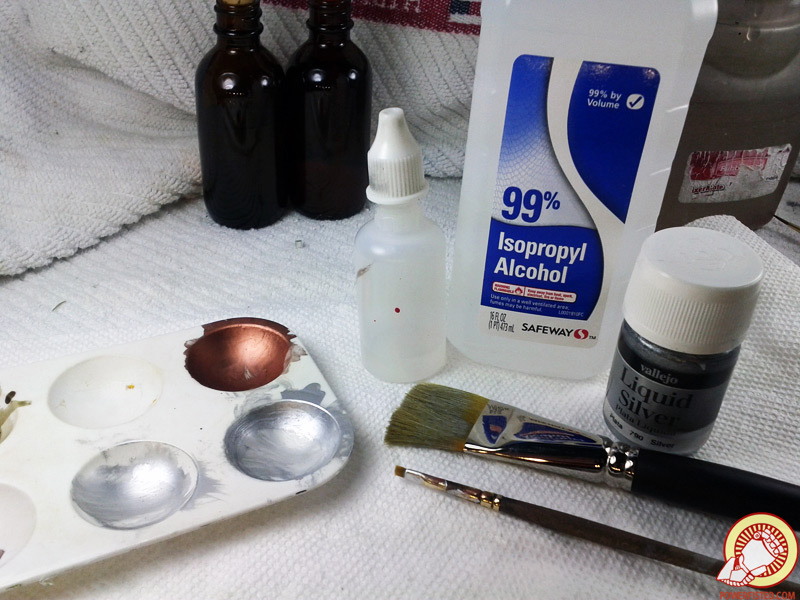
I use Vallejo liquid gold alcohol paint for all my metallic. It’s super shiny, reflective, and I love how easy it is to work with. You need synthetic brushes and it dries super fast, but a drop of alcohol brings it back to life instantly. You can keep it on your palate, like in the picture, and reuse it anytime later.
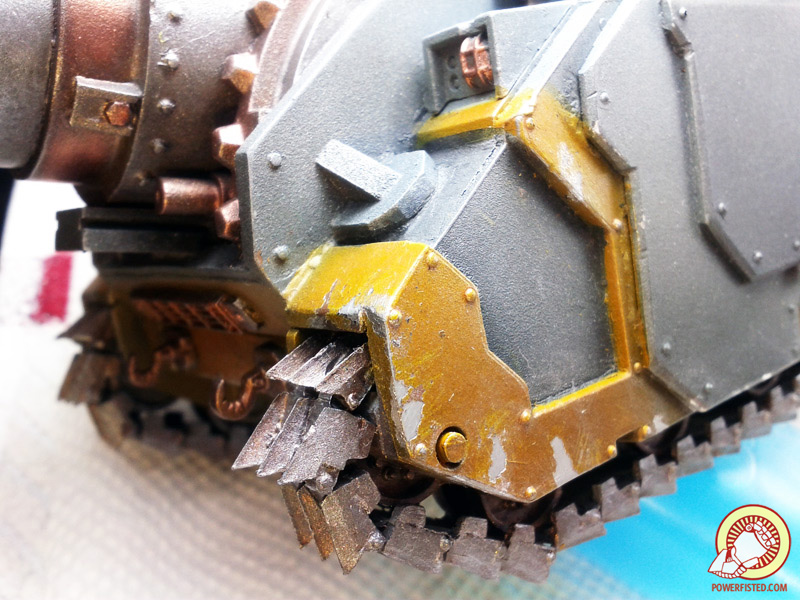
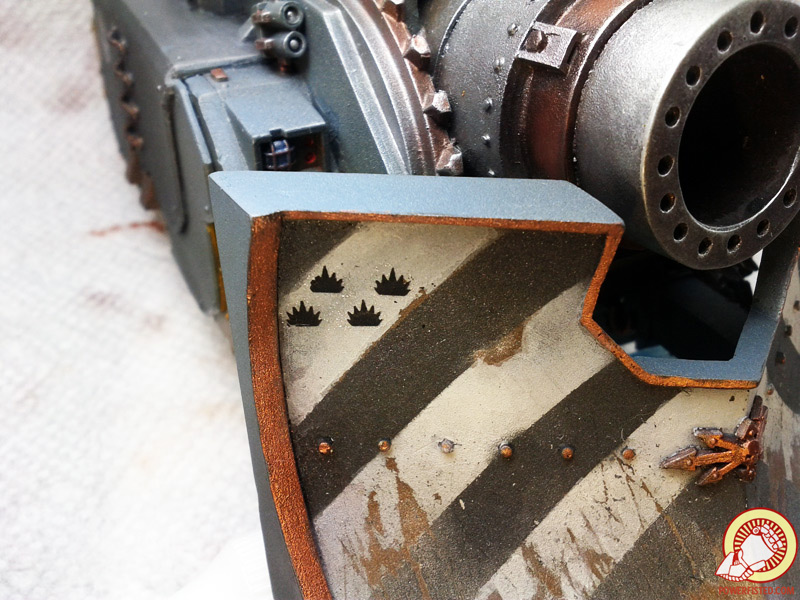
Because of how fast it dries it’s really easy to drybrush. Since the siege plow would probably get rubbed to bare metal where it chipped I’m going to drybrush this paint all over. Its properties will give both a highlight and weathering effect.
OH GOD BROFIST WHAT HAVE YOU DONE IT LOOKS LIKE SHIT

Alcohol based paints are like oils- you can over-apply them to areas you want to ‘tint’ and then remove excess by using the solvent (alcohol). Here I just dabed my big drybrush into alachol and painted away the excess (like a reverse sponge weathering). I followed up with a second coat where I wanted things to really pop.
I did the same thing everywhere I’d made big chips on the tank body
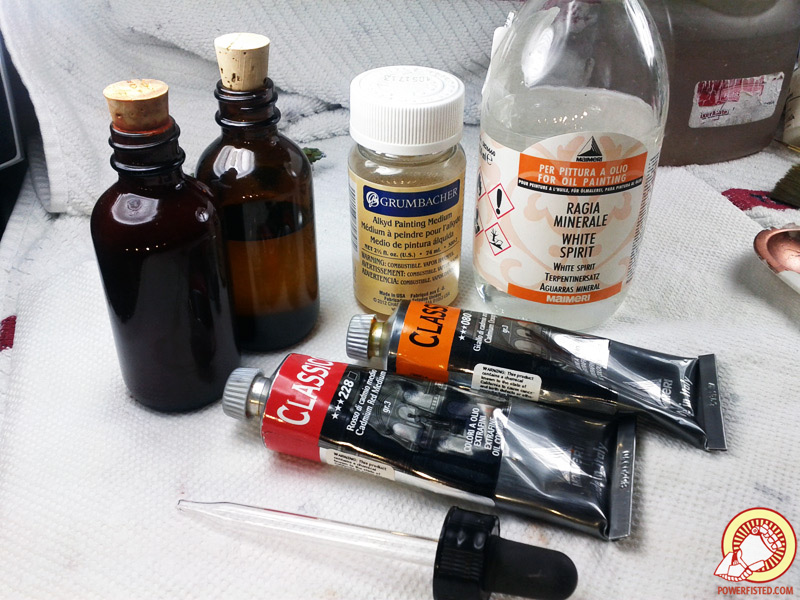
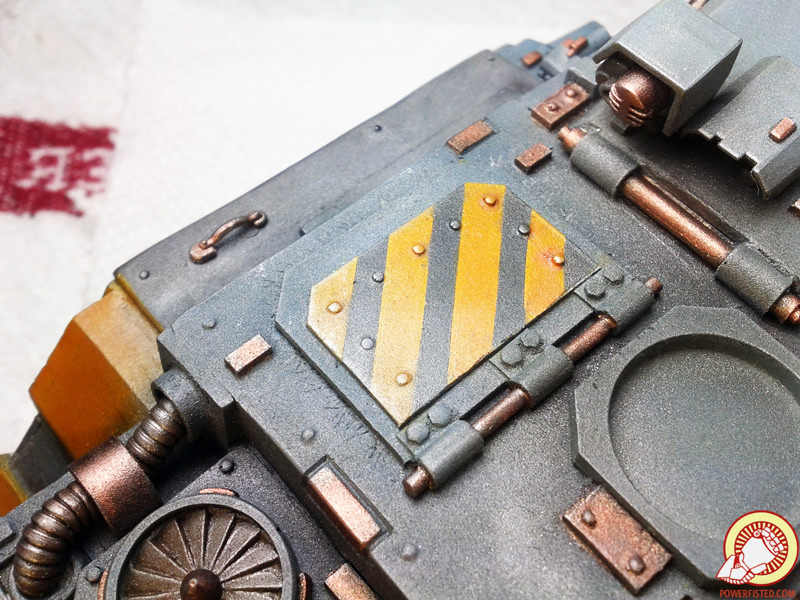
Next up are oil washes. I like to use them for oily effects, dirty weathering, shading, and making glow effects. I make my own by mixing grumbacher alkyd medium, paint, and white spirit at about 1:2:5. The alkyd medium isn’t needed, but it helps lower surface tension and clump pigment in cracks like an acrylic wash. I store them in glass bottles with cork caps since white spirit melts/evaporates out of other containers. I’ll use oils and talk about them more extensively in a post down the read. That said, it’s hard to clean layered oil paints without accidentally stripping oil layers underneath. Because I’ll be hitting the entire model with gloss varnish soon now’s a good time to use any oils I plan to coat with another oil later.
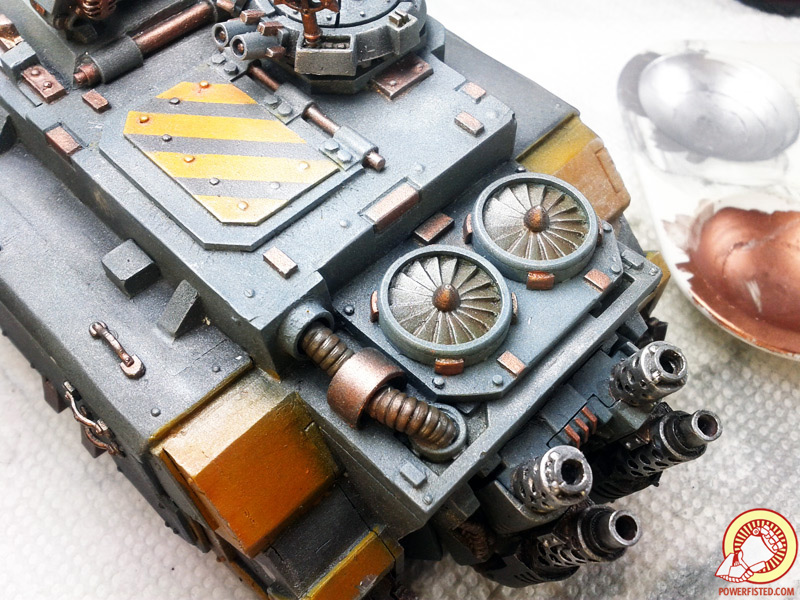
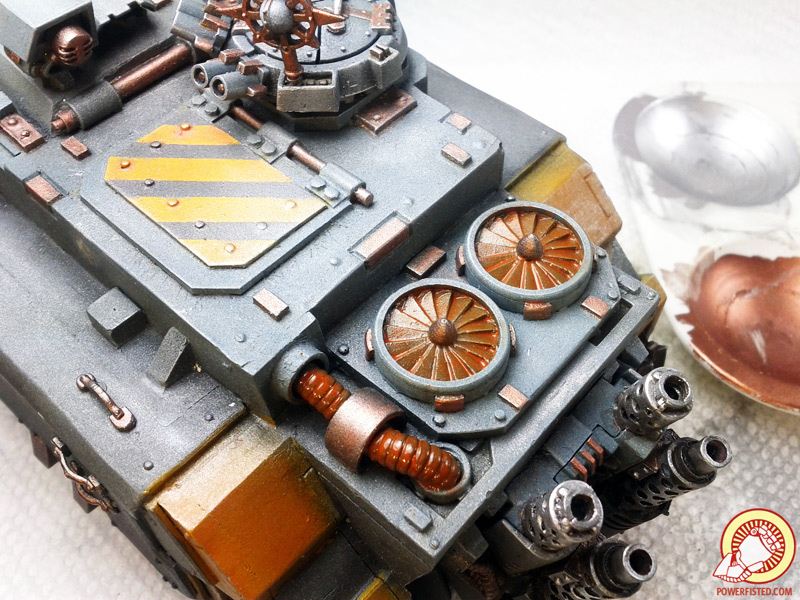
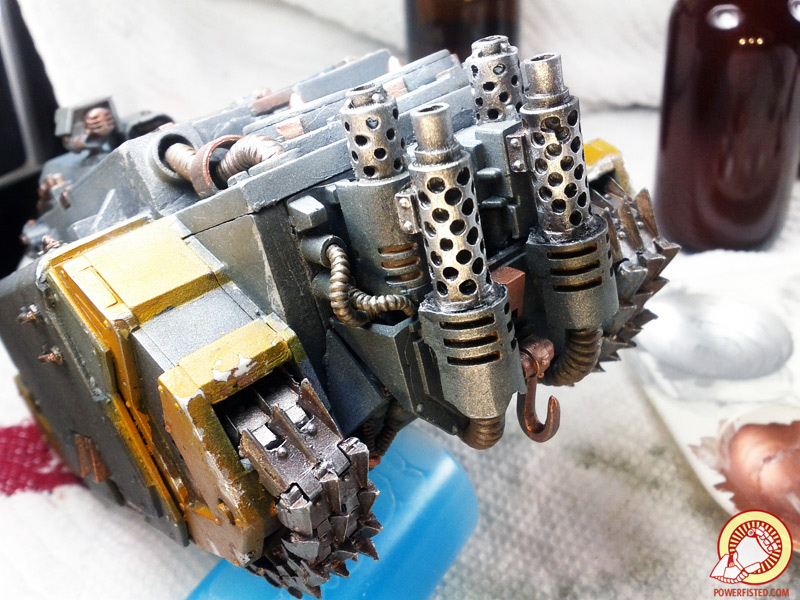
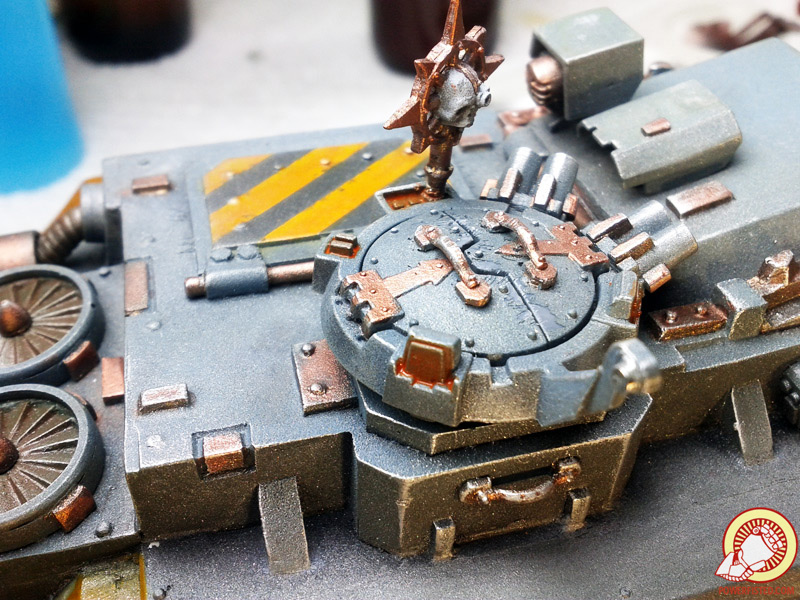
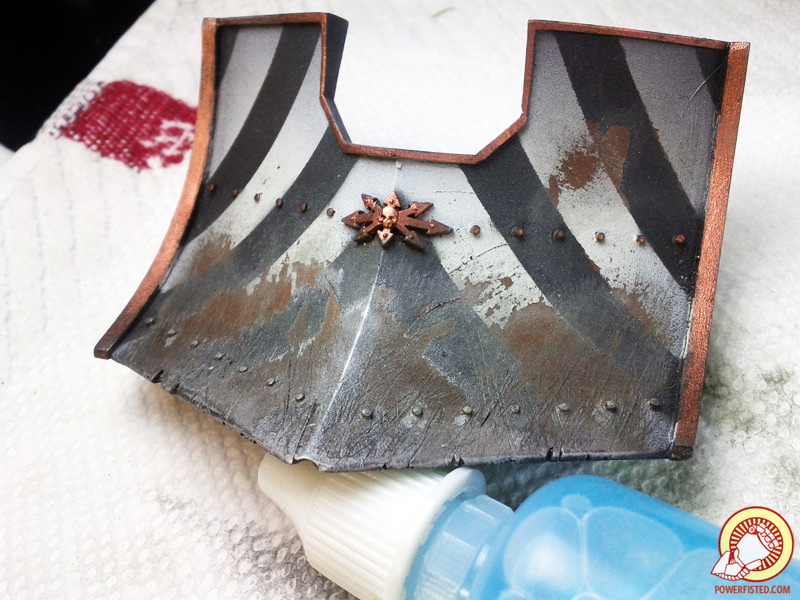
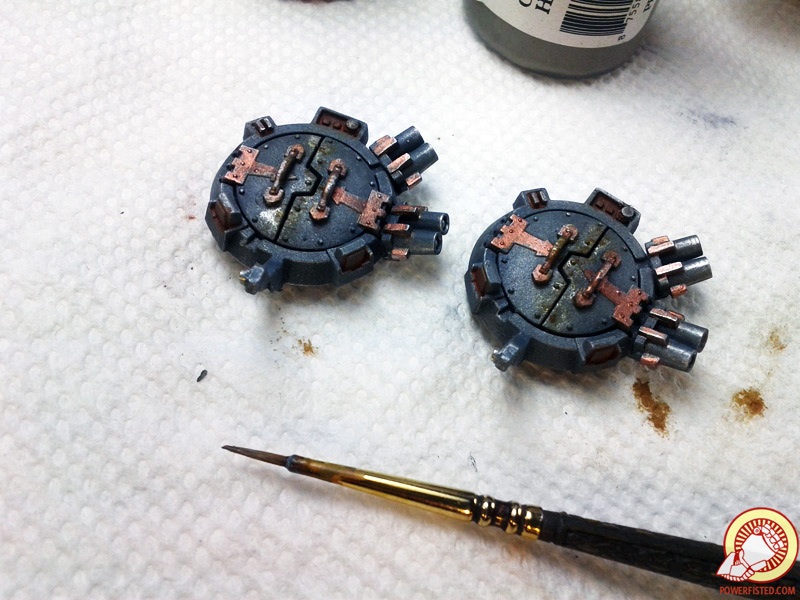
These Vindicators are Iron Warriors, so I wan’t them to be a little sinister. A subtle way to get that is with rusty glowing power cables and lenses. I hit all my pipes, vents, and lenses with a bright rusty oil wash. The effect is much more pronounced in person.
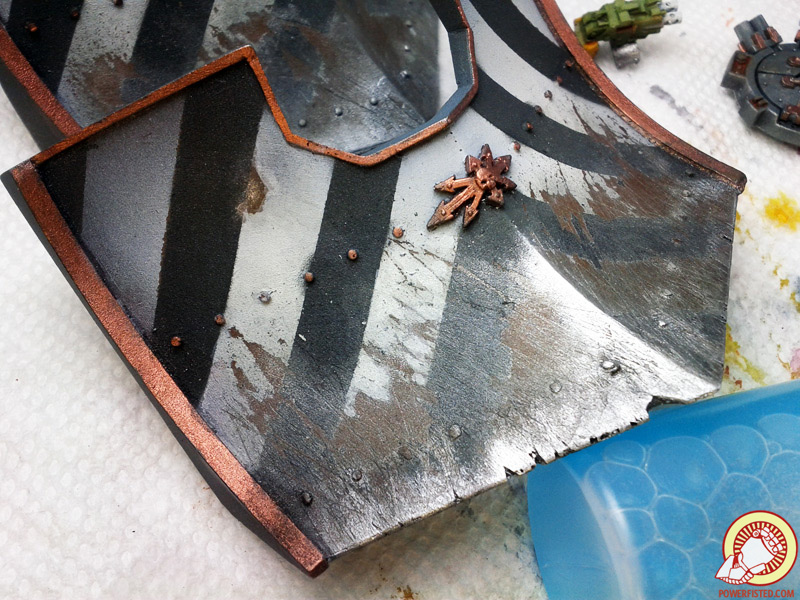
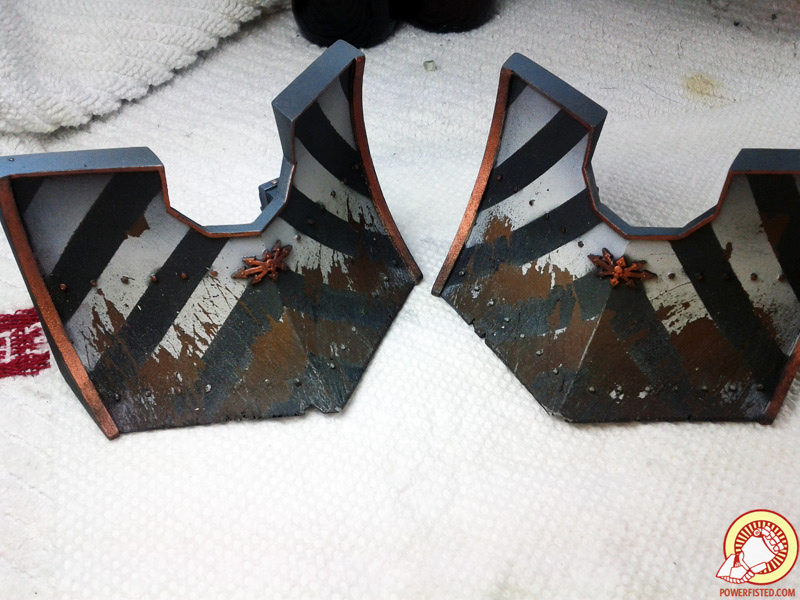
I also wanted my white chips to pop a bit more, so I went back with a very thin (2:1:1 water, paint, matte medium) coat of white onto the plow and icon/combi bolter.

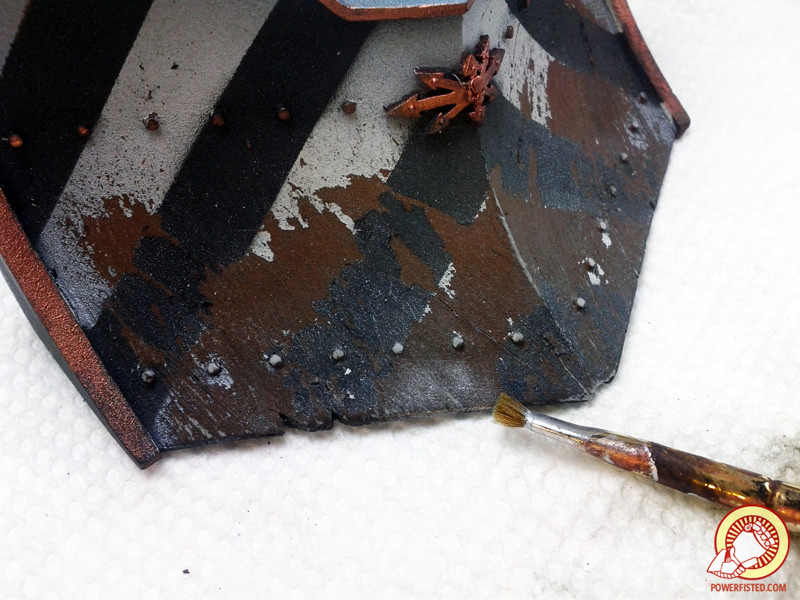
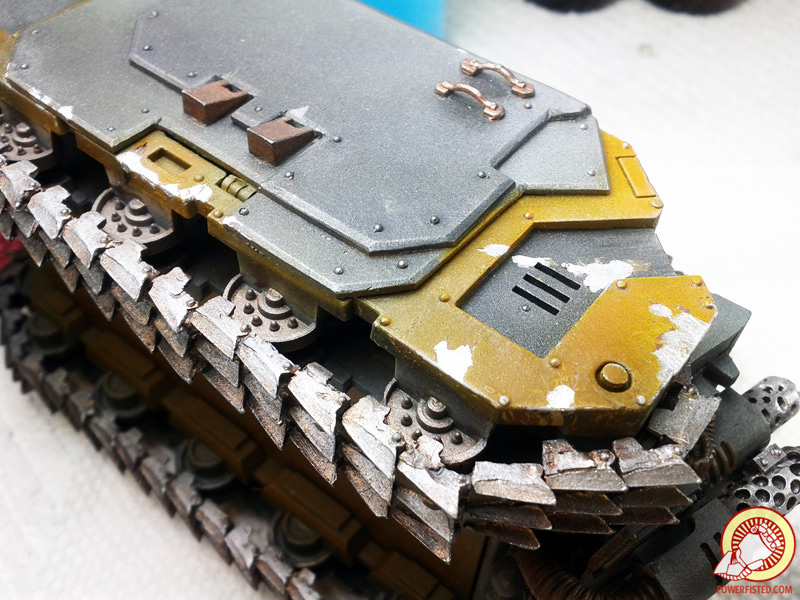
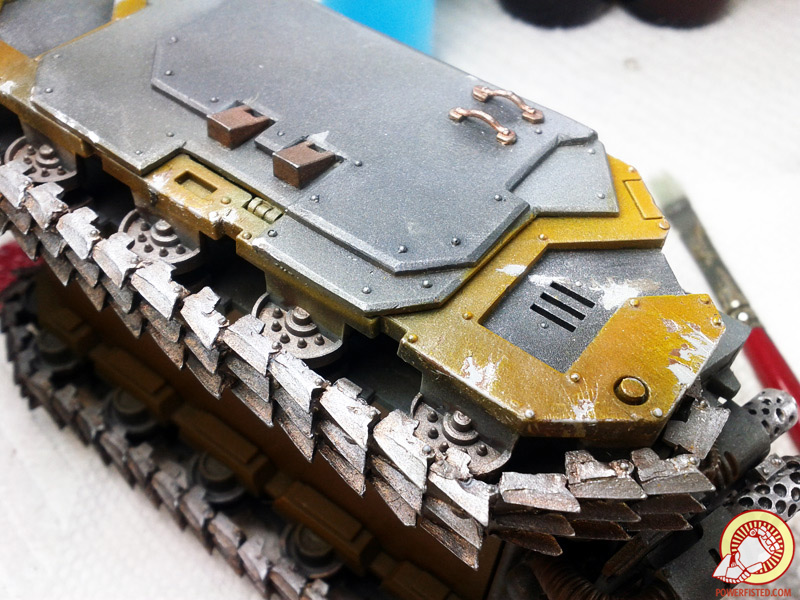
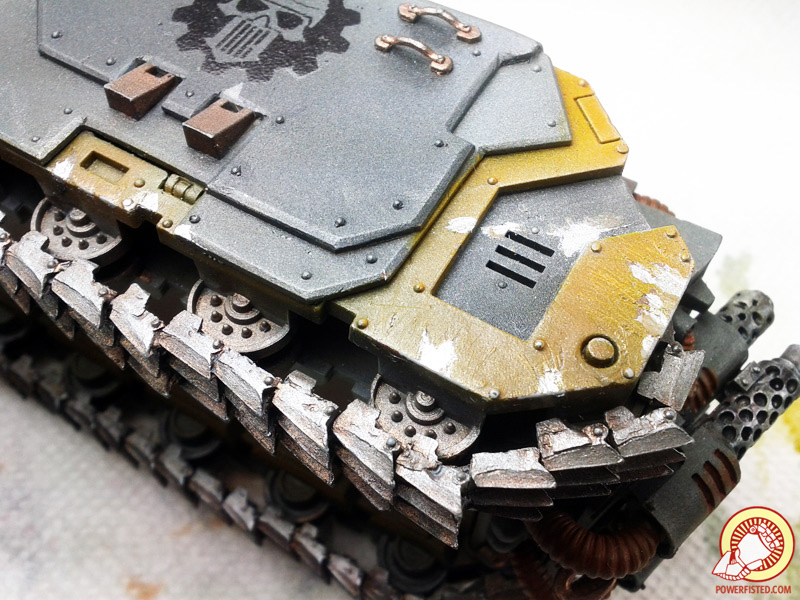
Chipped areas can also get highlights with traditional acrylics. I used a sponge to drybrush chips onto the worn silver areas of the turret hatches. Afterwards I went back with a fine brush and added a few strategic scrapes and dots. This technique could be used over the entire model instead of chipping fluid, but I prefer to make physical scratches because oil paints can get into them.
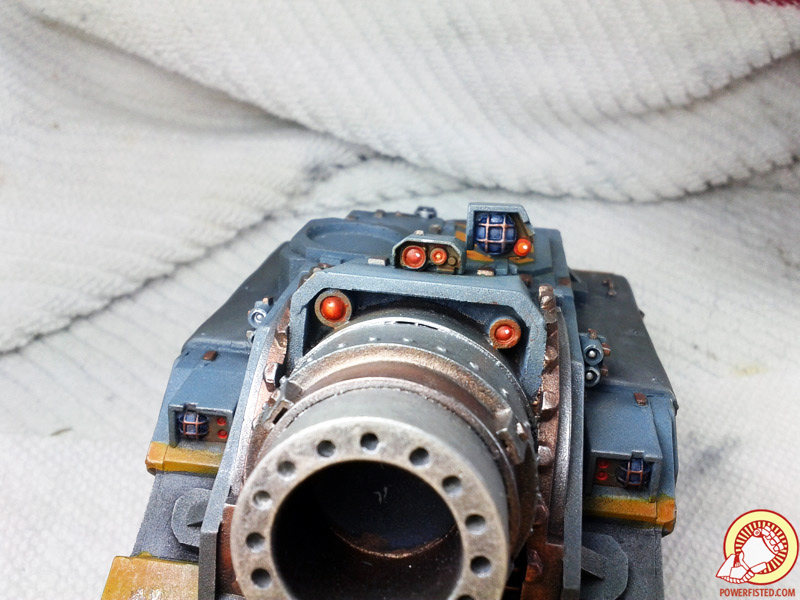
I get decent results painting lenses by using matte medium and flow improver to make glazes. The latter makes the layers semi transparent and the former helps remove tidemarks. From there it’s basically like painting watercolors and then adding white dots.

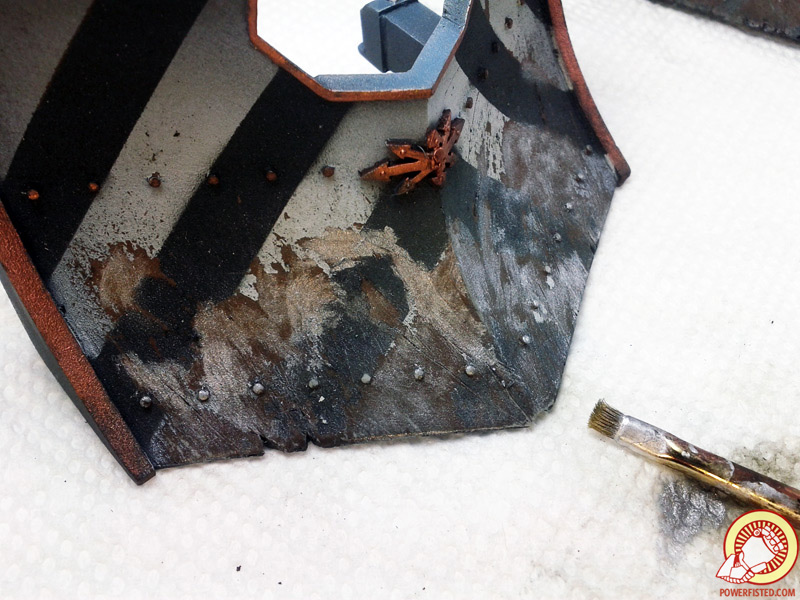
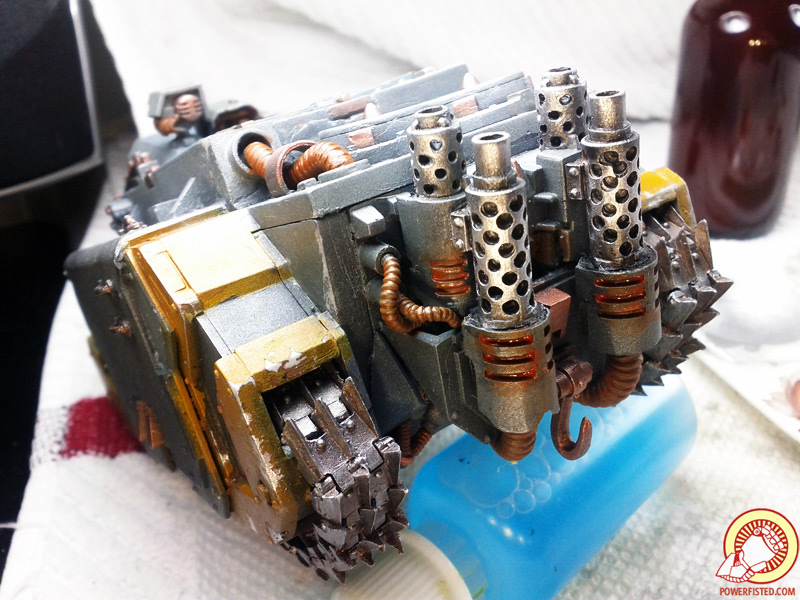
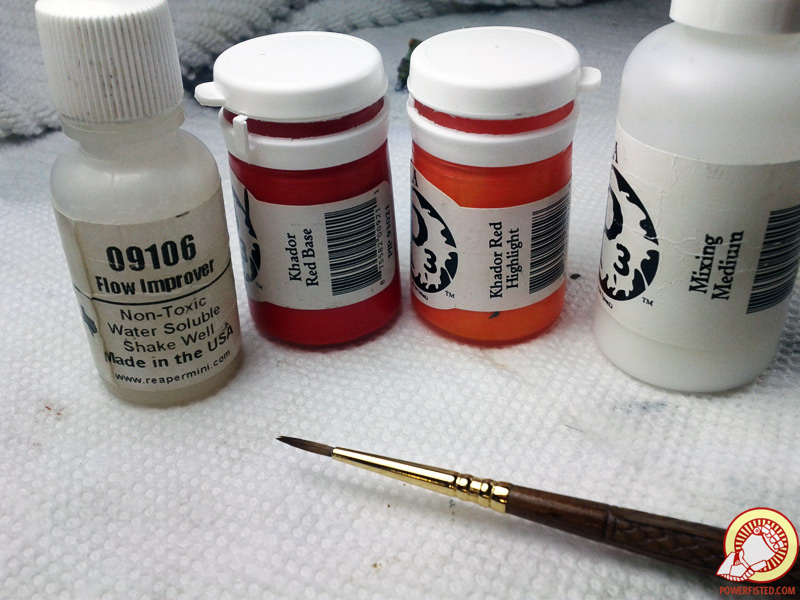
Next up: heat effects. As metal exhausts on the engine heat and cool they’ll distort in color. To get that effect I’ll use regular GW washes watered down with flow improver and water (about 1:1:1). Really thin coats are important here.
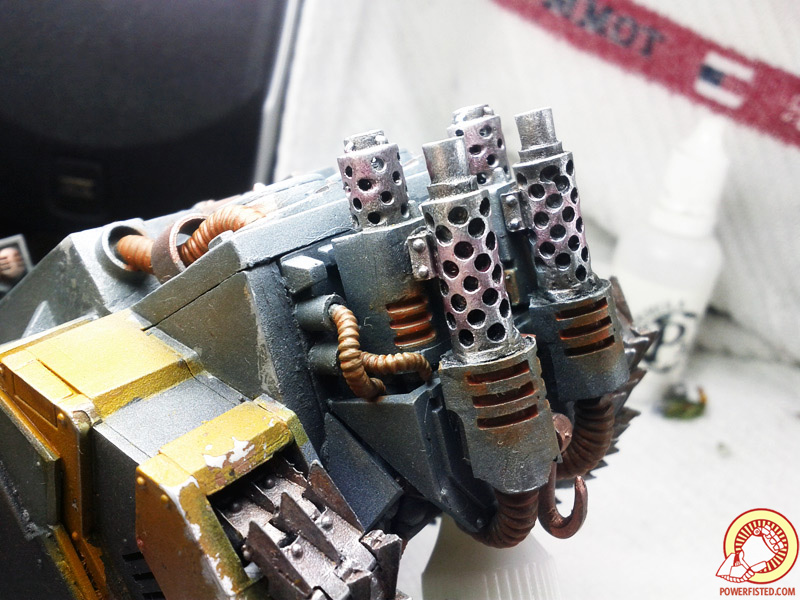
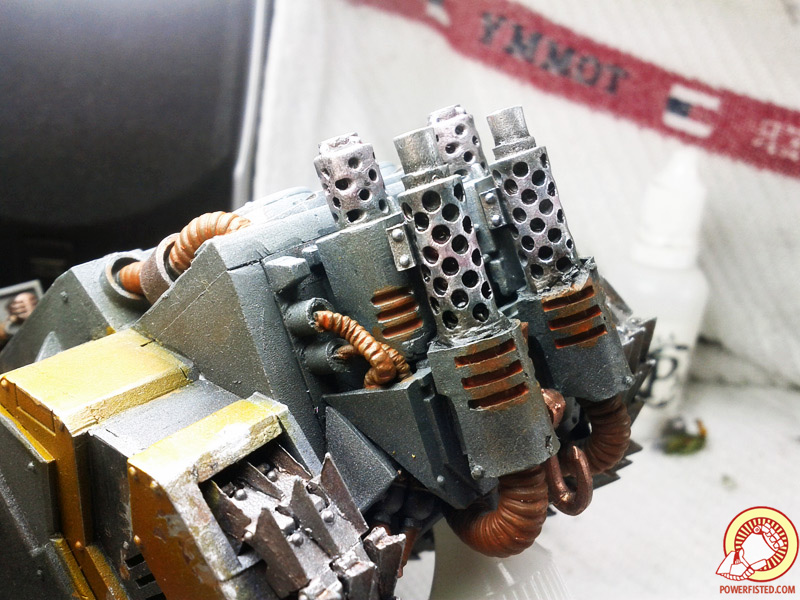
I start by coating the heated areas with a purple color and letting it dry. Then, by making overlapping rings starting from the heated areas, I add other colors and wet blend them together. The end effect is subtle, but it’s rewarding when you get it right. Again the camera doesn’t have the color depth to do the technique justice.
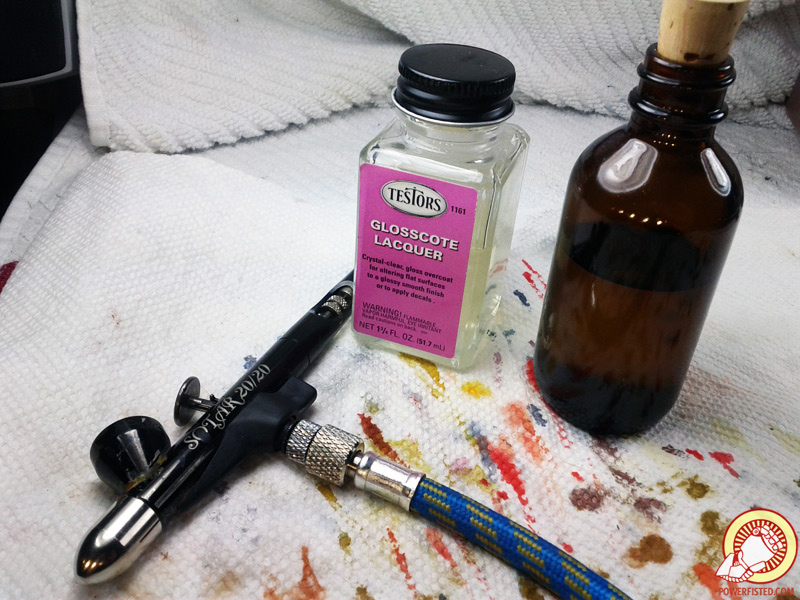
From here I’m about 3/4s done with the model. No more acrylics or scratches. I’ll hit the models with a few coats of gloss varnish (testers diluted slightly with spirit, about 5:1) making certain I give good coverage to the areas I plan to put decals on. As the varnish dries, it’s time for transfers.
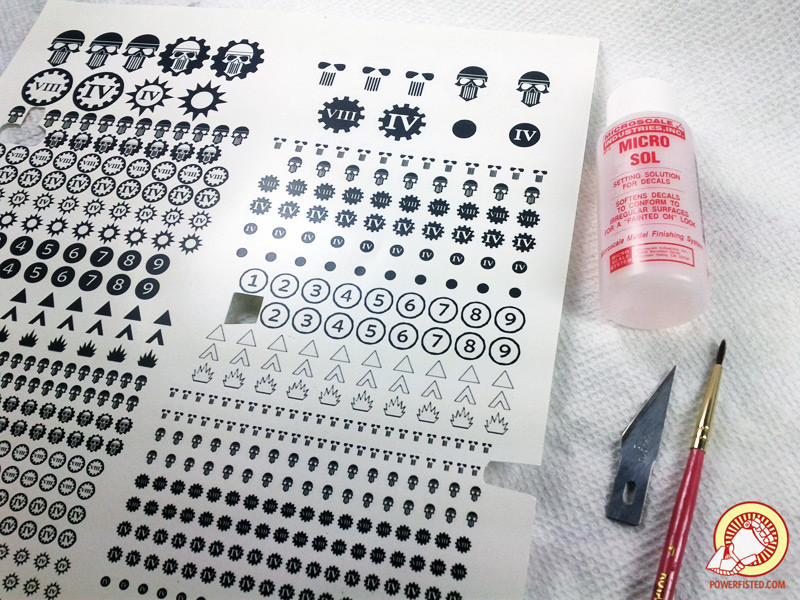
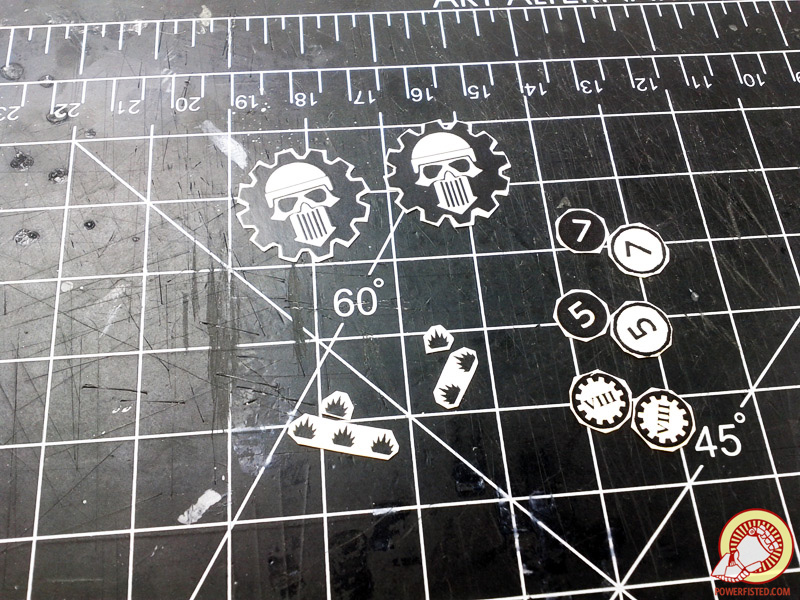
For custom transfers (I cobbled mine together in photoshop) you’ll need to coat your model in gloss varnish, grab a hobby knife, an old brush, and some Micro Sol. Unlike GW decals, custom sheets are made from a really glossy material and aren’t precut. I have to cut mine really close to the shape to avoid the filmy look from the clear material. Micro Sol, applied with a brush, helps soften decals and blend them into your model. I brush the area where a transfer will be fixed, apply the transfer, and then go over the entire decal with a second layer of micro sol. When dried the transfer becomes part of the model, but under the right angle you can still see filmy edges.
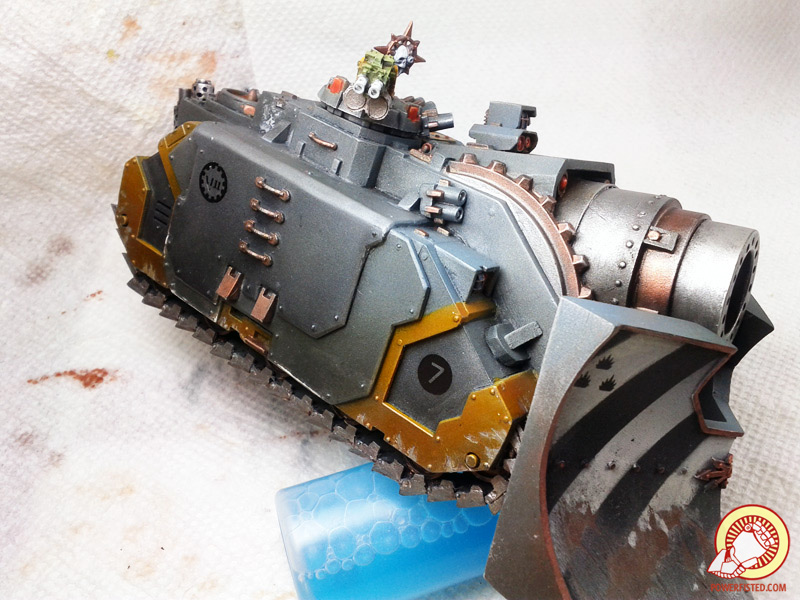
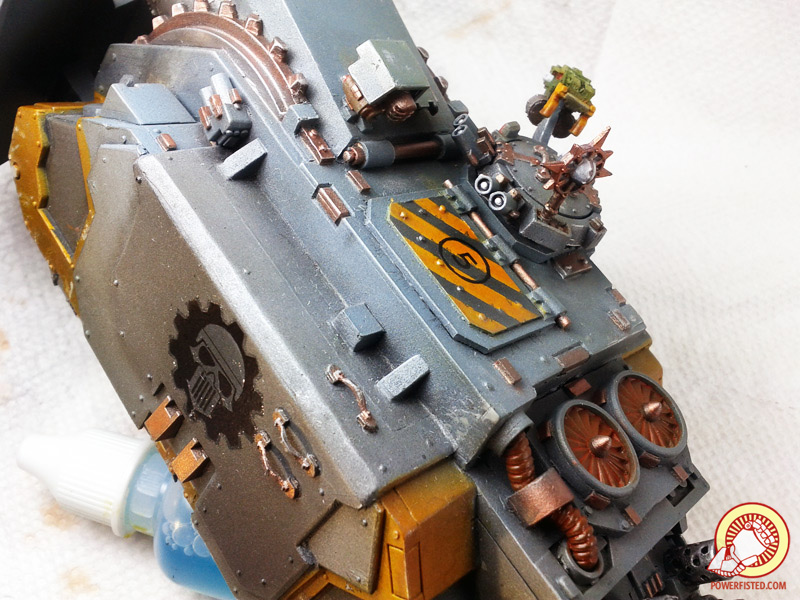
Here I’ve sprayed gloss varnish over the dried transfers. This stops the filmy edge look and blends them in with the rest of the model.
Looking good! The models are shaping up (it helps when you see the entire model). With the physical weathering and chip highlights complete, the next steps are going to add contrast, shade colors, and blend everything together with smearing, dust, and shadows. I’ll do that with pin washes, oil glazes, pigments, lead pencils, rubbing alcohol, and more metallic paints.