
I wrapped up my 30k vindicator project this weekend and thought I’d share the steps it took to get there. Oil washes and pigments are some of my favorite techniques and I hope this post demystifies what they can accomplish for you with a little time investment. Note: These pictures were taken before I had my DSLR so the color depth is not doing these effects any justice.
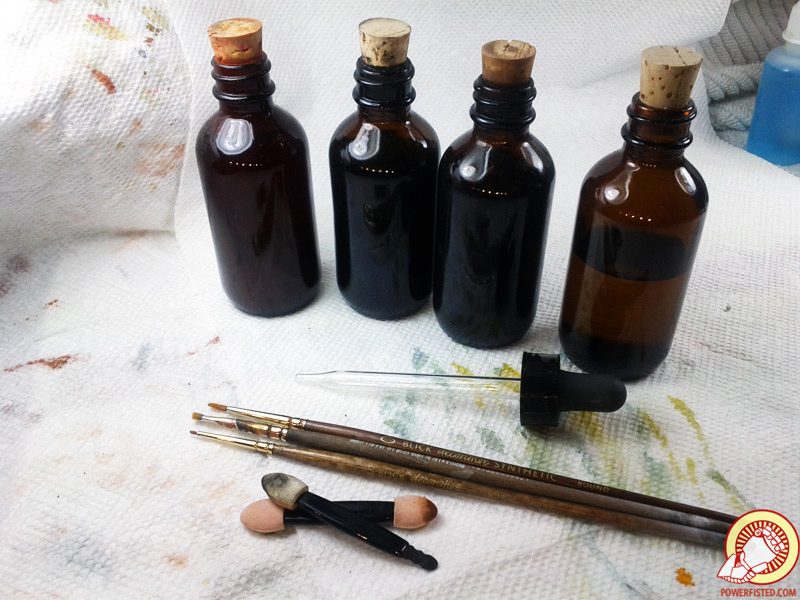
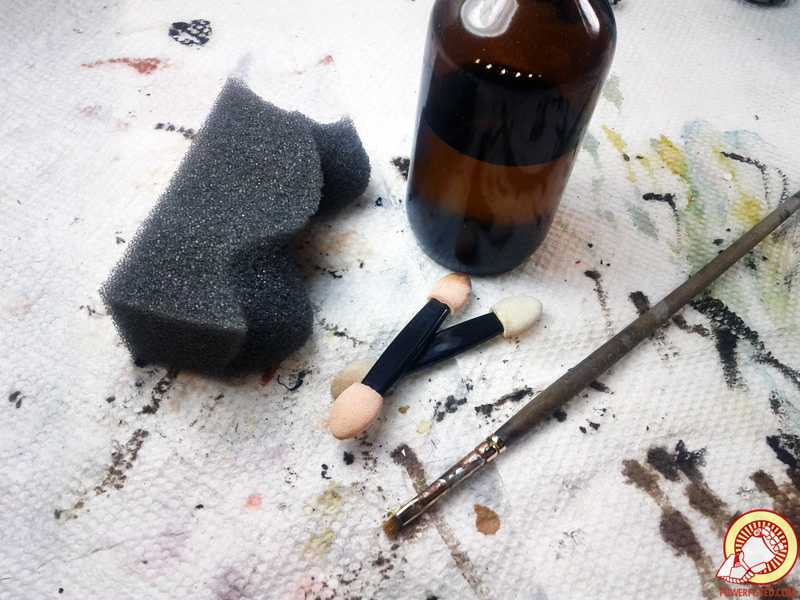
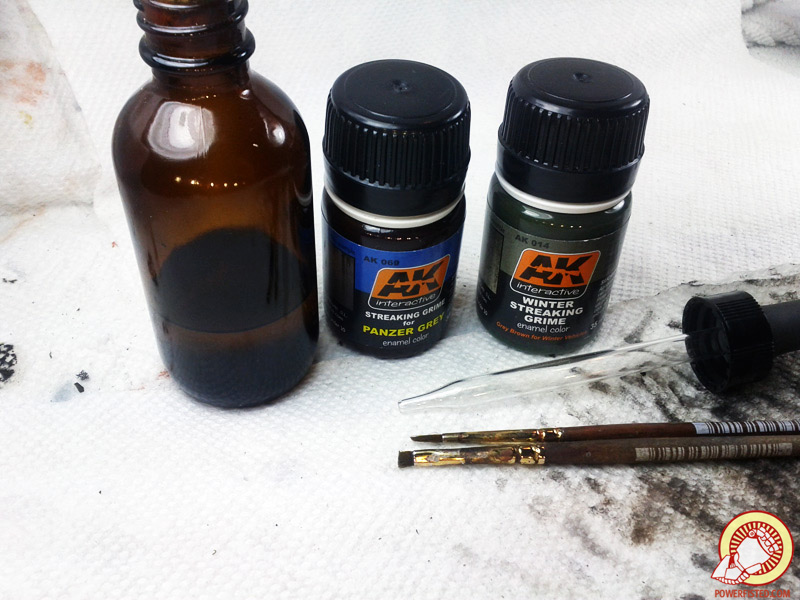
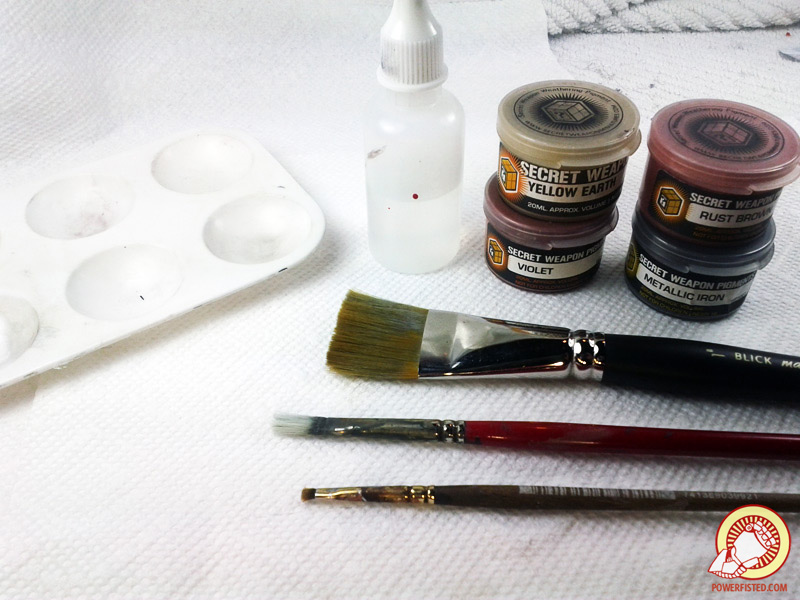
I primarily use three oil washes- rusty orange, castle black, and burnt umber. I use them a lot, so I make them myself on the cheap (read this if you wanna make your own). Other than the paint, you’ll need mineral spirits as a solvent, synthetic brushes (oils will kill regular brushes quickly), sponges (I prefer makeup applicators), and a good respirator (seriously oil paints will kill you).

Damn son. Check out how smooth and oily that wash is. Oils are really rich, thanks in part to a really high pigment count and a solvent with better properties than water. We’ll take advantage of those properties just like alcohol based paints.
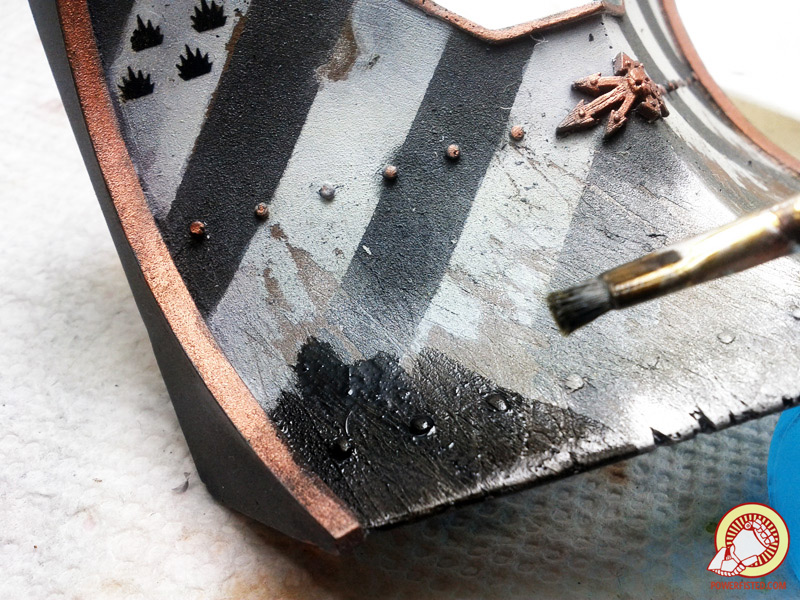
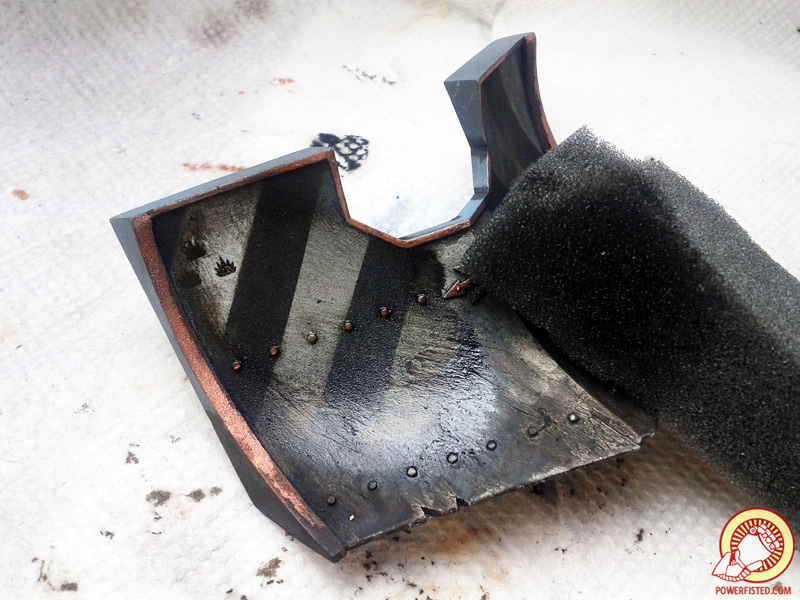
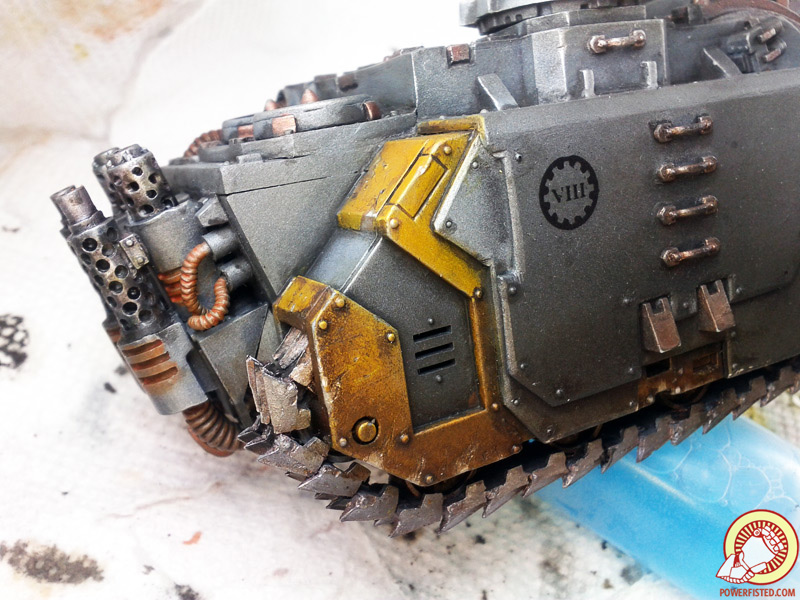
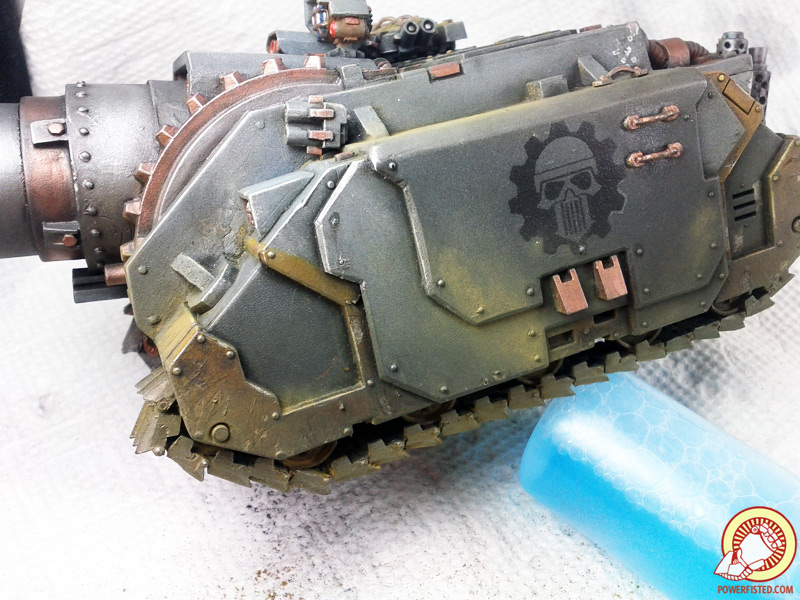
The first thing I’ll do is add a heavy filter to the plow and bottom parts of the tank. I’d expect these areas it to get lots of grime and dirt as the vindicator shoves its way through soot filled terrain. I applied burnt umber to the lower areas first and then went back over the entire area with castle black and wet blended it together where needed. Oils are criminally easy to blend and evenly cover large areas even with small brushes. Note: It takes oils a good day or more to dry. Luckily, they dry to the touch within about an hour. If you’re impatient you can varnish over the top after an hour and keep painting.
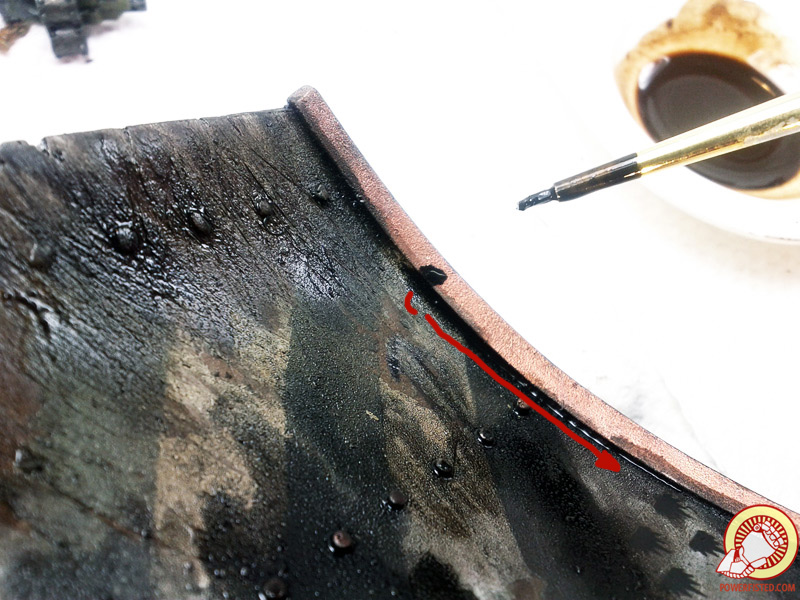
As the filters dry, I’m going to add a ‘pin wash’ to all of the cracks and recesses. This adds a high level of contrast to the model through shading. Thanks to the super low surface tension of oil, pin washes are way easier to use than acrylics- all you have to do is to soak your brush in the wash and ‘tap’ it against an edge. Capillary action sucks the wash from the brush and fills the crevice like magic (you can see how the wash flowed straight down after I touched my brush against the edge of the plow)
Notice that the paint sticks to the porous surface of the tank. That’s because my coat of gloss varnish wasn’t very thick. If you want clean edges and less work, a heavy gloss coat will prevent this. Likewise matte varnish will magnify it.
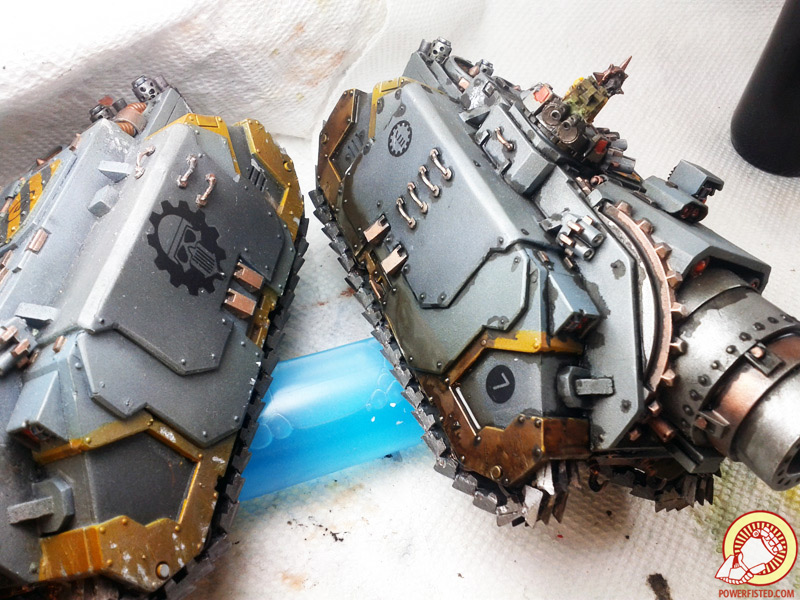
Side by side, the effect is a cell shaded look.
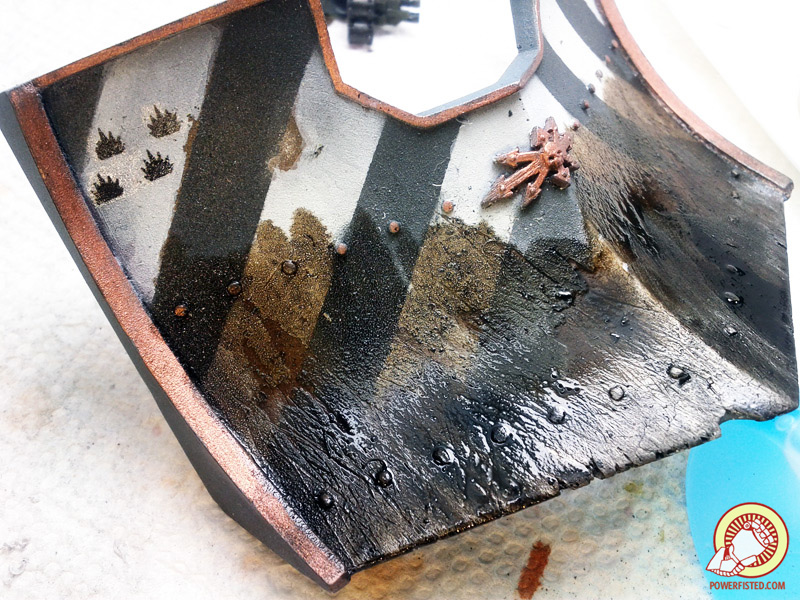
After I’ve done both tanks, it’s time to ‘take back’ some of the filter effects. I use a piece of foam for large areas, makeup applicators along edges, and a small drybrush for fine spots. Stroking in one direction I drybrush mineral spirit onto the oil filter and wipe away the excess. I’ll do this in areas I’d expect the most light to hit while keeping the filter in the shadows preserved. This technique is my absolute favorite way to add depth to bright colors like white and yellow. They really come to life with an oil filter ontop.
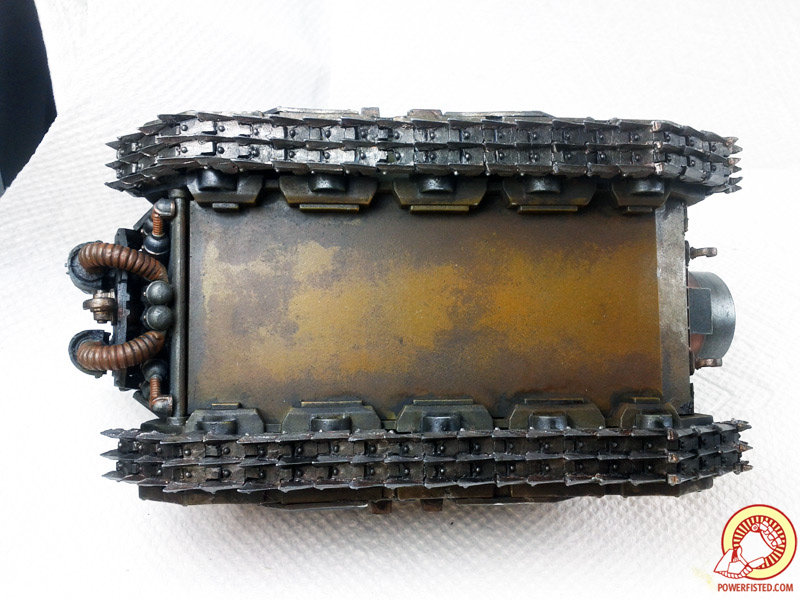
The effect is really obvious on the bottom of the tank.

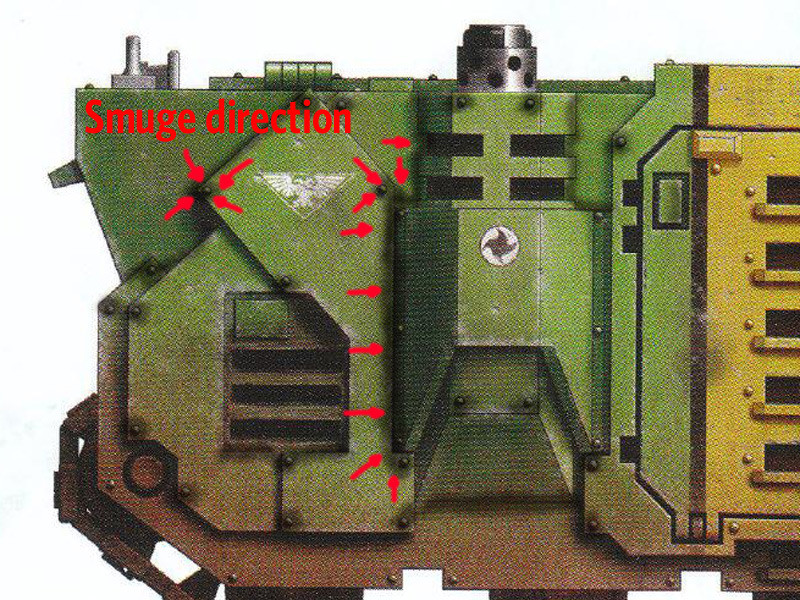
Pin washes are a bit different. I clean them up the same way I use the ‘smudge’ tool in Photoshop. Working from the outsides of the wash I use a damp brush with spirit to smear into the recess. In the last picture, side by side, you can see how smearing adds a nice organic break to the wash while keeping most of the contrast.
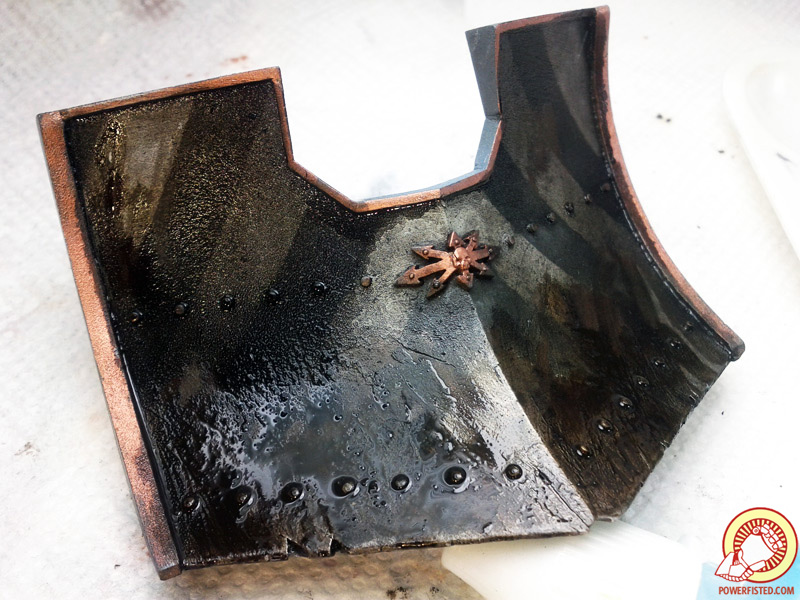
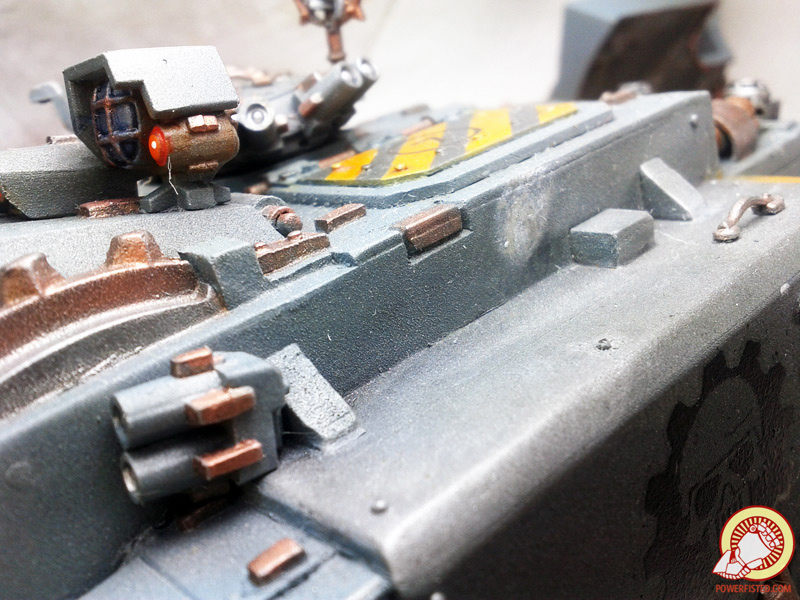
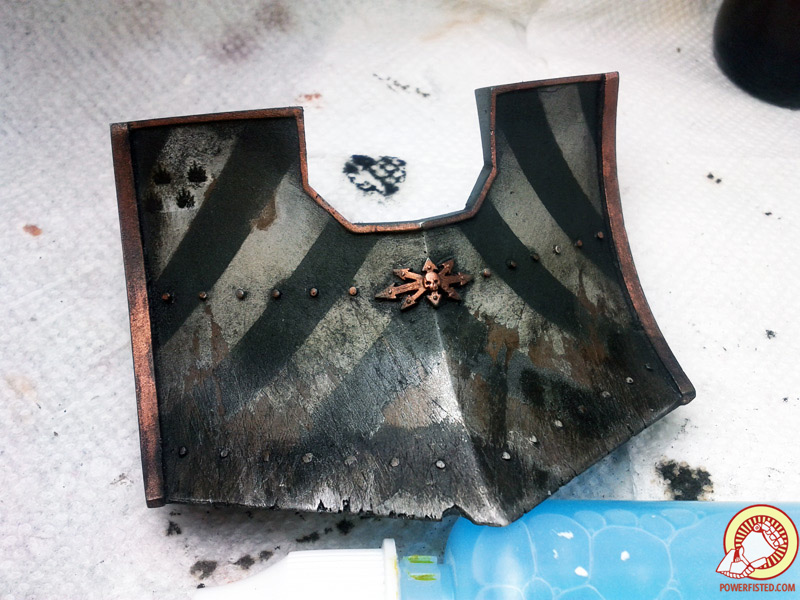
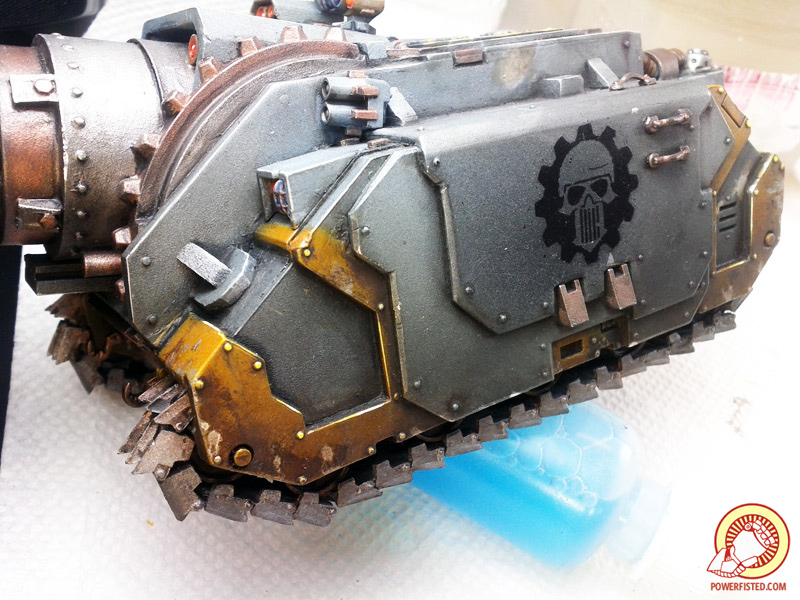
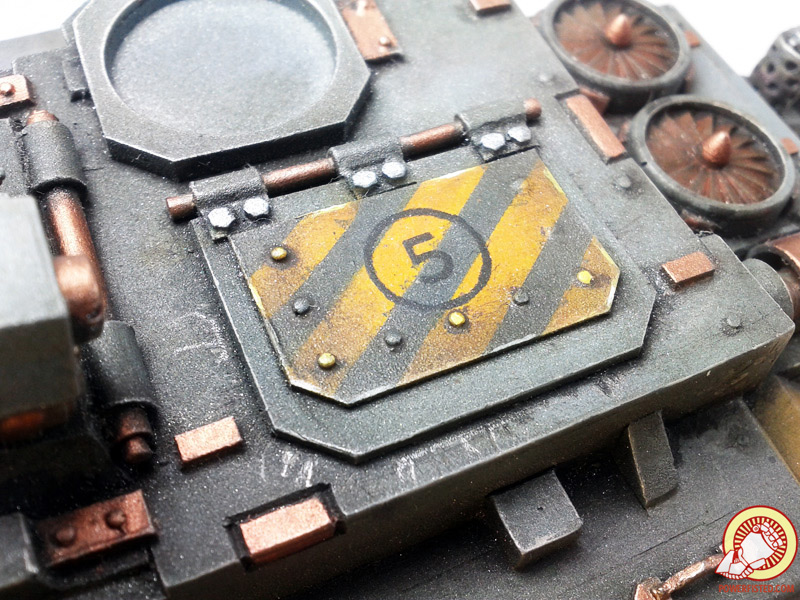
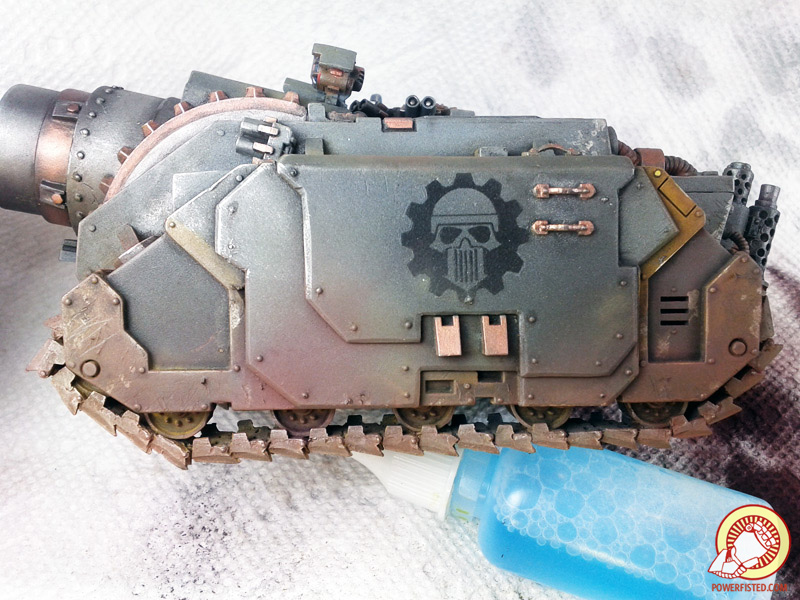
Here’s the final effect on larger parts of the tank- things look dirty and there’s a lot of contrast. Best of all, all the cracks and scratches are really pronounced. Earlier on I purposely dug into the paint and resin with a dental tool to create recesses (part 1). Now they’re filled up with a dark oil color and really pop. I don’t know the name for this technique, but I call it debossing.
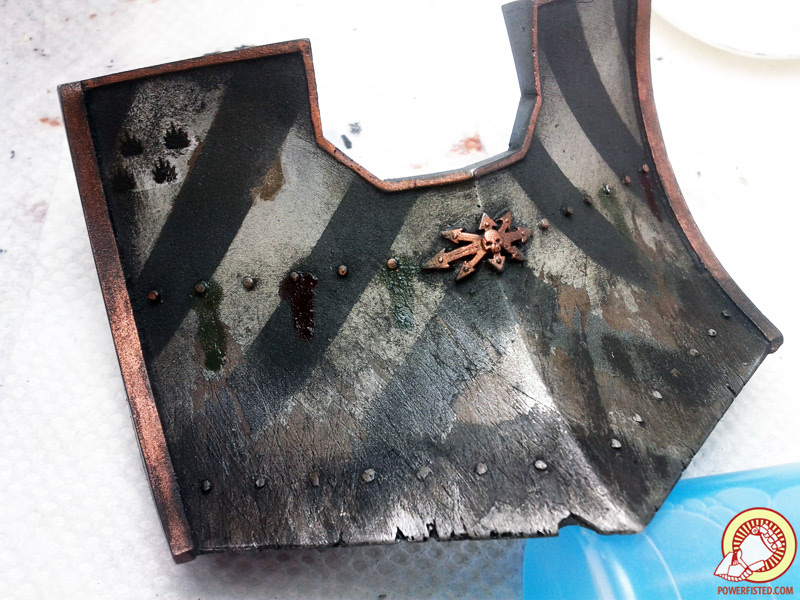
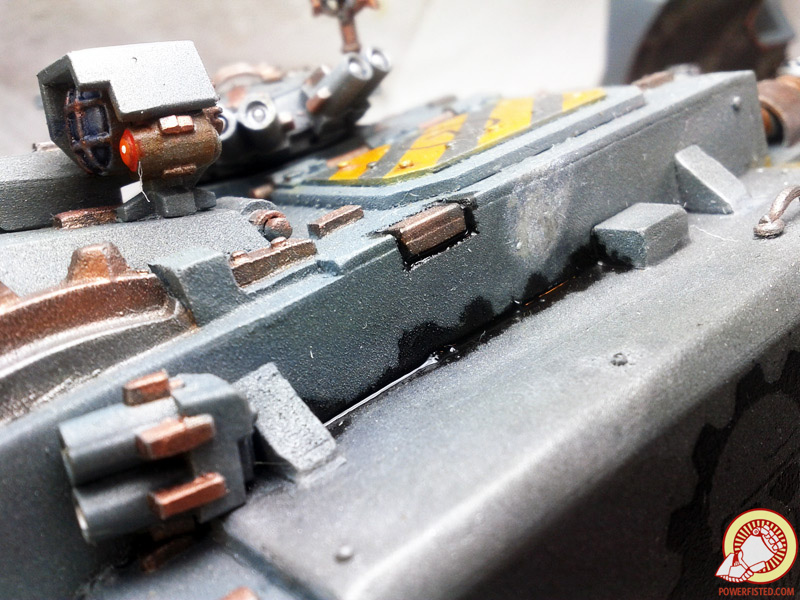
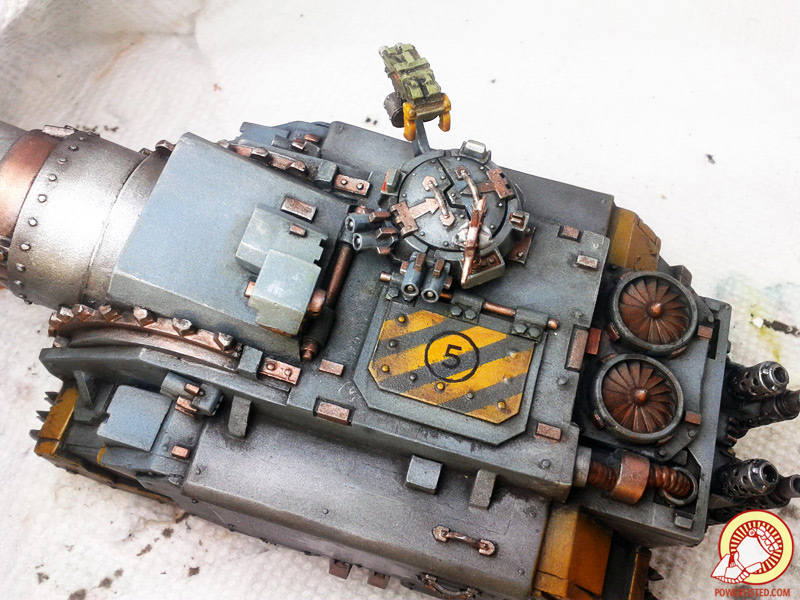
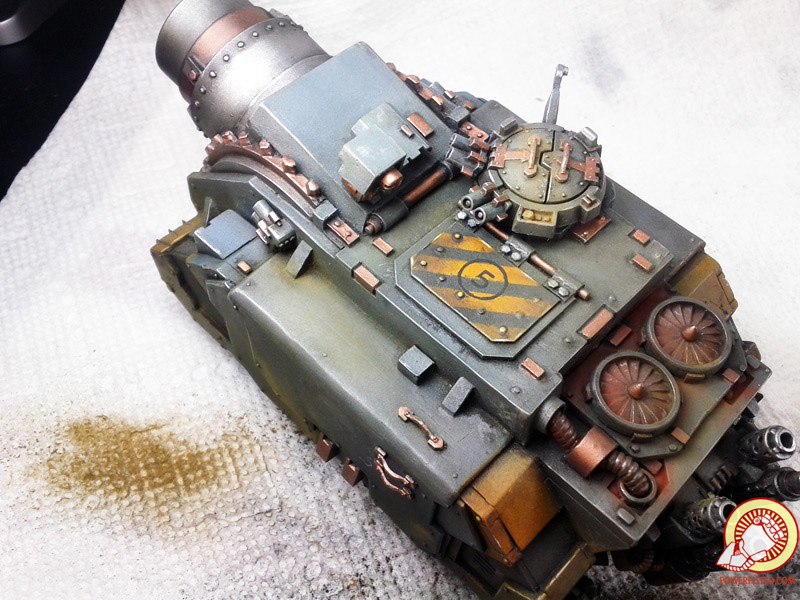
Last, I’ll add some grime streaks along certain areas. These are areas where rain has created algae or rust. I use AK Panzer Grey for my greys and Winter Streaking Grime for my whites, but any oil wash could work here.
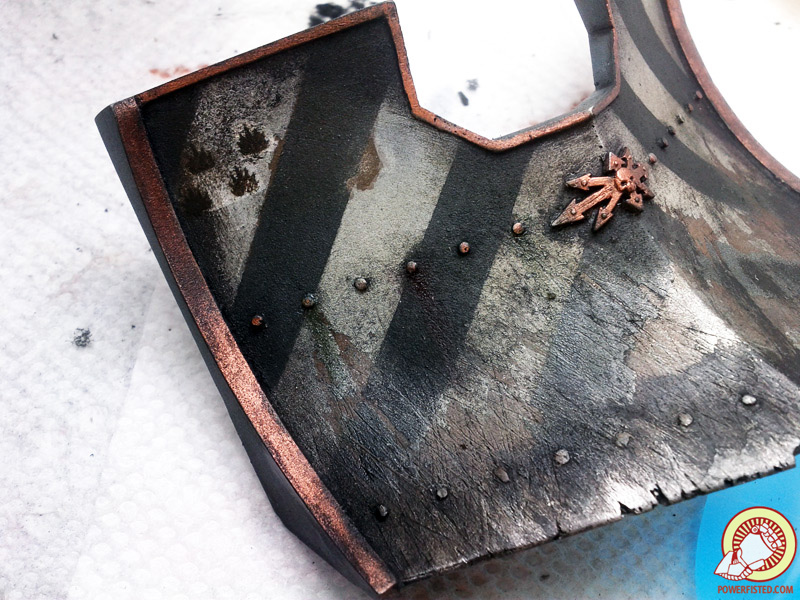


The process is straight forward. Glob on paint and make it flow downward. Then, while its still wet, grab a brush with mineral spirit and smear the streak away. I do this on a few areas of the tank body as well. Not bad for a few min of work!
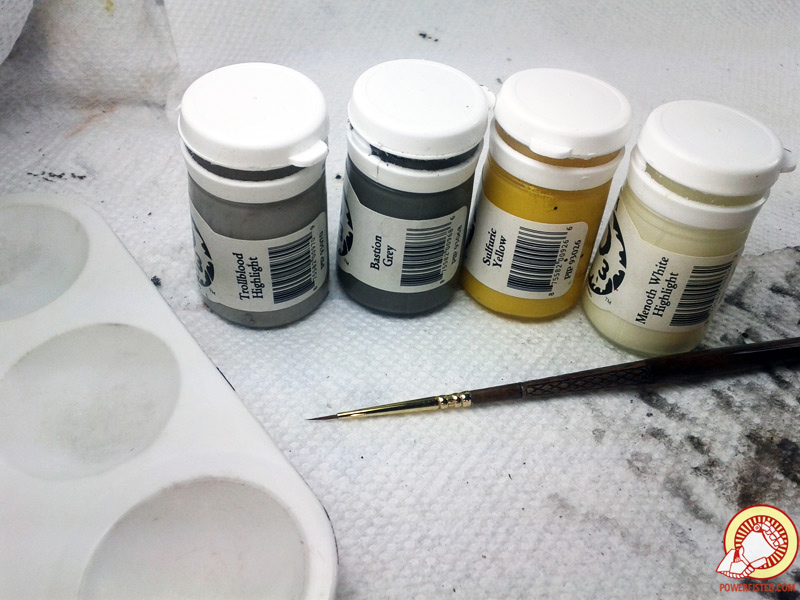
Now it’s time for line highlights. Personally, I’m not a big fan of them. They take a long time, screwups are costly, and it can look out of place on weathered models. I do them quickly and don’t get fancy- 2 colors for the greens, yellows, and whites. 2 colors for the greys and blacks. The yellow pops the most afterward while highlights on greys are pretty marginal. More on this later.
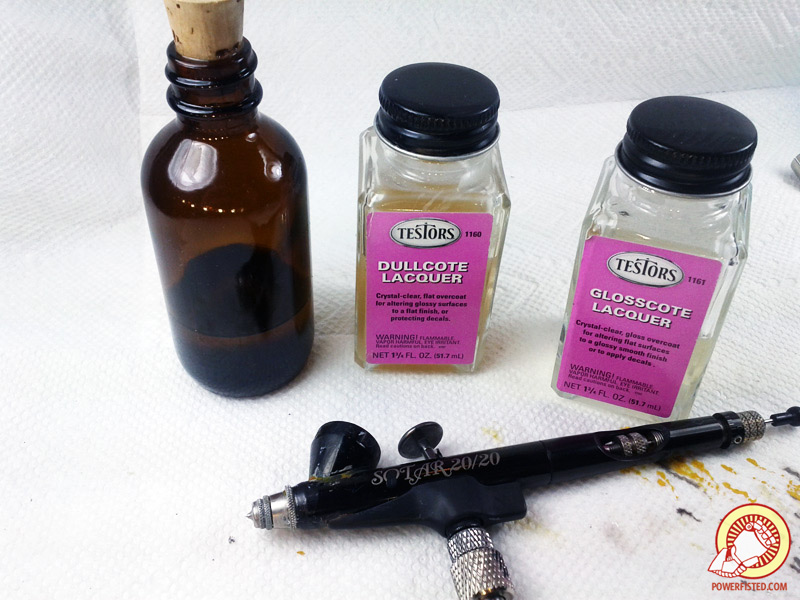
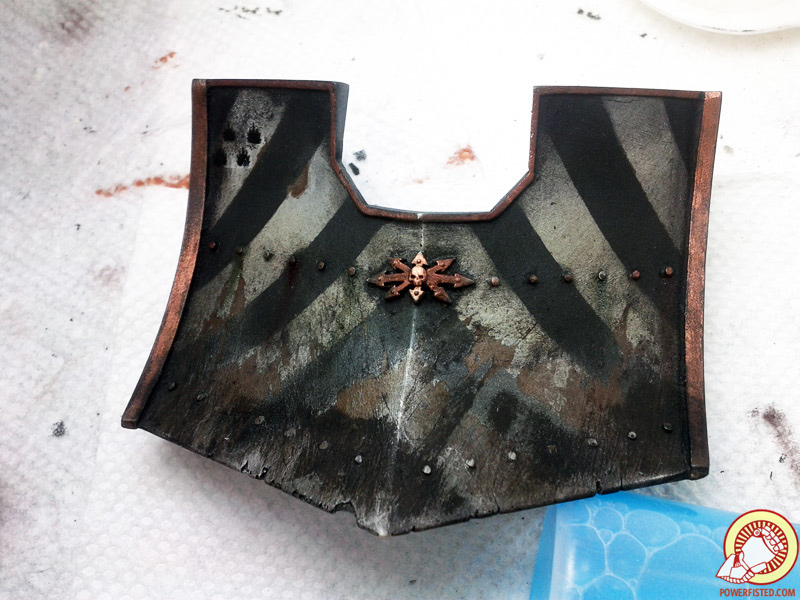
With the oils cleaned up and drying, it’s time for my final coat of varnish. I give the models a good coat of glosscote followed by dullcote from my airbrush (thinned varnish:spirit about 4:1). I also brush a thick layer of gloss onto the model’s lenses, viewports, and sensor bits.
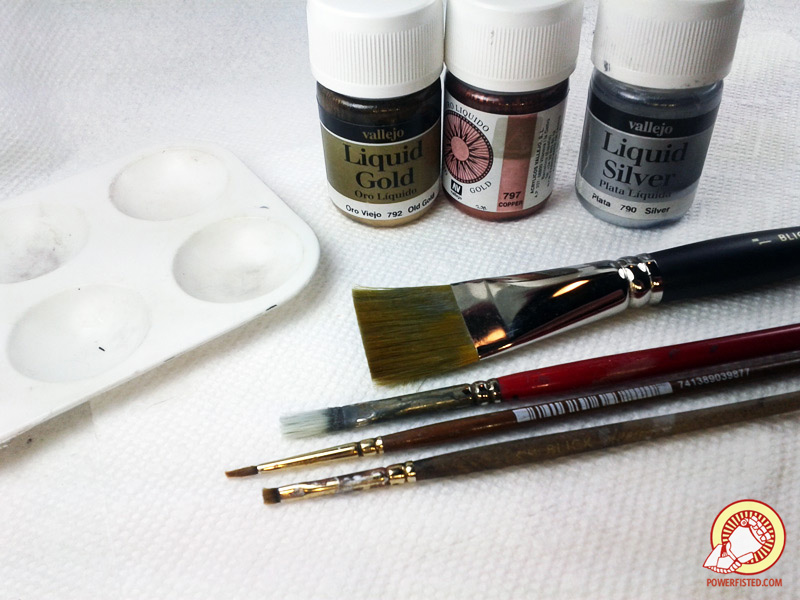
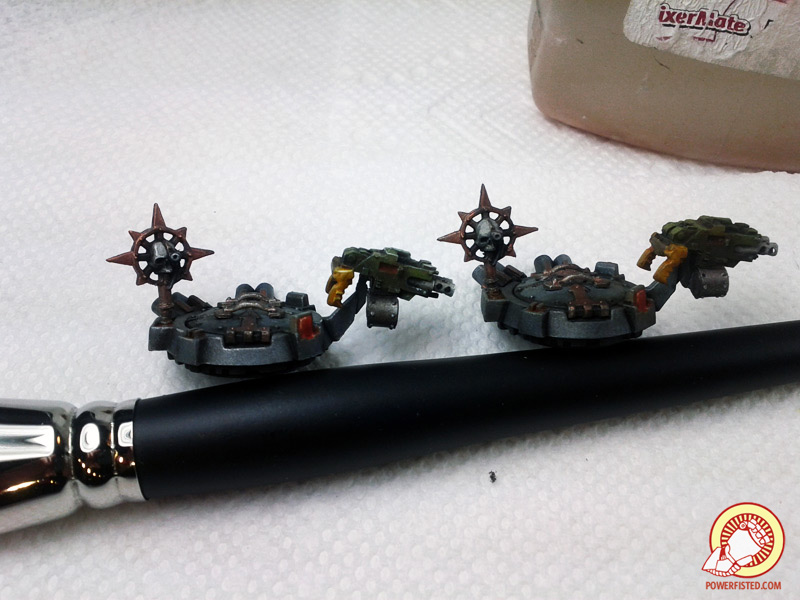
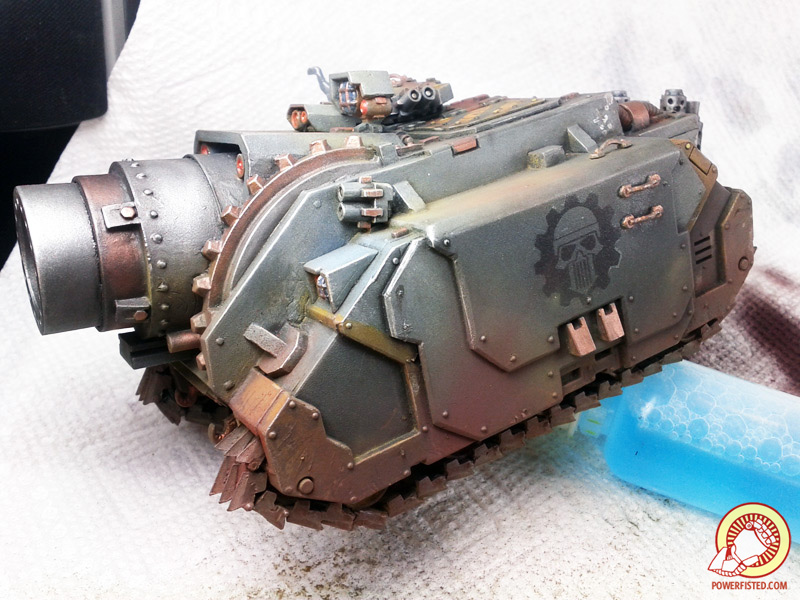
My favorite highlights are alcohol based metallic paints. It’s hard to appreciate how shiny and bright they are from my pictures, but their luster is fantastic. I save these for last because varnish removes their shiny effect entirely. Once the varnish dries, I’ll go over the areas I want to highlight with my base copper color followed by a mixture of copper and old gold (at about 3:1). There’s almost no comparison when you look at them side by side.

Silver is last and gets drybrushed all over the model including flat panels that would get exposed to direct light. In my opinion, this is both easier and more interesting for metal surfaces than line highlights. All the upper facing surfaces of the Vindicator are now a shiny silver- so shiny, in fact, that they look white under my lamp. That’s how awesome these silver highlights are (and they took me about 20min using a large drybrush). The same effect can be achieved with an acrylic silver paint, but it’s less shiny and errors are much harder to deal with.
Now for something different…
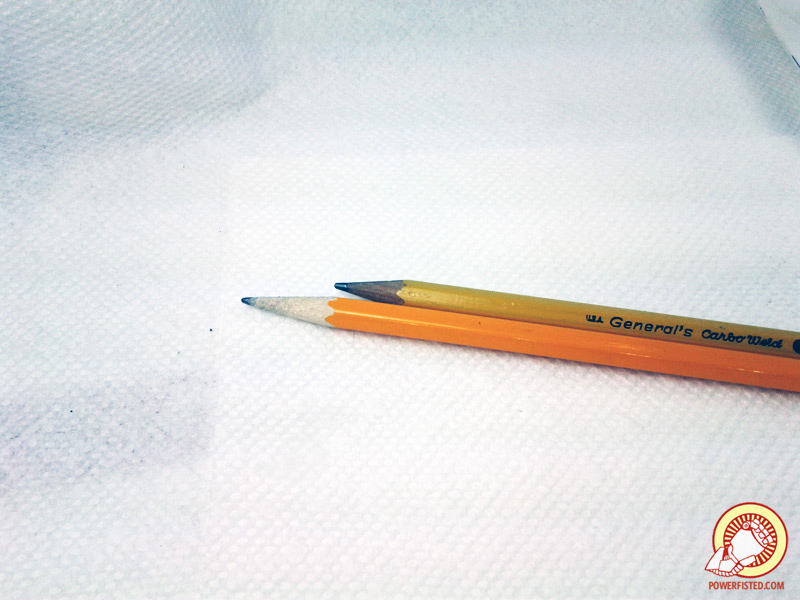
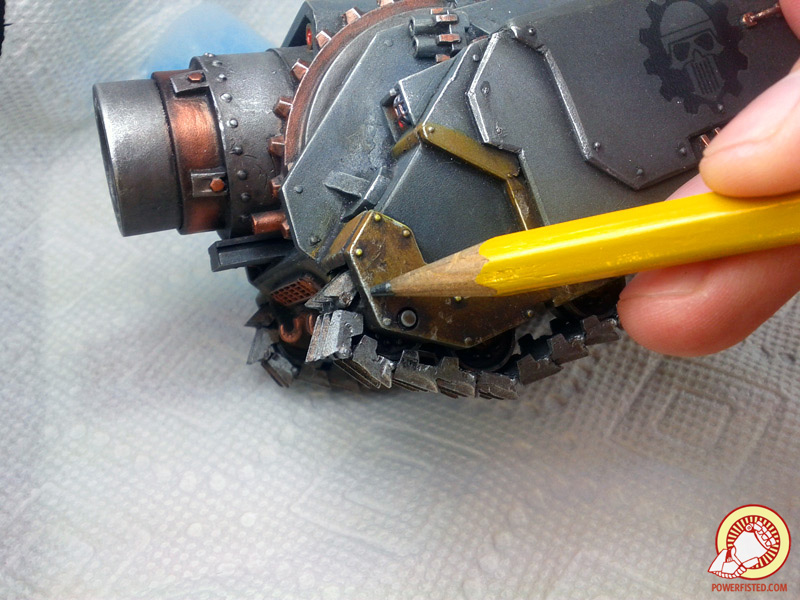
Yes, it’s true. The humble pencil is a quick way to get subtle weathering effects on your models. You can use any kind, but softer graphite is helpful.
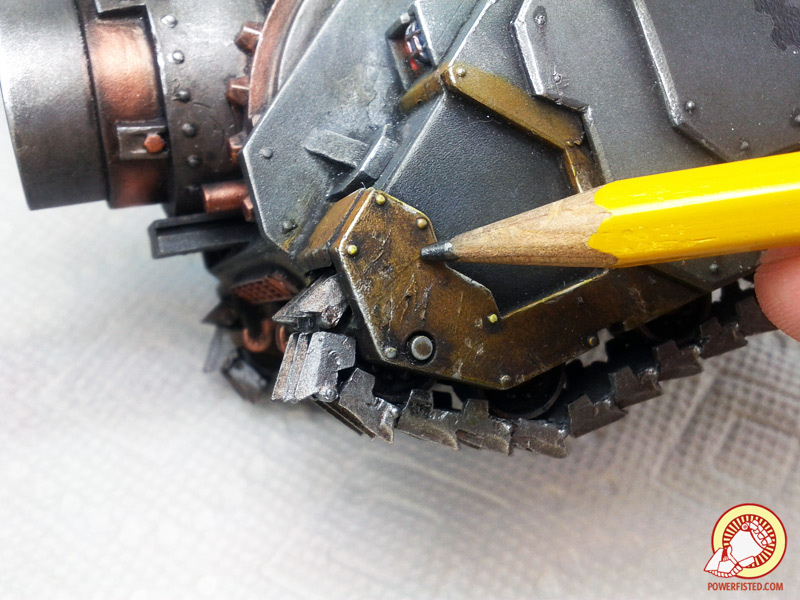
You can make streaks and scratches!
Or add scrapes near hatches!
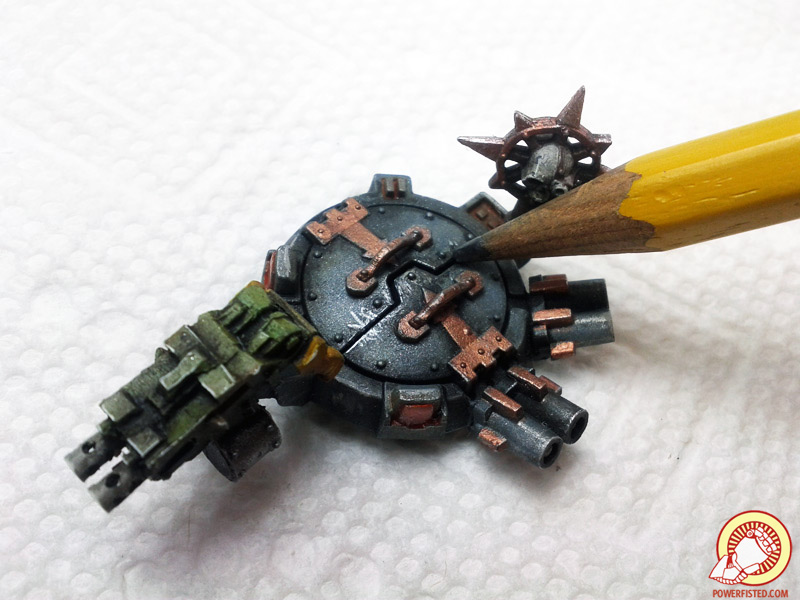
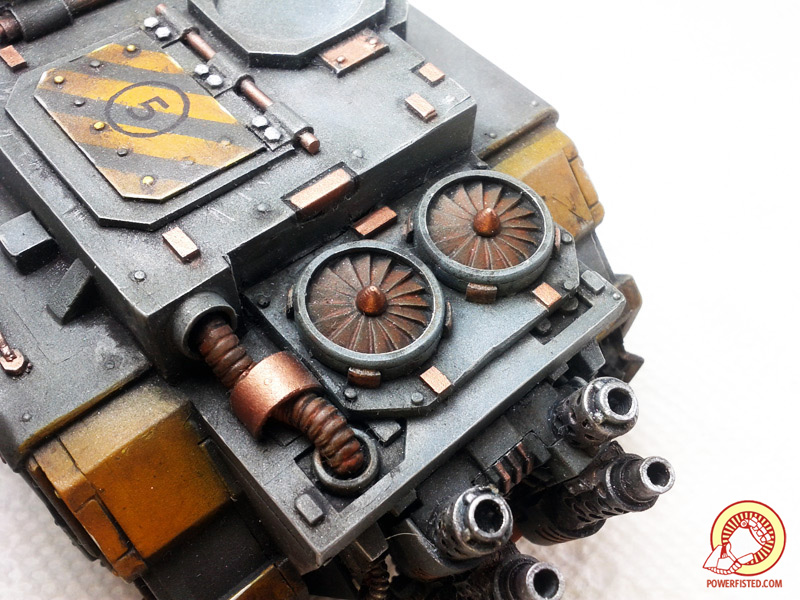
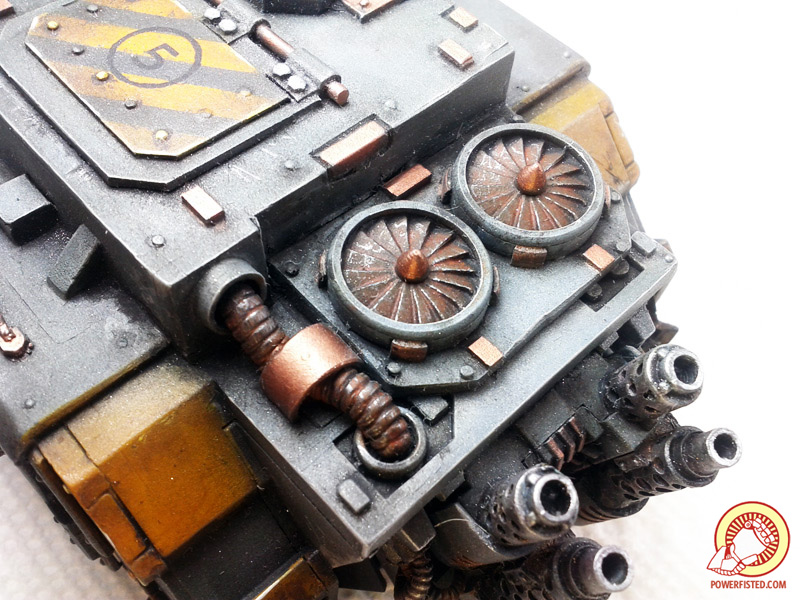
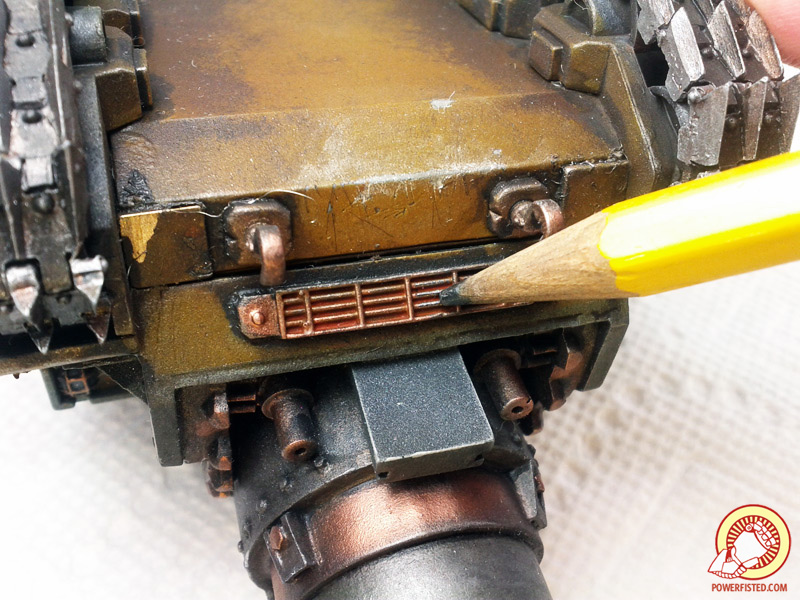
My favorite way to use pencils is to add a metal sheen to raised textured surfaces like power cables, hoses, and fans. Graphite is slightly reflective so you get a very subtle metallic effect.
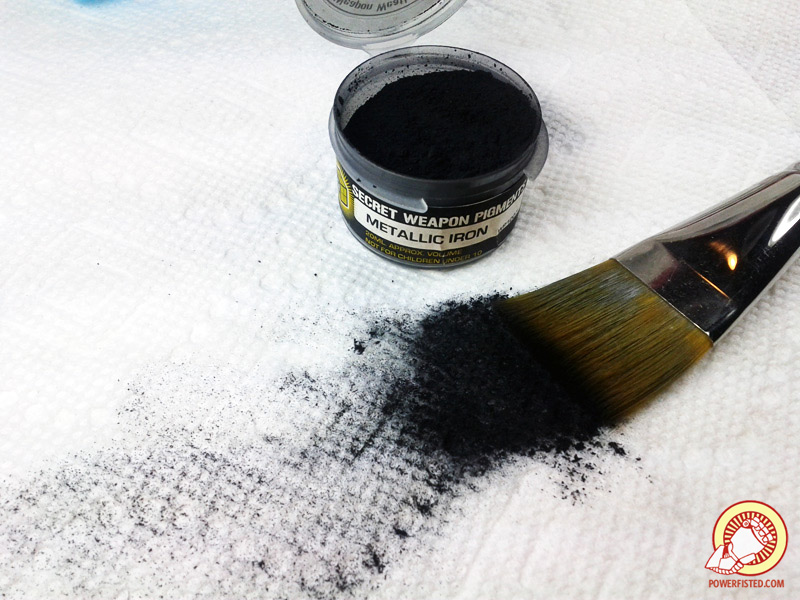
The last step is to apply pigments, which are basically colors in powderd form. You can rub them on, brush them on like mud using water, or create spatters by mixing them with spirits and flicking them at things. The goal of these is to tie the model into the environment. My Iron Warriors are from an arid world and all their bases use these same colors. By adding these onto my tanks, I’m literally taking part of my base and sprinkling it over areas. This should help reinforce that every model is from the same deployment.

I use a large drybrush, rubbing it into a pile of pigment on a paper towel before applying it to my models. I applied this iron color over the cannon and combi bolter barrels.
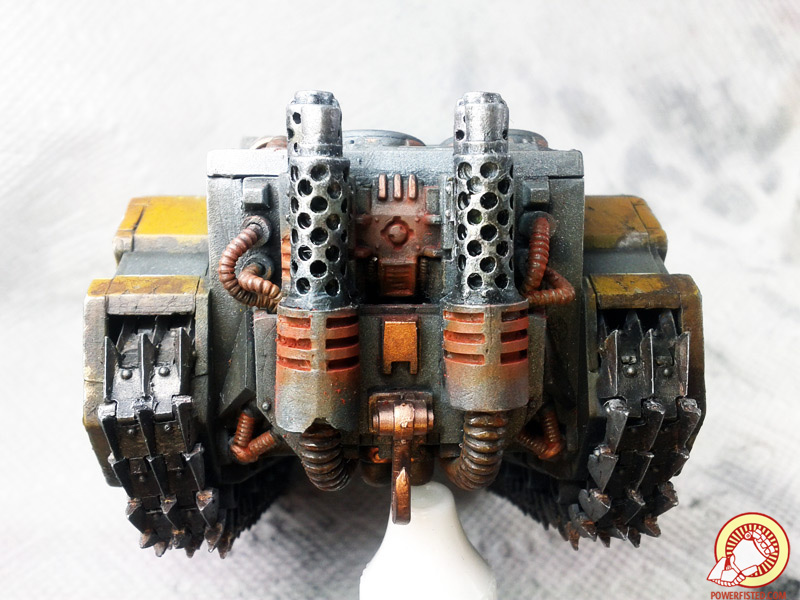
I used the rust color on areas I wanted to have extra ‘glow’ or might have corroded over time.
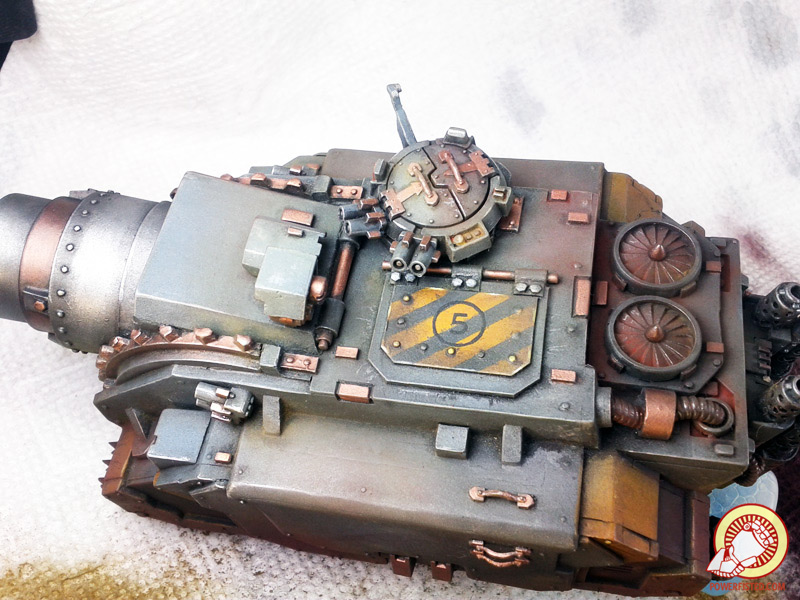
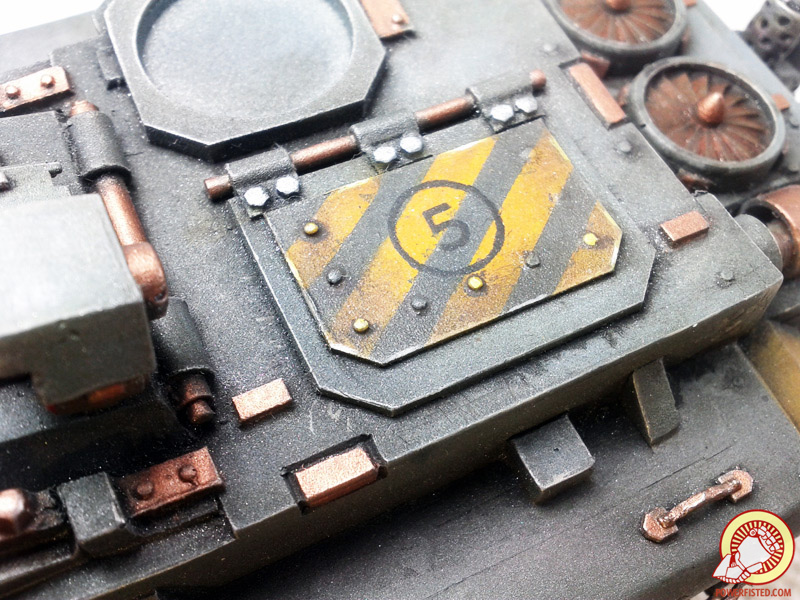
Finally, I hit any areas where dust might gather with yellow, followed by violet, and lastly a bit of rust. The pigment looks really dusty and vibrant when it’s dry like this. Unfortunately, it also comes off incredibly easy. Fixing it in place requires hairspray, varnish, or rubbing alcohol. All of these remove the dusty effect and mute the colors, which sucks. Alcohol is my preferred method since it seems to remove the least amount of color.
Once I’m happy with the pigments, I’ll spray the model down with a heavy coat of rubbing alcohol. Once it’s dry… that’s it! All done!
